SalesZone WooCommerce Theme Free and Premium Tutorial
SalesZone Theme is developed in order to ensure the proper work of WooCommerce base functionality and features needed by a modern online store. The theme is also designed to support the work of the all must have third-party plugins.
In this guide we’ll describe all theme features and provide instructions for the Sales Zone theme installation and updates, work with its customizer and settings. Plus, we’ll give you detailed guidance on managing the child themes.
First of all have a look at the presentation and demo of SalesZone Theme and GrandStore, the SalesZone’s child theme.
If needed you can test the work of the theme and customizer using our private demos. For this, just enter your email in the form and we’ll send you a link to the private demo site.
General Information
Before using SalesZone Theme or any child theme, please make sure that your hosting platform, WordPress/WooCommerce version and the plugins required for the work meet SalesZone Theme requirements. Have a look at the necessary parameters below.
Hosting
SalesZone hosting requirements:
WordPress version 4.9 or higher
WooCommerce version 3.0 or higher
PHP 5.6 or higher
MySQL 5.6 OR MariaDB 10.0 or higher
It’s highly recommended to create secure passwords for FTP and Database.
For optimal and smooth performance we recommend you to install the Premmerce plugin (or Premmerce Premium) and all the plugins that are presented in the Premmerce Wizard.
The Third-party Plugin Compatibility
Here’s the list of all third-party plugins that have been tested for compatibility with SalesZone Theme.
WordPress plugins
- Yoast SEO
- Contact Form 7
- Premmerce User Roles
- MetaSlider
- WP Rocket
- Advanced Custom Fields
- WPML
- Premmerce
WooCommerce
- Premmerce WooCommerce Brands
- Premmerce WooCommerce Product Filter
- Premmerce WooCommerce Toolkit
- Premmerce WooCommerce Product Bundles
- Premmerce WooCommerce Wishlist
- WooCommerce Product Search
- WooCommerce Customers Manager
- WooCommerce Permalink Manager
- WooCommerce SEO Addon
- WooCommerce Currency Switcher
Installation
A free version of SalesZone can be downloaded and installed from the official WordPress theme directory.
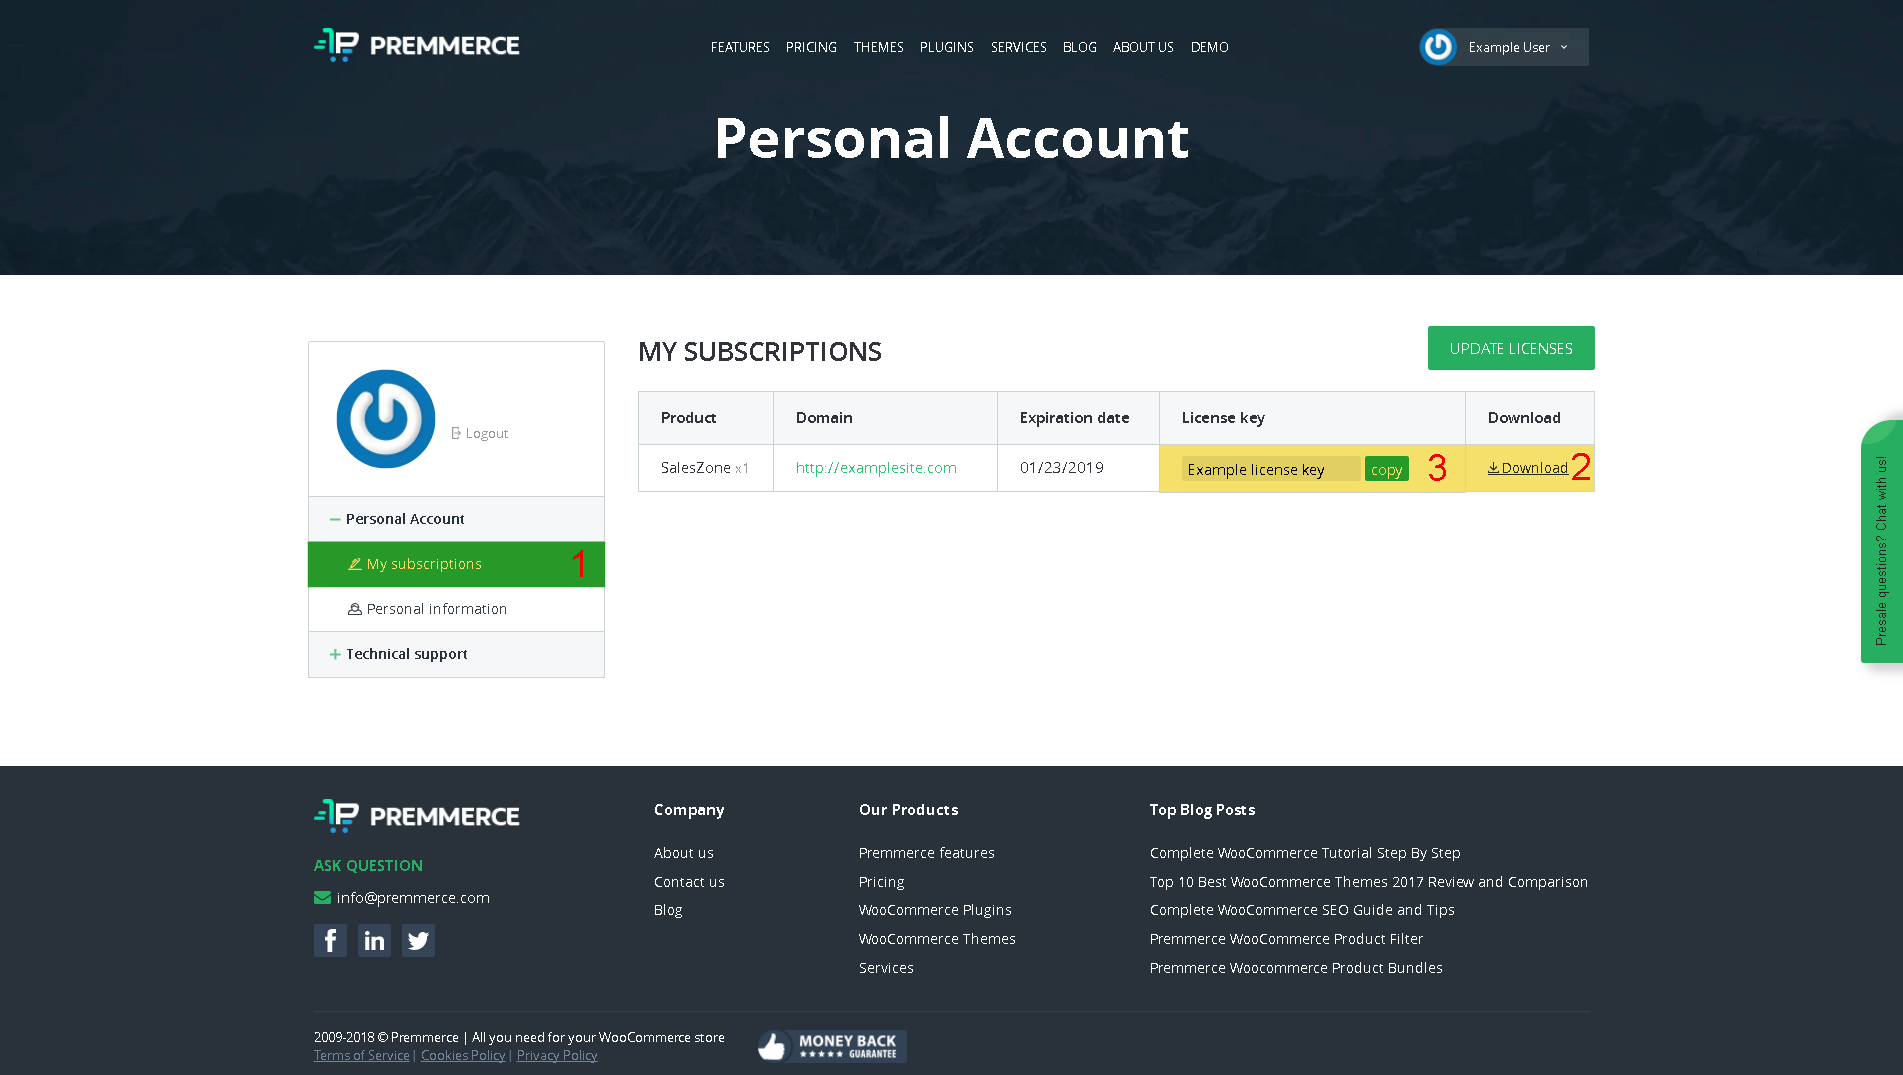
After buying a license on the official website, the license key will appear in the ‘My subscriptions’ tab of your personal account and you’ll get the possibility to download the SalesZone theme archive.
The steps for the theme installation:
Step 1: Download the theme archive by clicking ‘Download’.
Step 2: Copy the license key.
Step 3. Open the dashboard of your site.
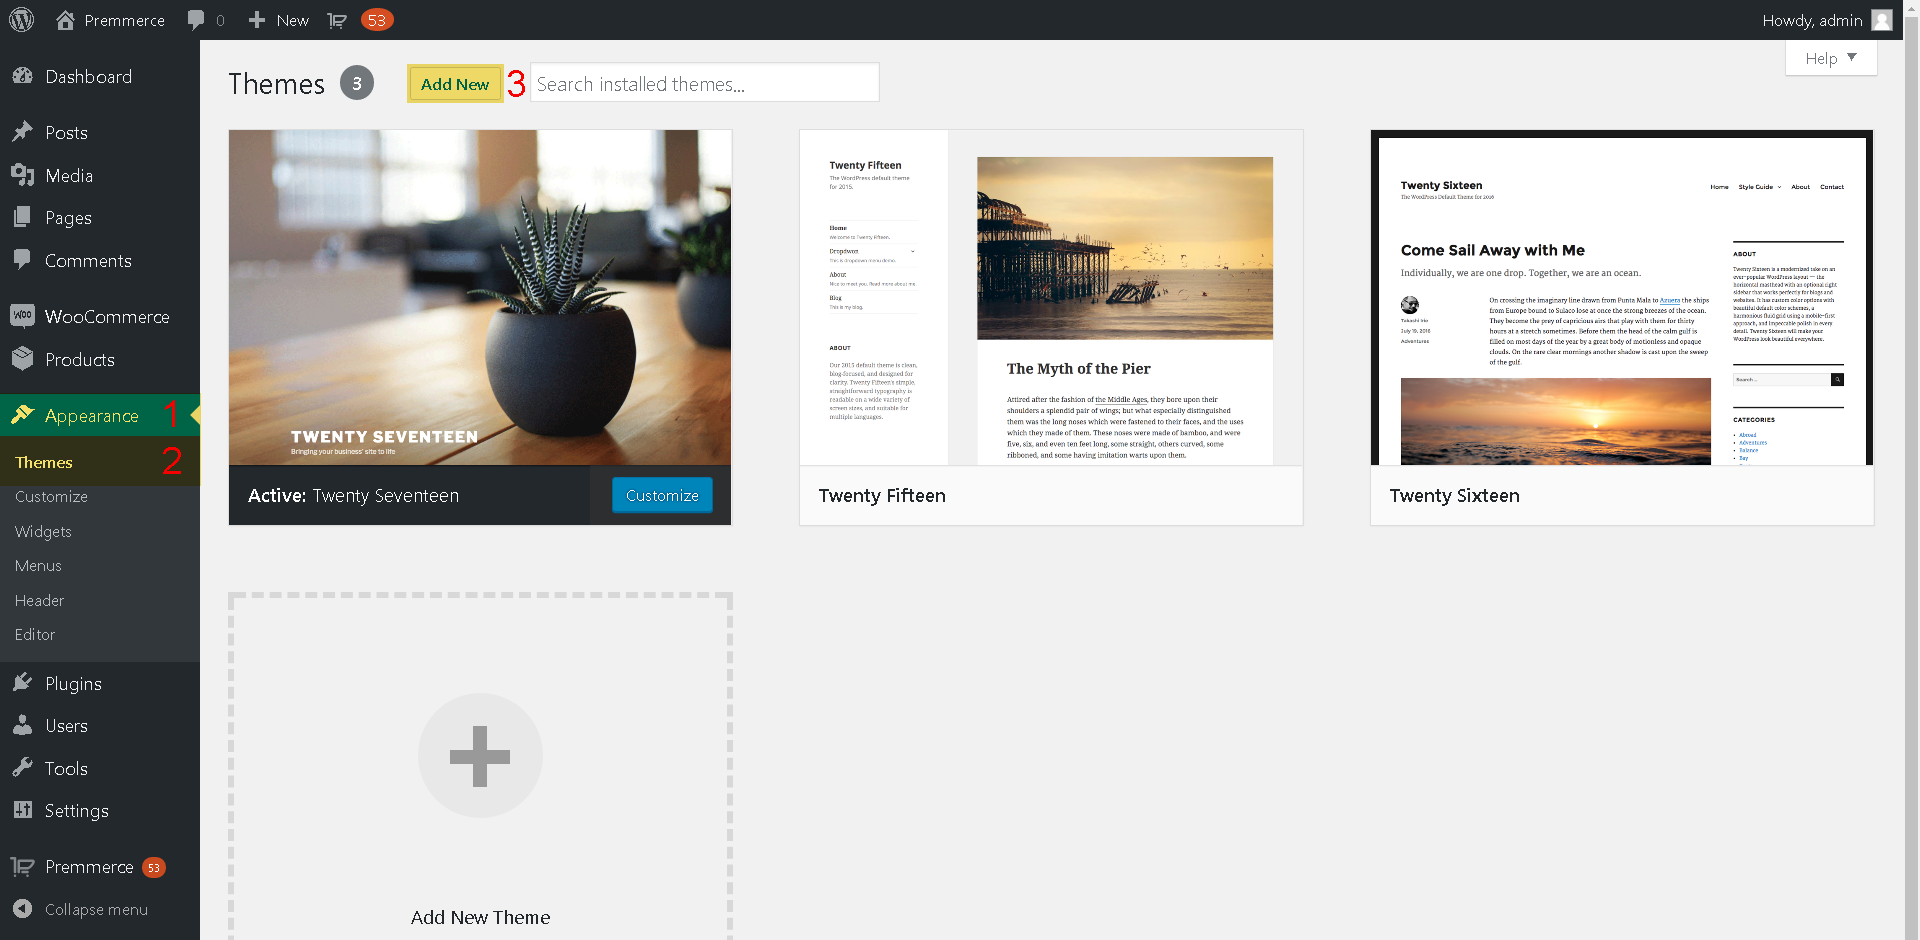
Step 4: Go to ‘Appearance’ > ‘Themes’ > Click ‘Add New’.
Step 5: Click the ‘Upload Theme’ button > ‘Choose File’ > Select the downloaded theme archive.
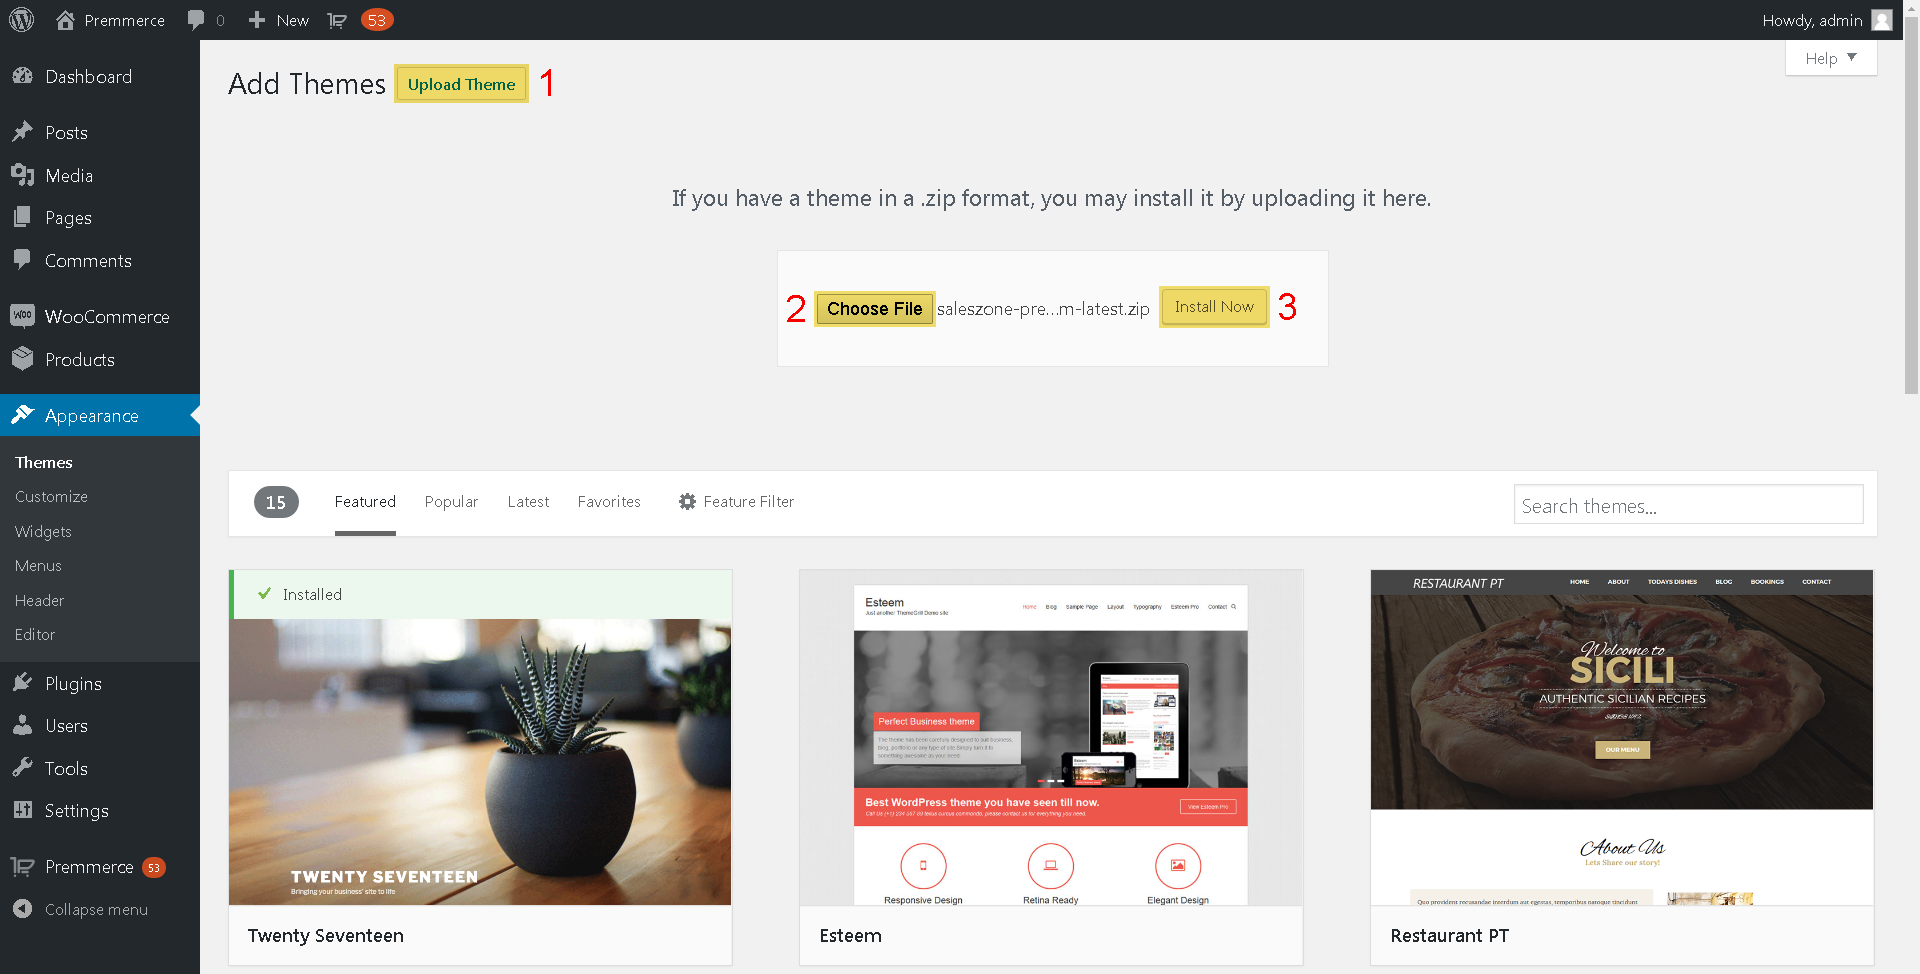
Step 6: Click ‘Install Now’.
Step 7: Click ‘Activate’.
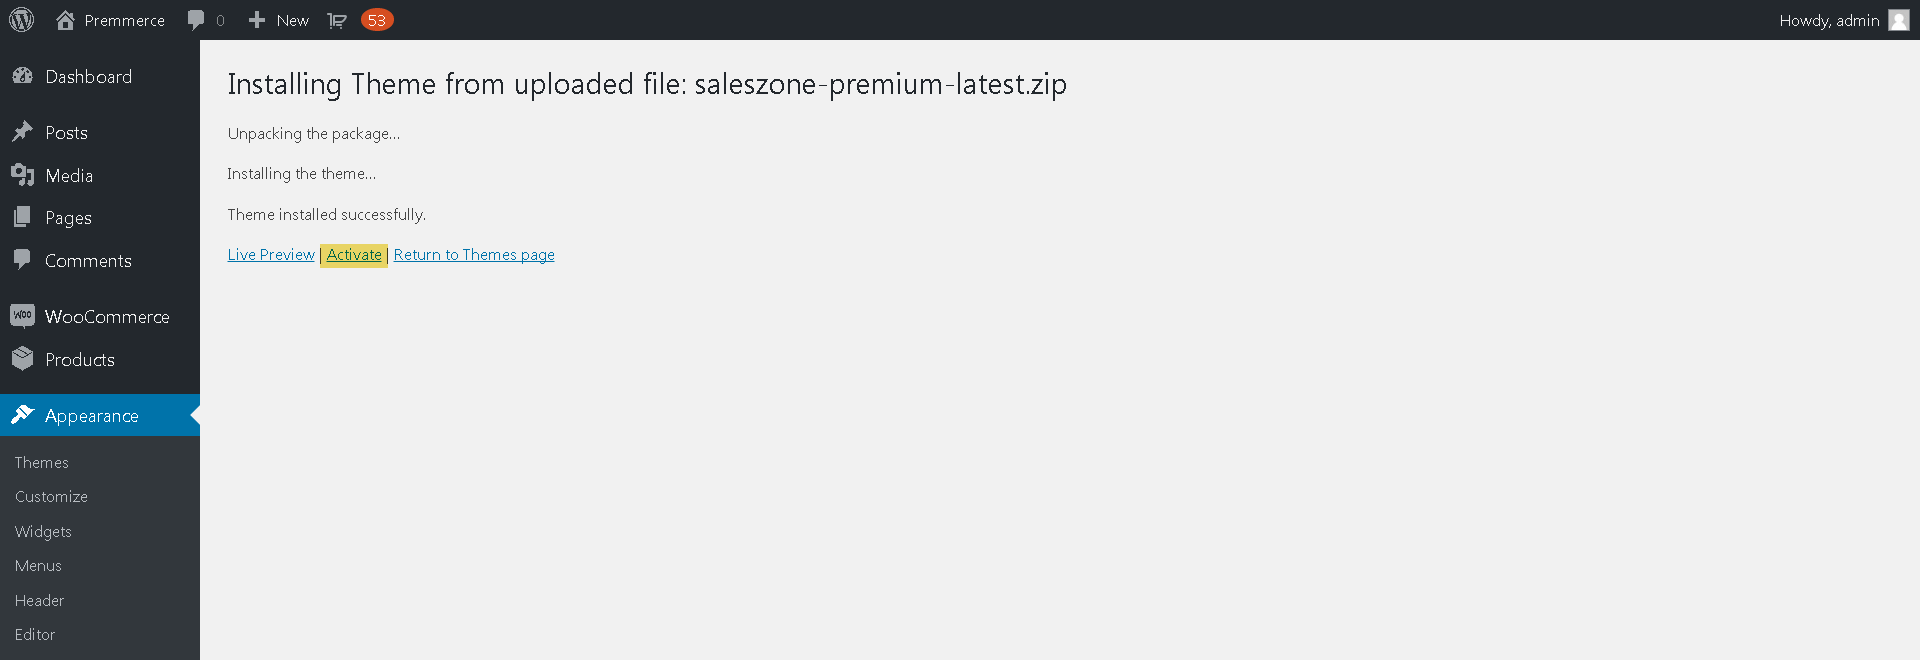
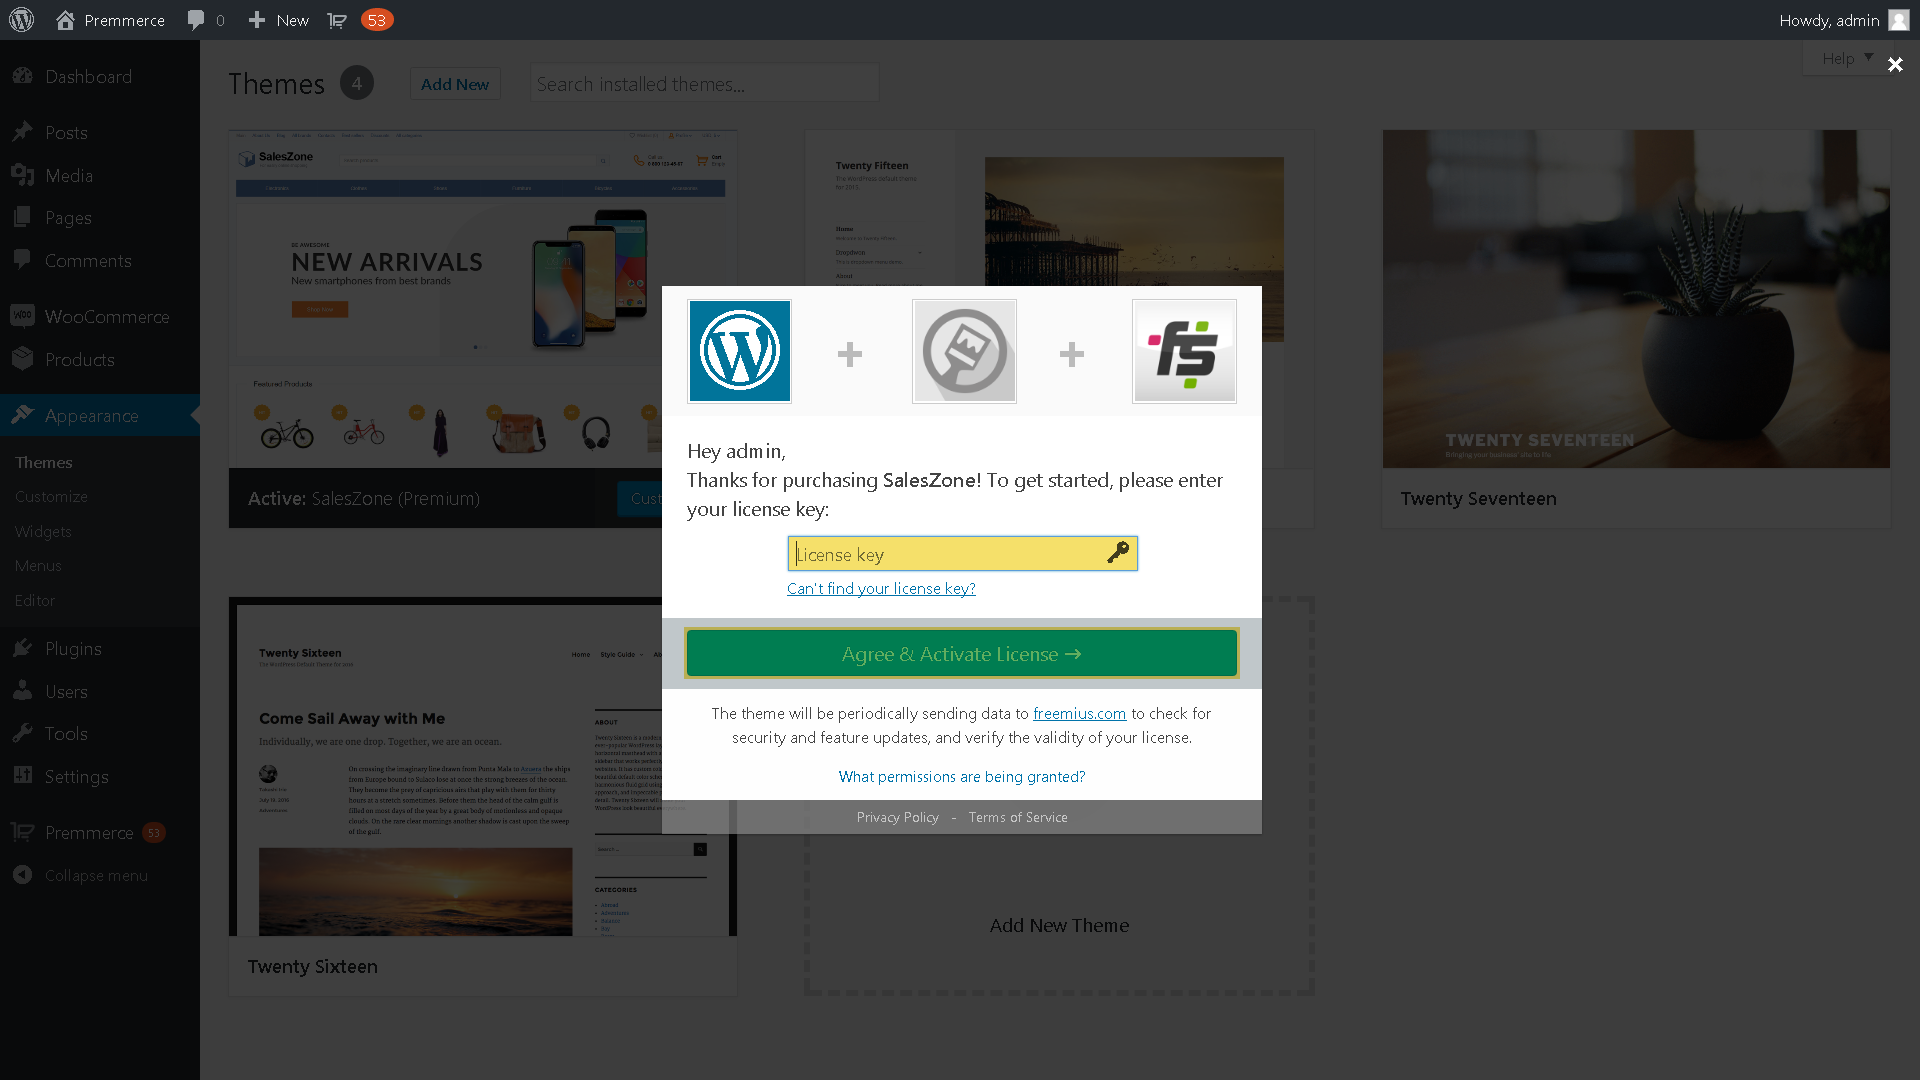
Step 8: Paste the license key that has been copied in step 2 to the ‘License key’ field > Click ‘Agree & Activate License’.
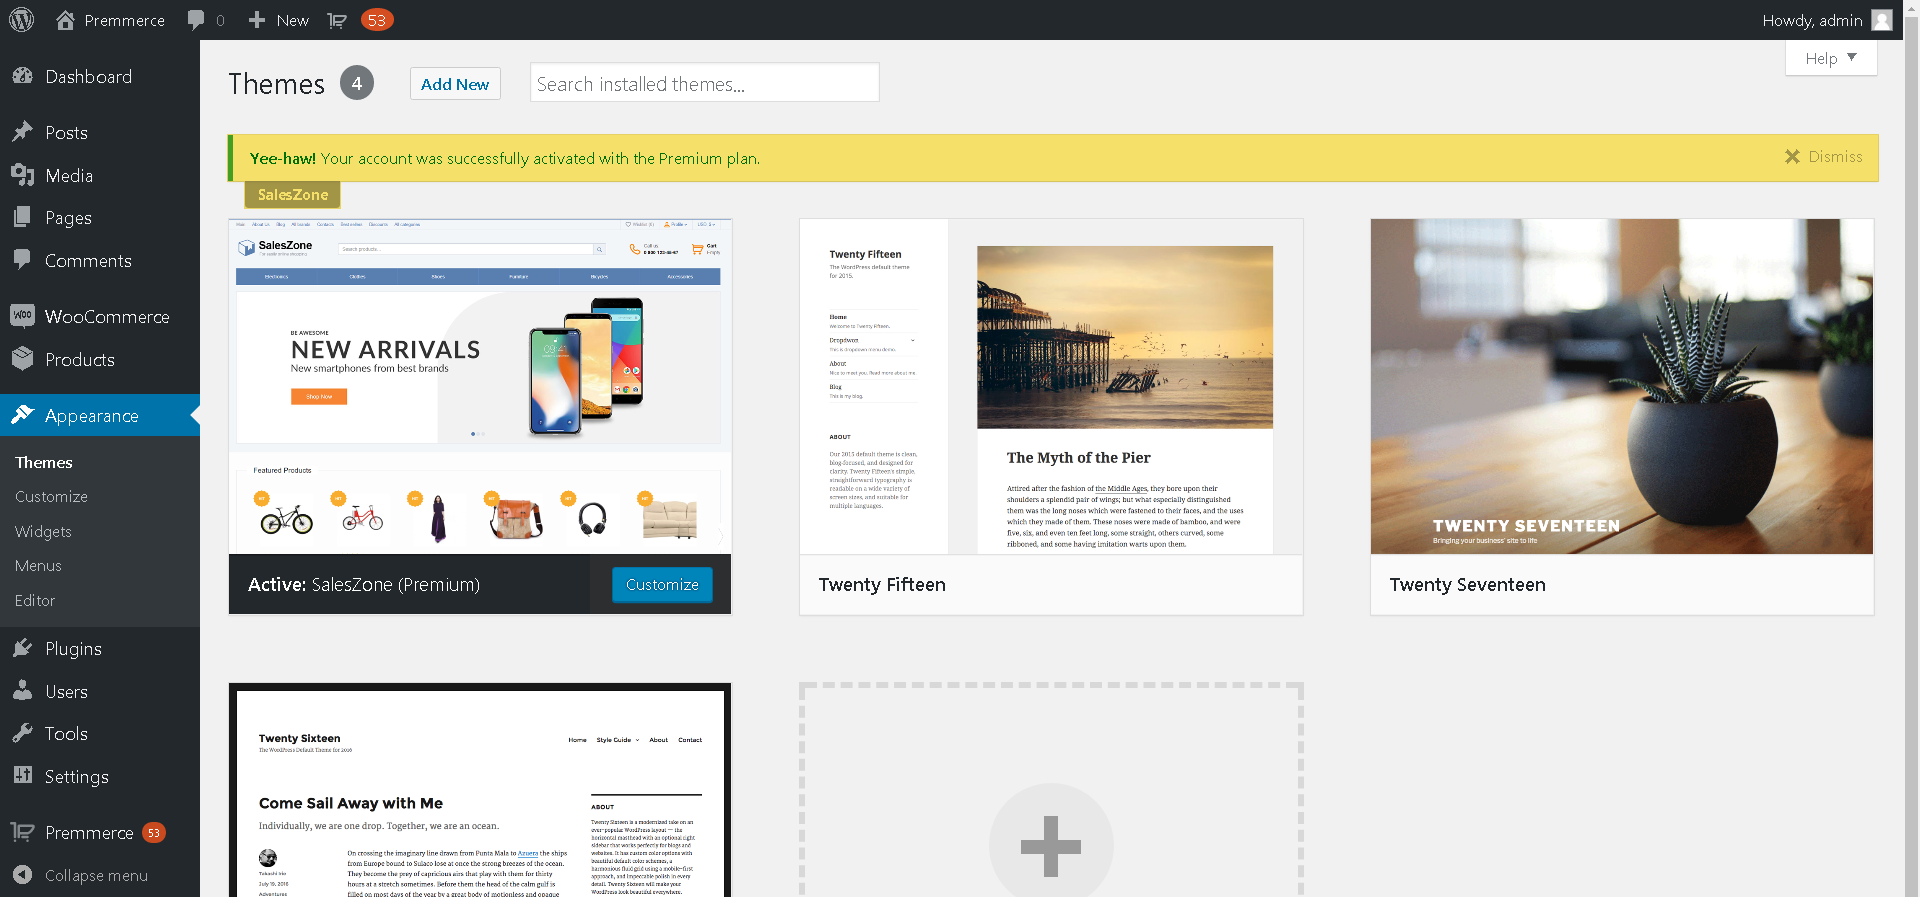
If the “Yee-haw! Your account was successfully activated with the Premium plan.” notice appeared, you’d done everything correctly.
Installing the Сhild Themes (available in Premium only)
After buying SalesZone Theme, you’ll be able to access both the main theme and a set of child themes, which we constantly replenish.
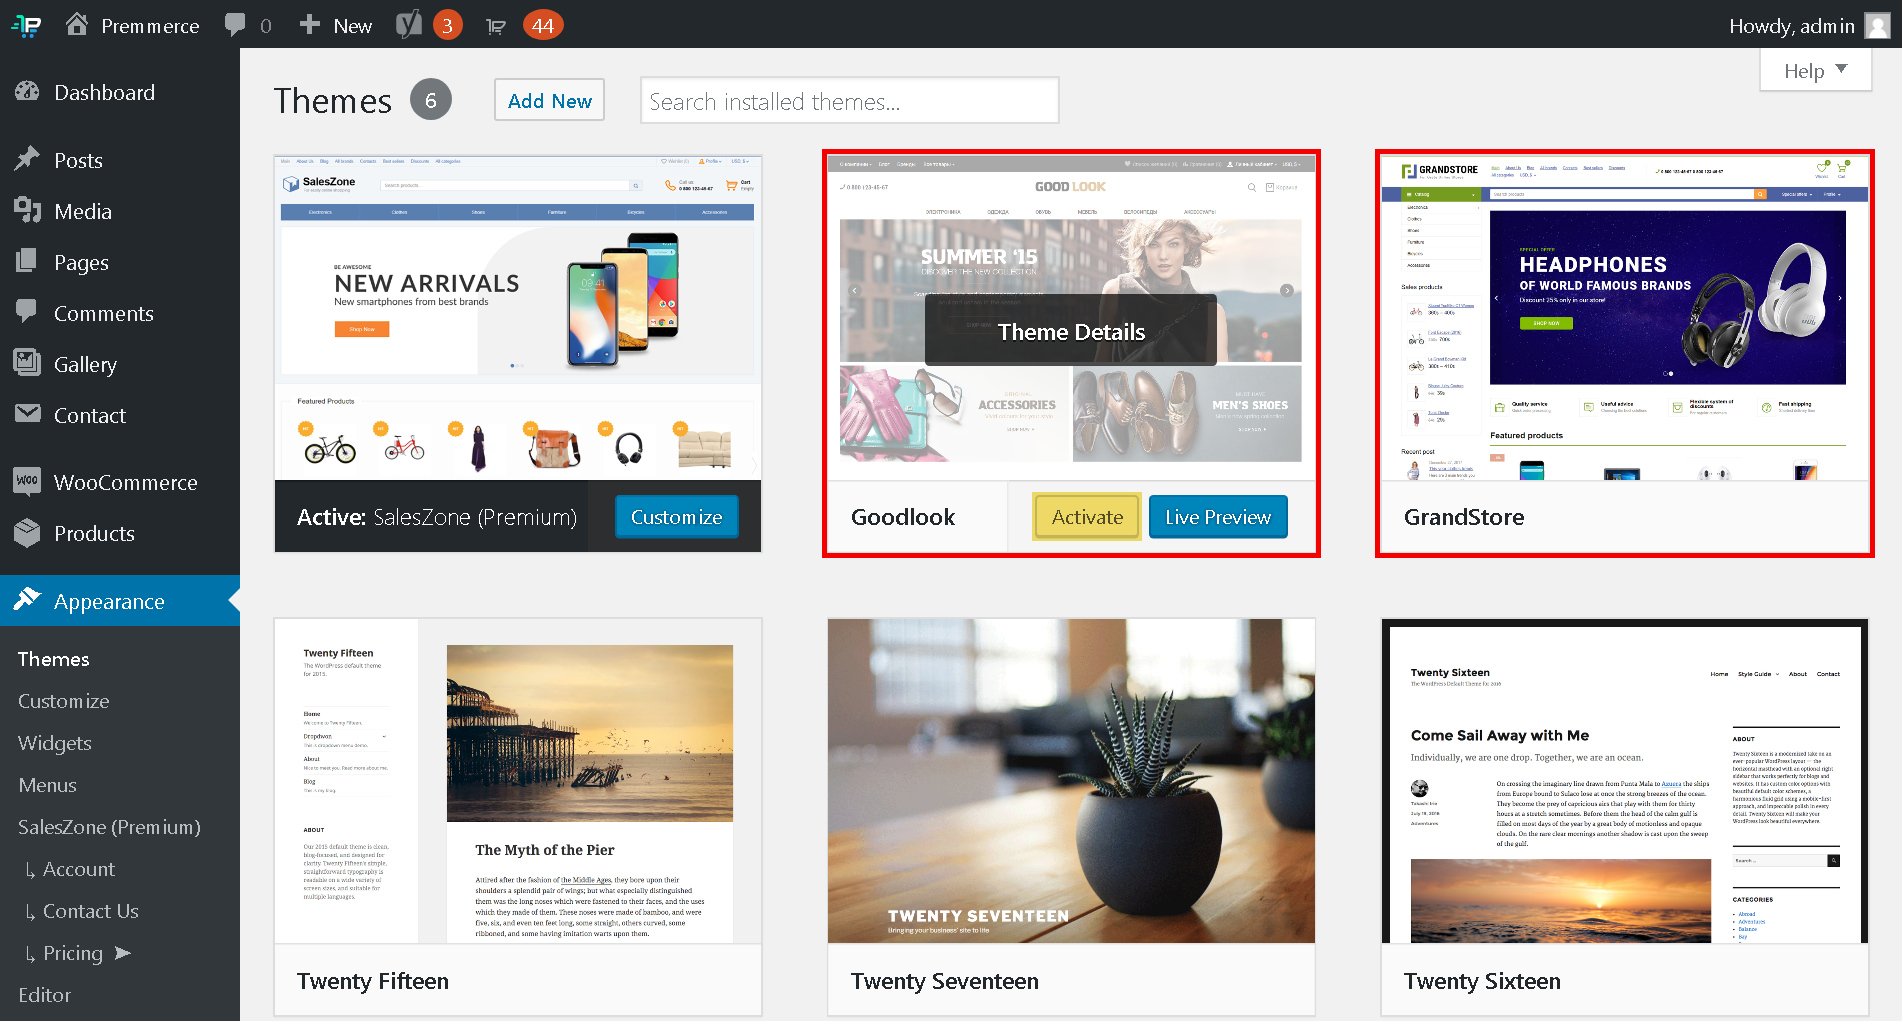
To activate a child theme, for example GrandStore, you must install and activate Premmerce or Premmerce Premium.
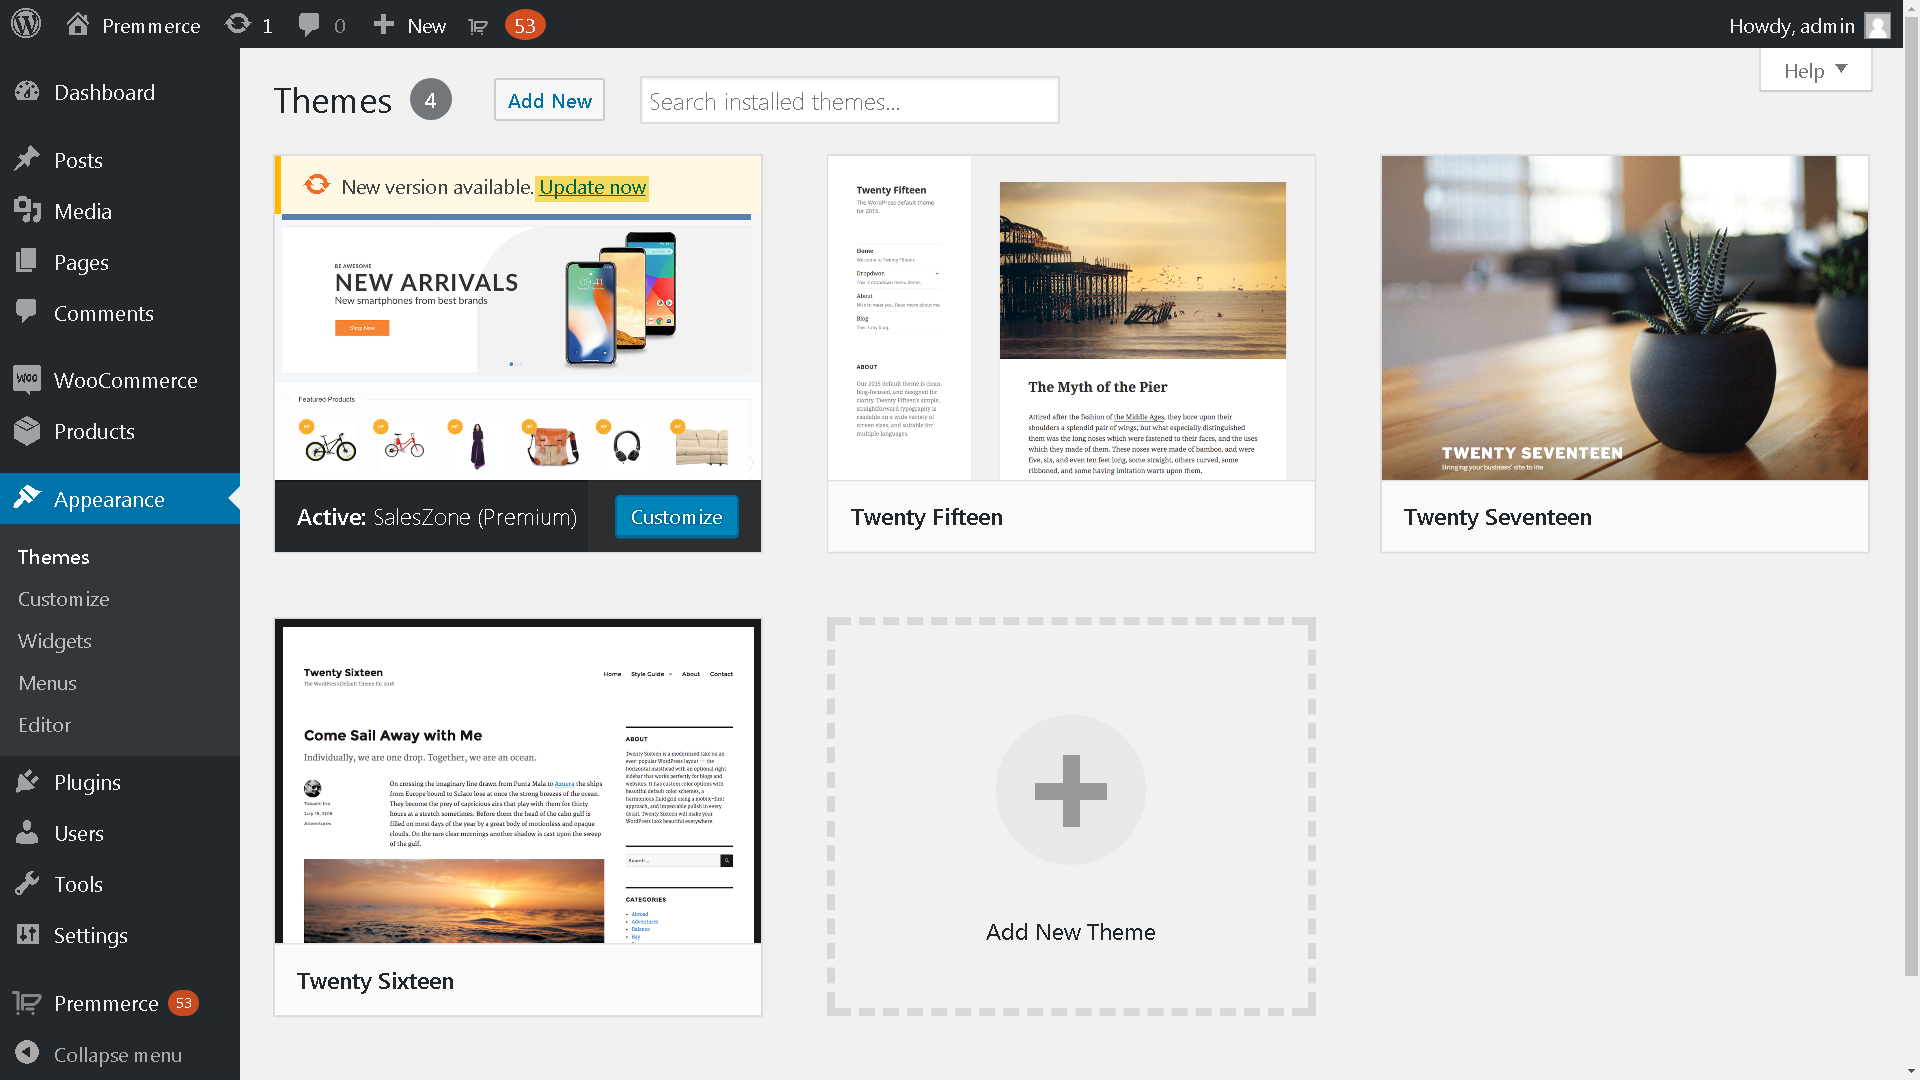
After the successful activation of one of the Premmerce plugin versions, the child themes will become available on the Themes page:
Updating the Theme
Now notifications about new updates will be permanently available for you on the WordPress updates panel. All you need to do is to keep track of new features to update your themes.
Important! If you use a child theme, for example GrandStore, you still need to update SalesZone theme to get all the latest developments for your online store.
You can also check for updates and update it in the following way:
Step 1: Go to Dashboard > Appearance > Themes.
Step 2: Click ‘Update now’ to update the SalesZone new version.
Importing Demo Data
We’ve prepared a tool for installing demo data so that your newly created online store looks like our demos. Plus, it simplifies the process of further store customization.
If you create an online store from scratch, and don’t install a theme on an existing store, we highly recommend that you import the demo data before you start.
Attention: Importing demo data will remove all posts, products, attributes, brands, bundles from your site.
Important! At first you need to install the following plugins for correct displaying of all demo data:
- MetaSlider
- Premmerce WooCommerce Brands
- Premmerce WooCommerce Product Bundles
- Premmerce WooCommerce Product Filter
- Contact Form 7
Step-by-step installation of demo data:
Step 1: Choose Dashboard > Appearance > SalesZone (or instead of SalesZone, the name of a child theme that you you’re planning to use) > Install demo data.
Step 2: Choose the language of demo data.
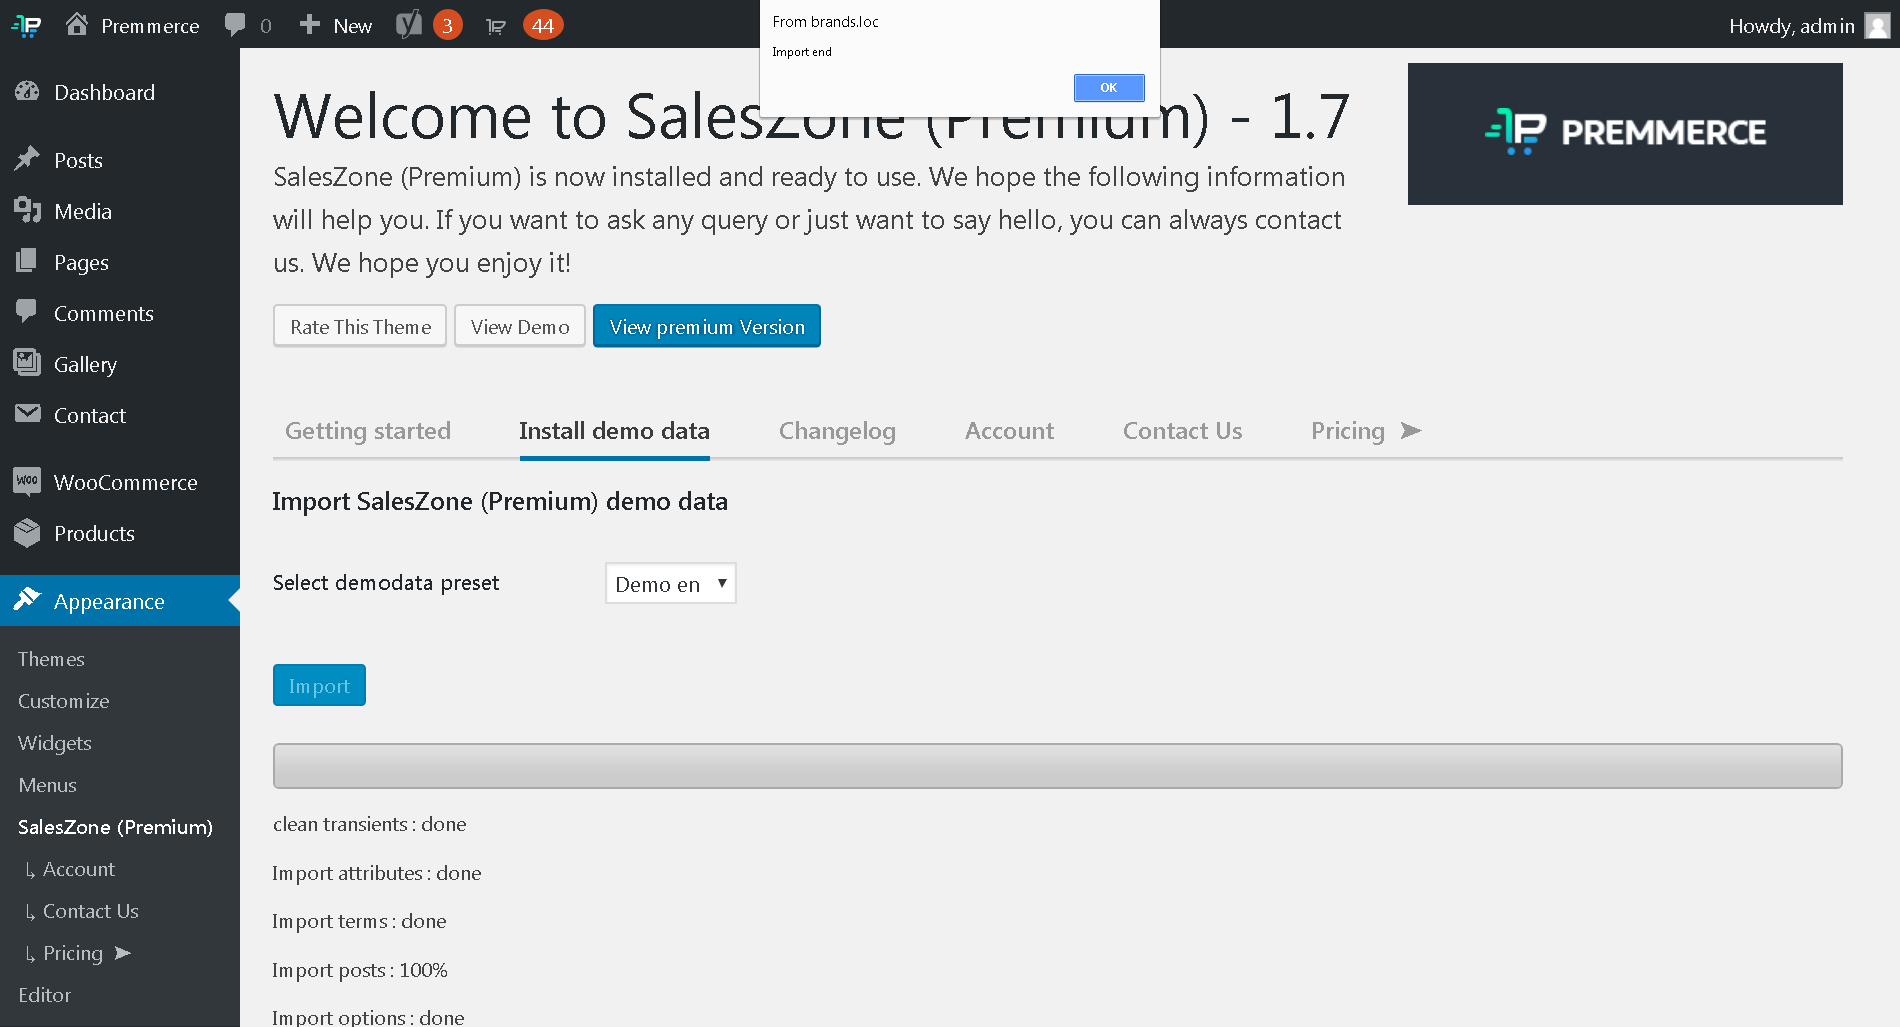
Step 3: Click the ‘Import’ button.
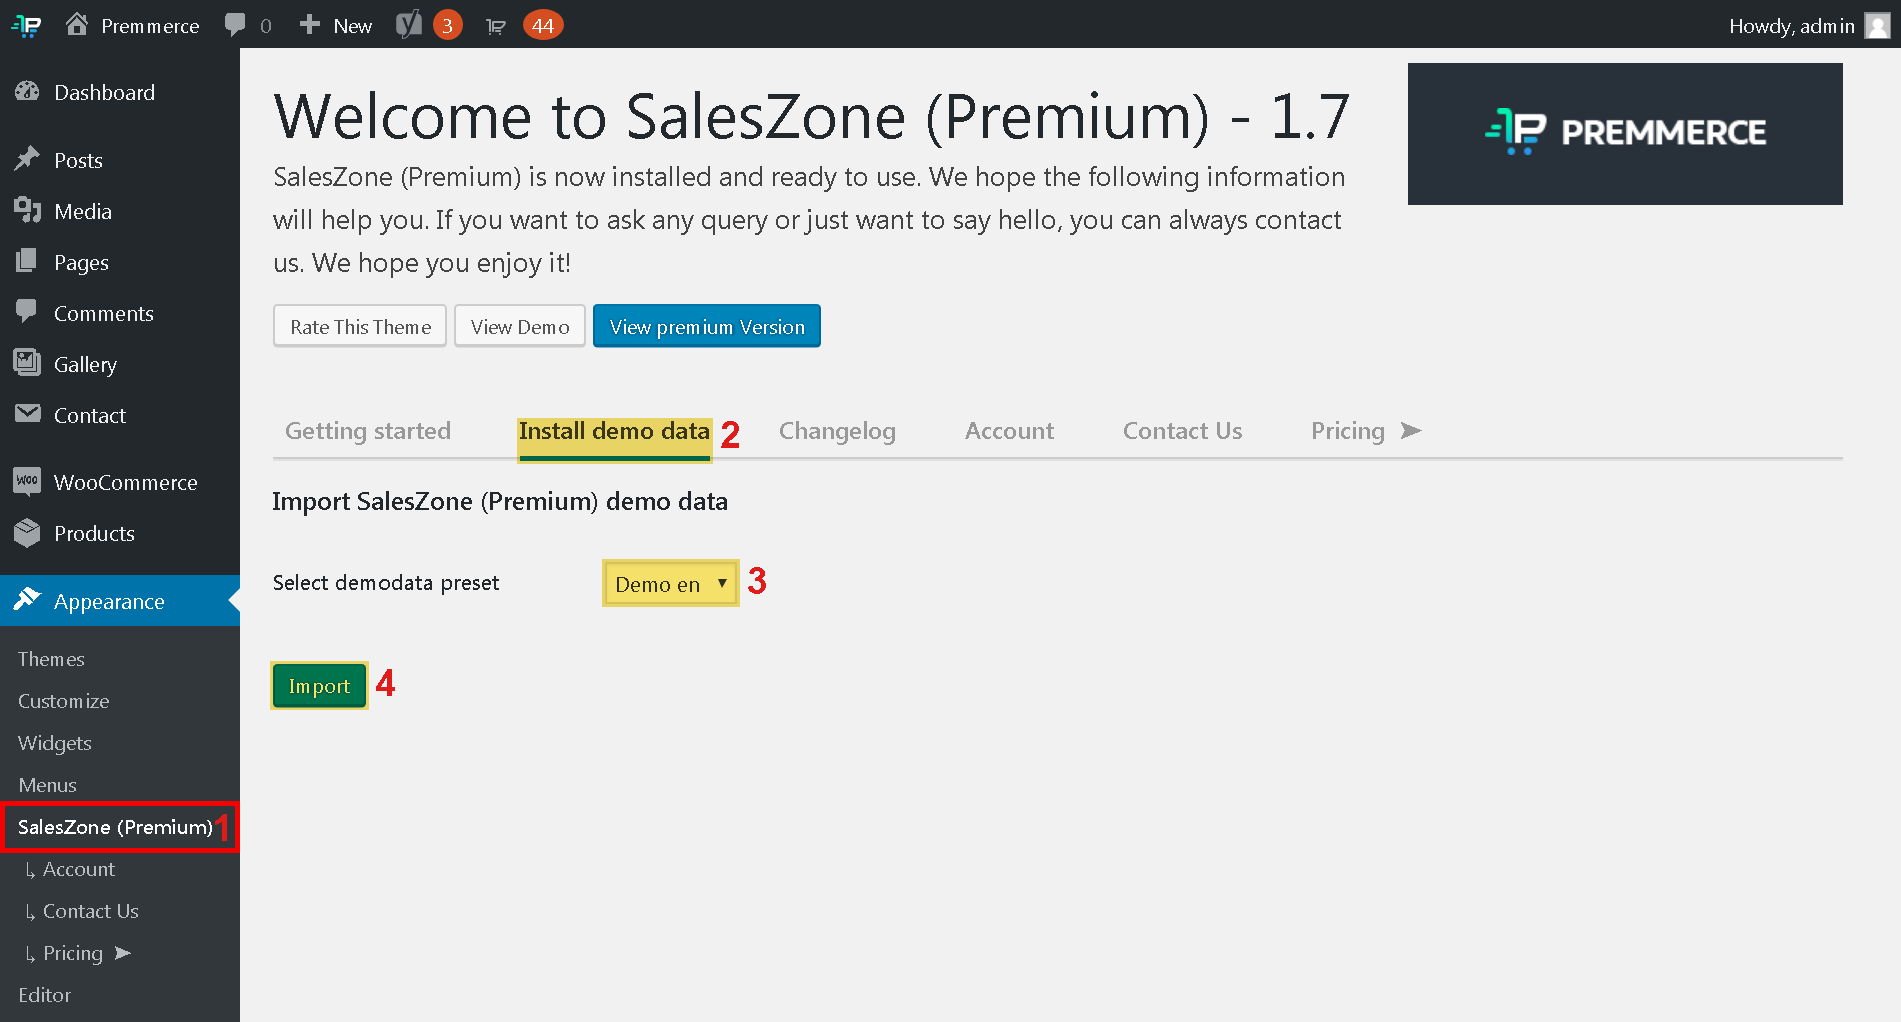
Step 4: Wait until all data will be imported.
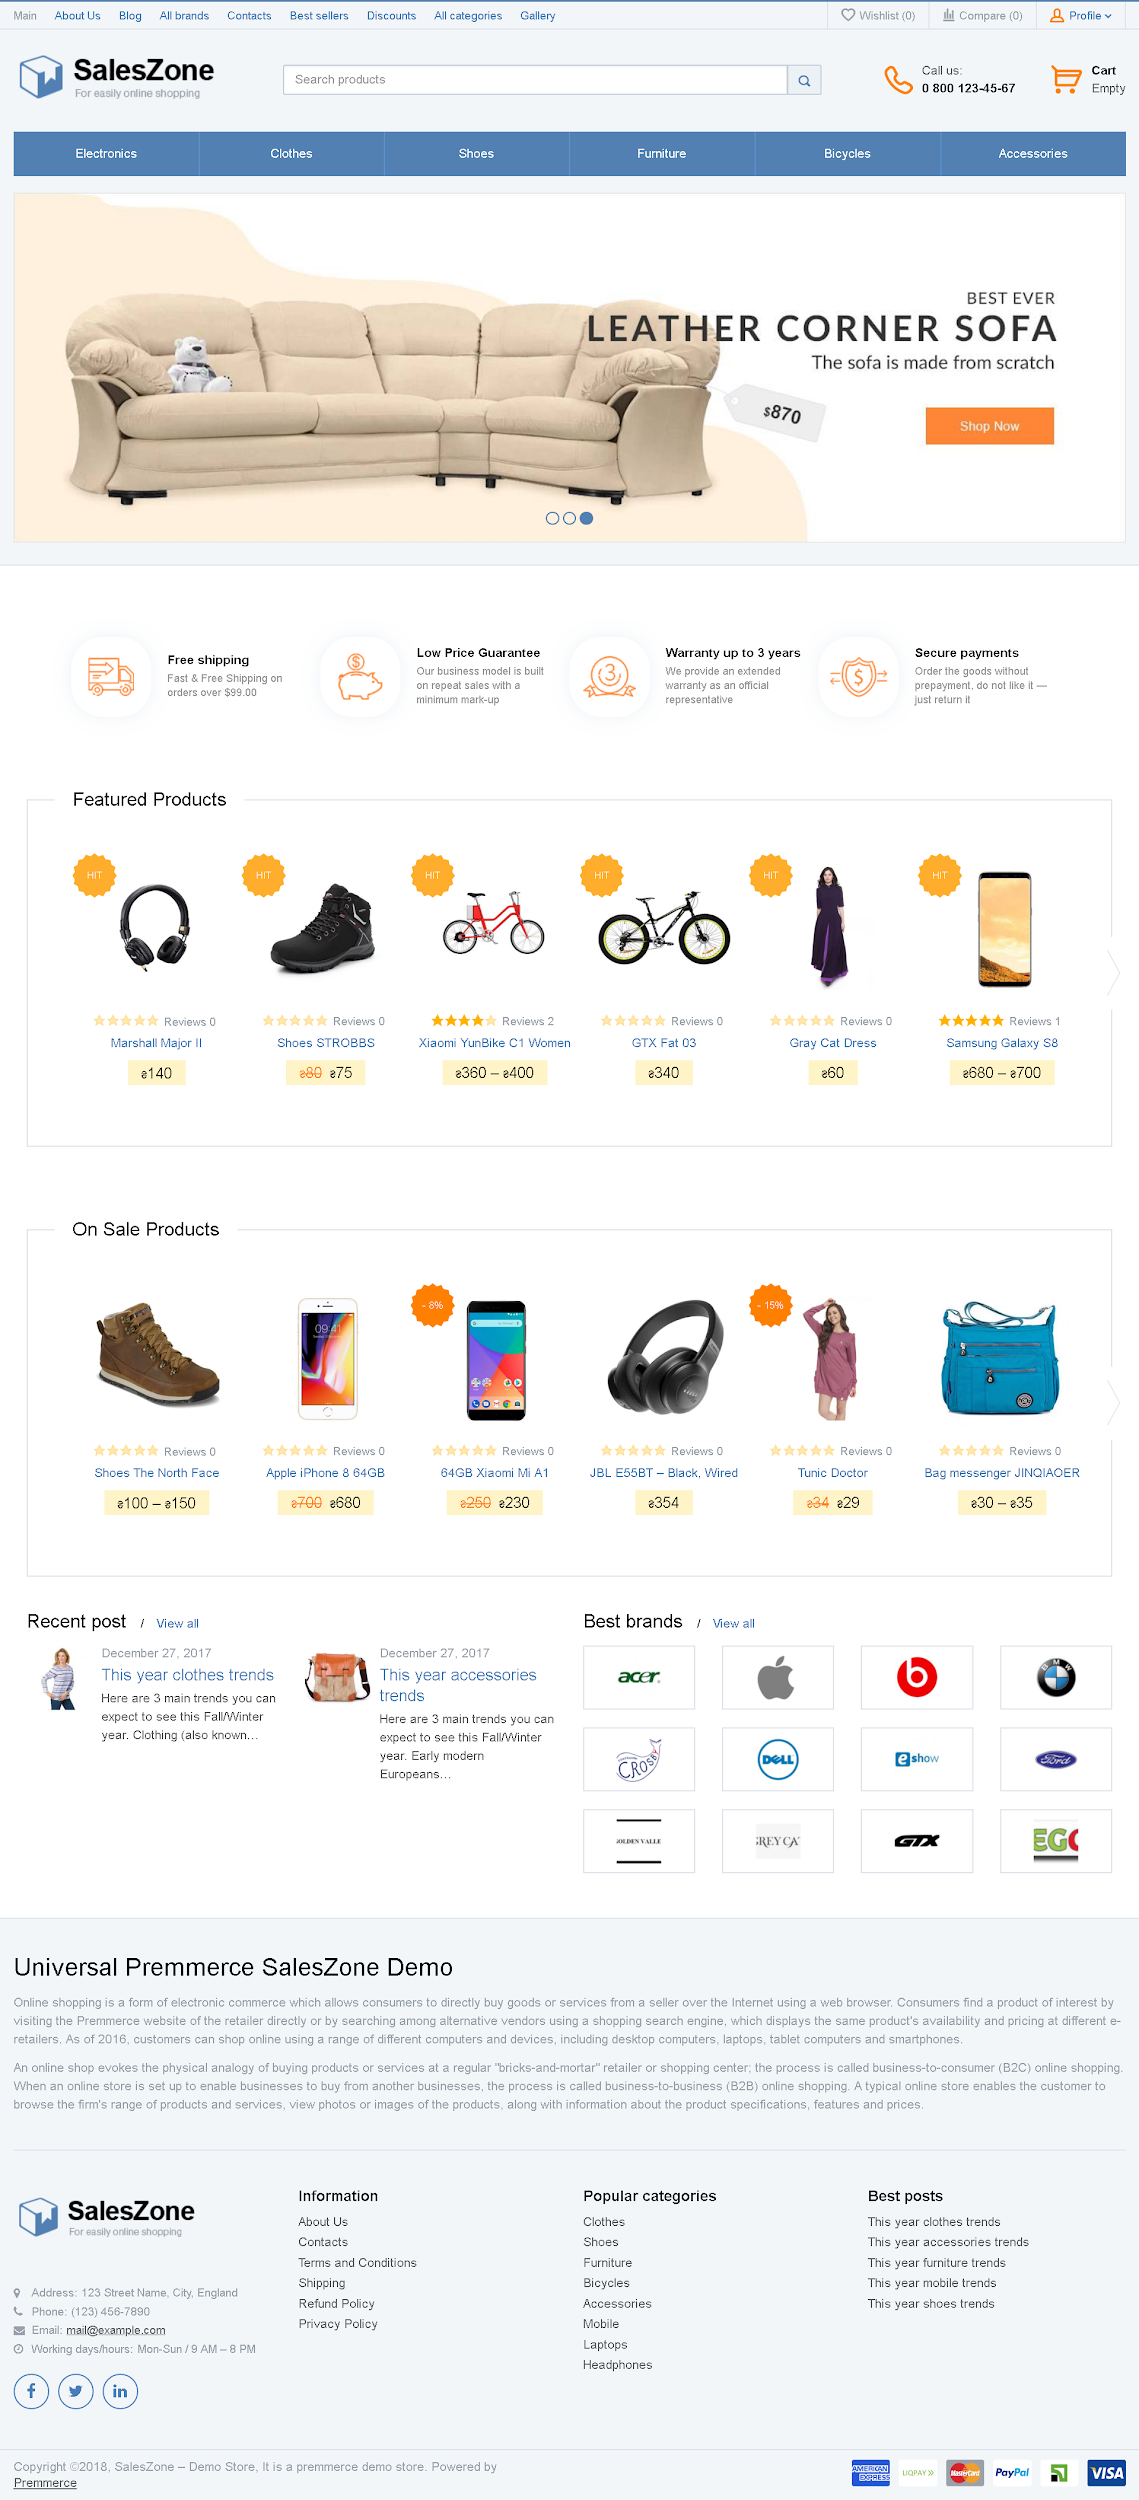
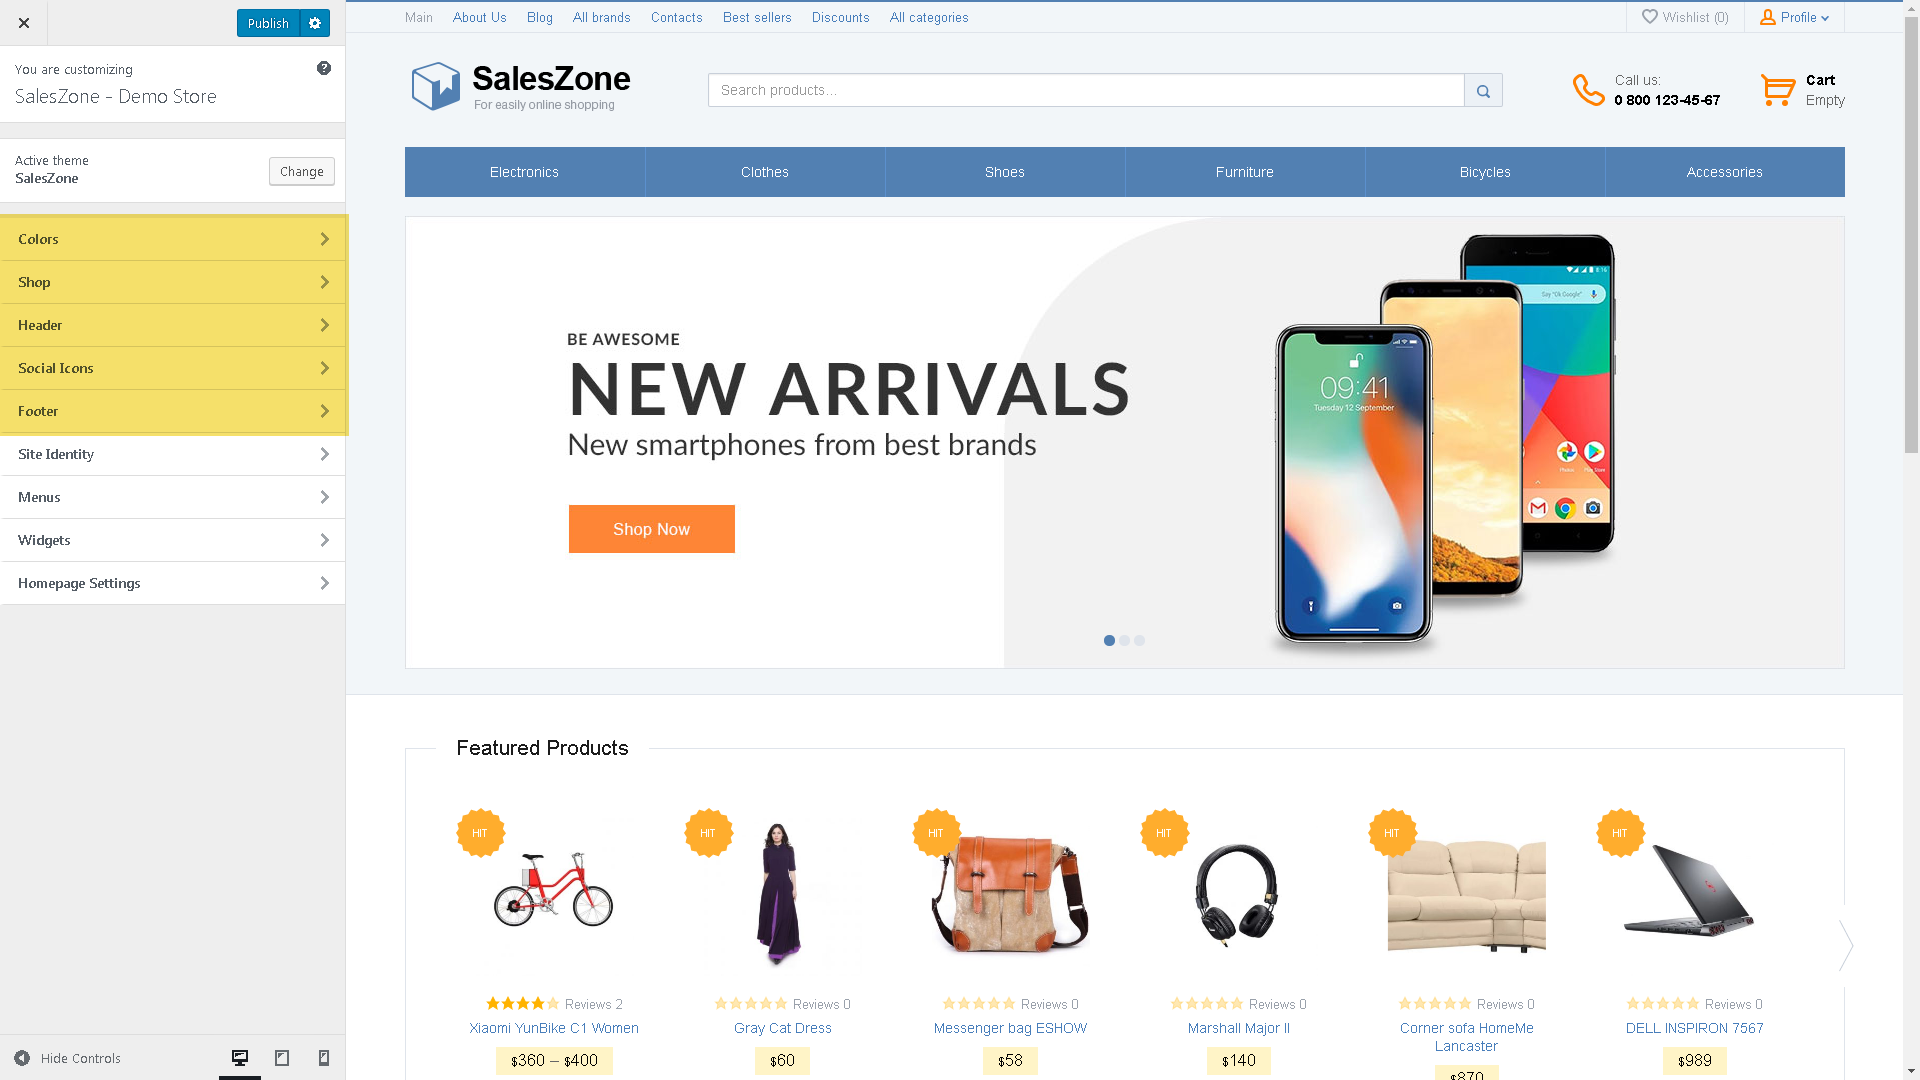
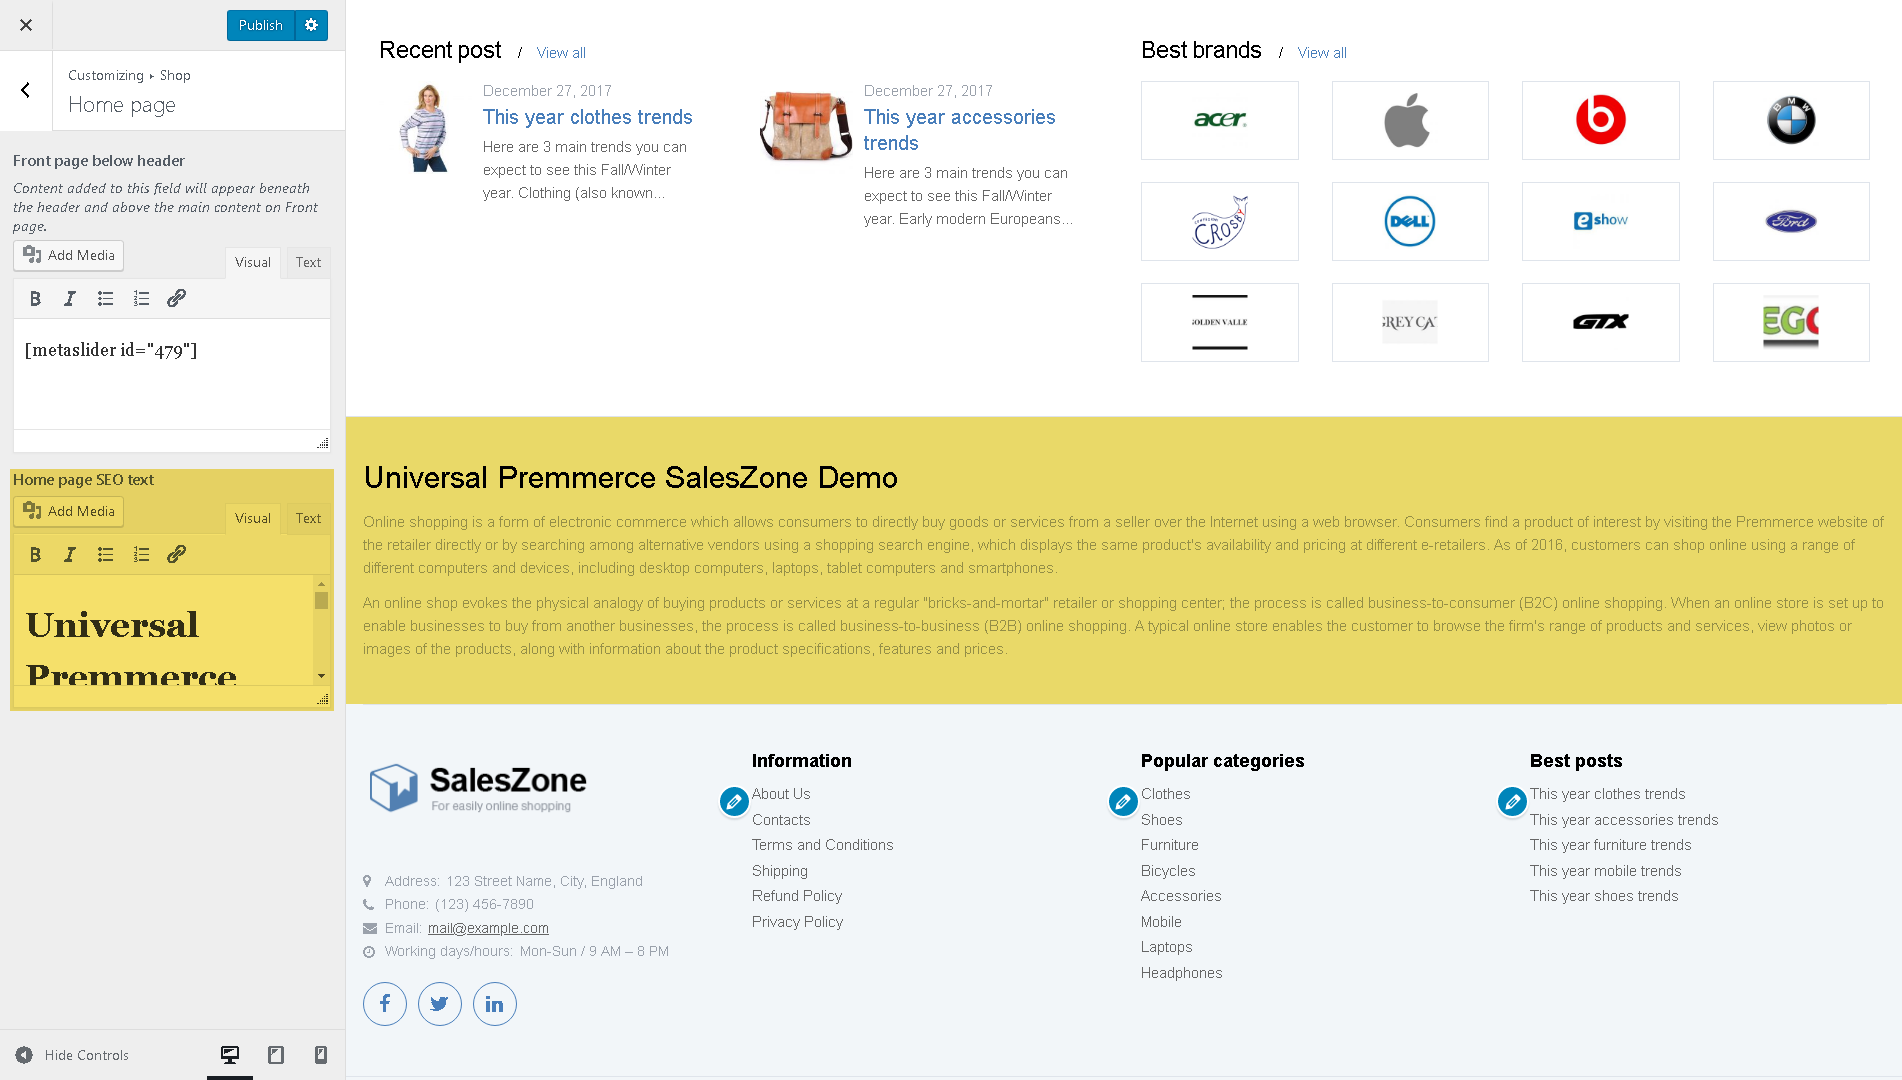
The Homepage view after importing demo data in English:
Store Settings
In this guide we’ll describe in detail setting up the online store appearance using the SalesZone Theme or its child themes built-in tools. But it is also important to make all the basic settings for the correct operation of your store.
In order to make the necessary settings, please, read our Step by Step Woocommerce Tutorial or use the Setup Wizard built in the Premmerce Plugin.
Theme Customization via LiveCustomizer
LiveCustomizer is a tool designed by the team of WordPress developers for flexible themes appearance customization. You can view instantly all the changes made by this tool, and if you like them you can apply them to your site.
The standard set of tools for LiveCustomizer in WordPress and WooCommerce themes is limited to several tools.In contrast, the SalesZone theme contains a large number of tools for customizing the appearance, managing various settings for displaying the content.
The LiveCustomizer features are the same both for SalesZone and its child themes.
In this section, we’ll describe in detail all the features that you can apply to your store using this powerful tool.
The standard set of WordPress and WooCommerce tools has the following tabs:
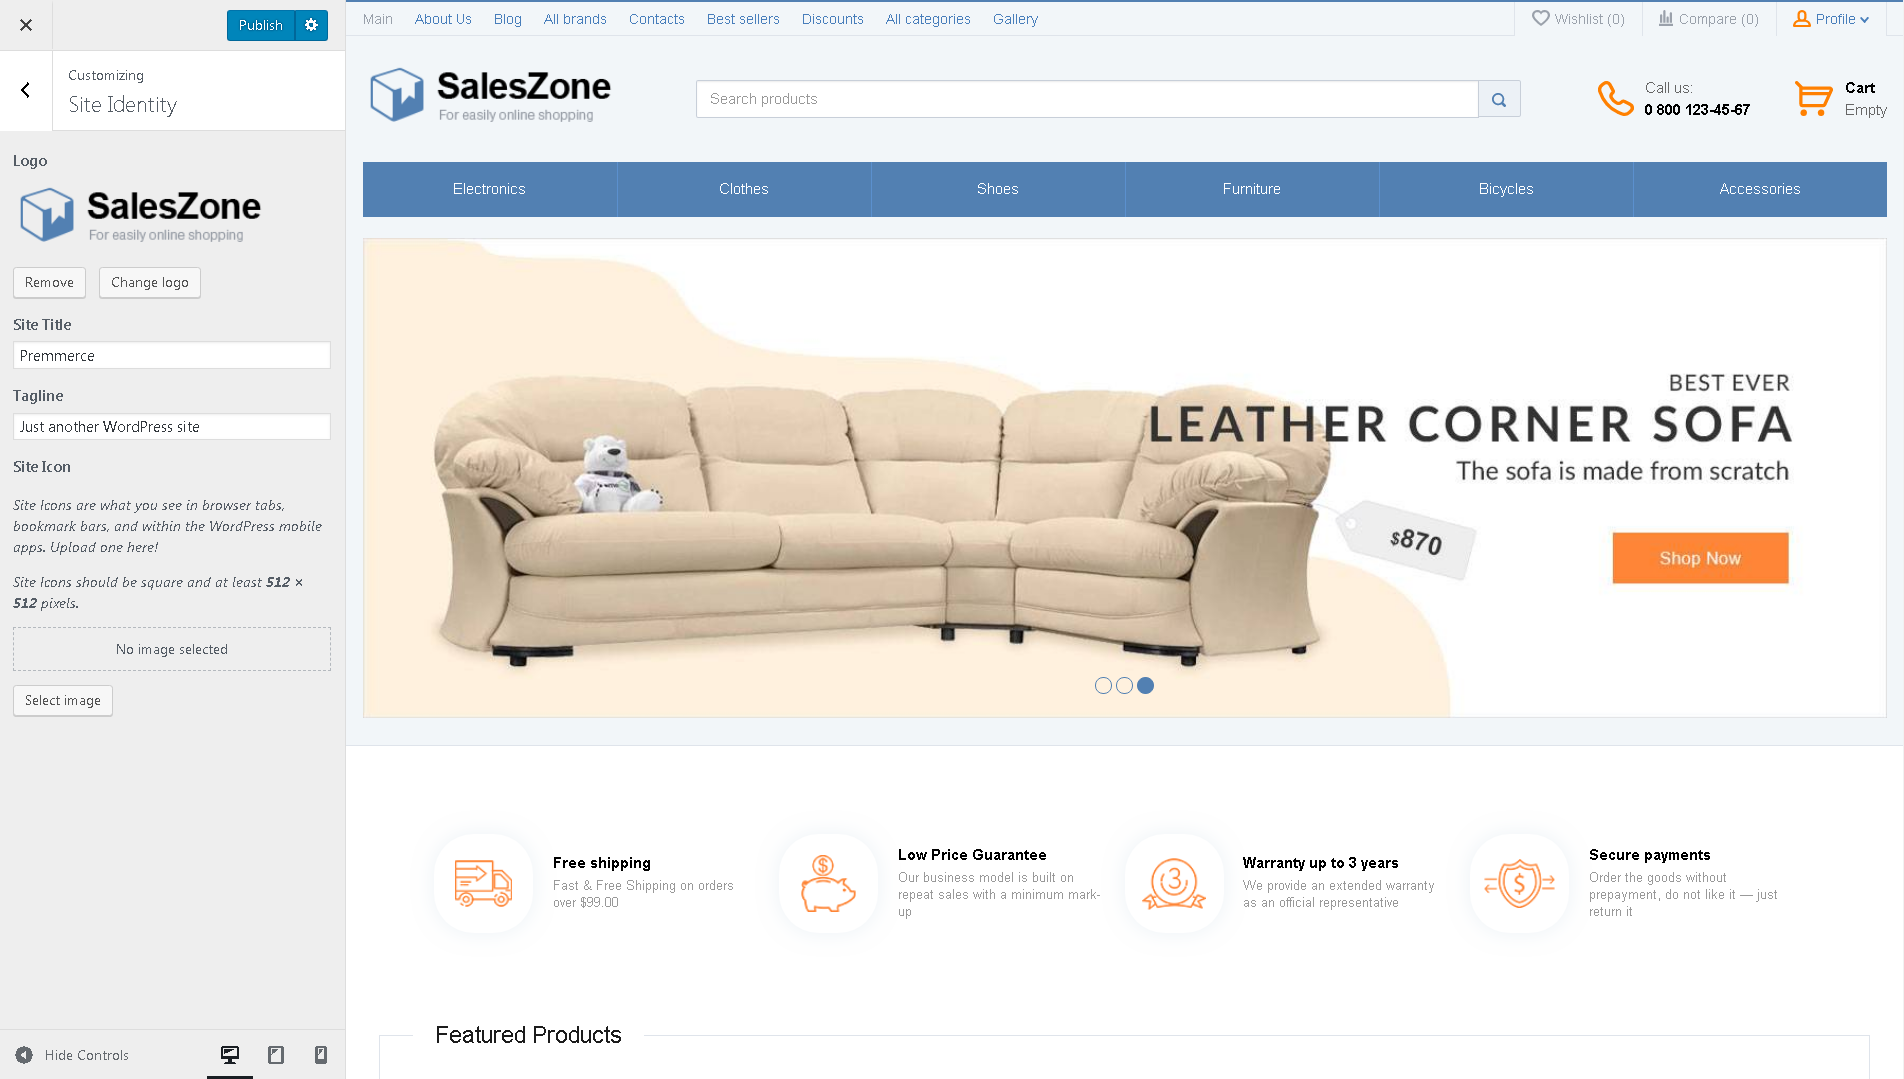
Site Identity – here you can set a site logo, name, short description, icon (favicon).
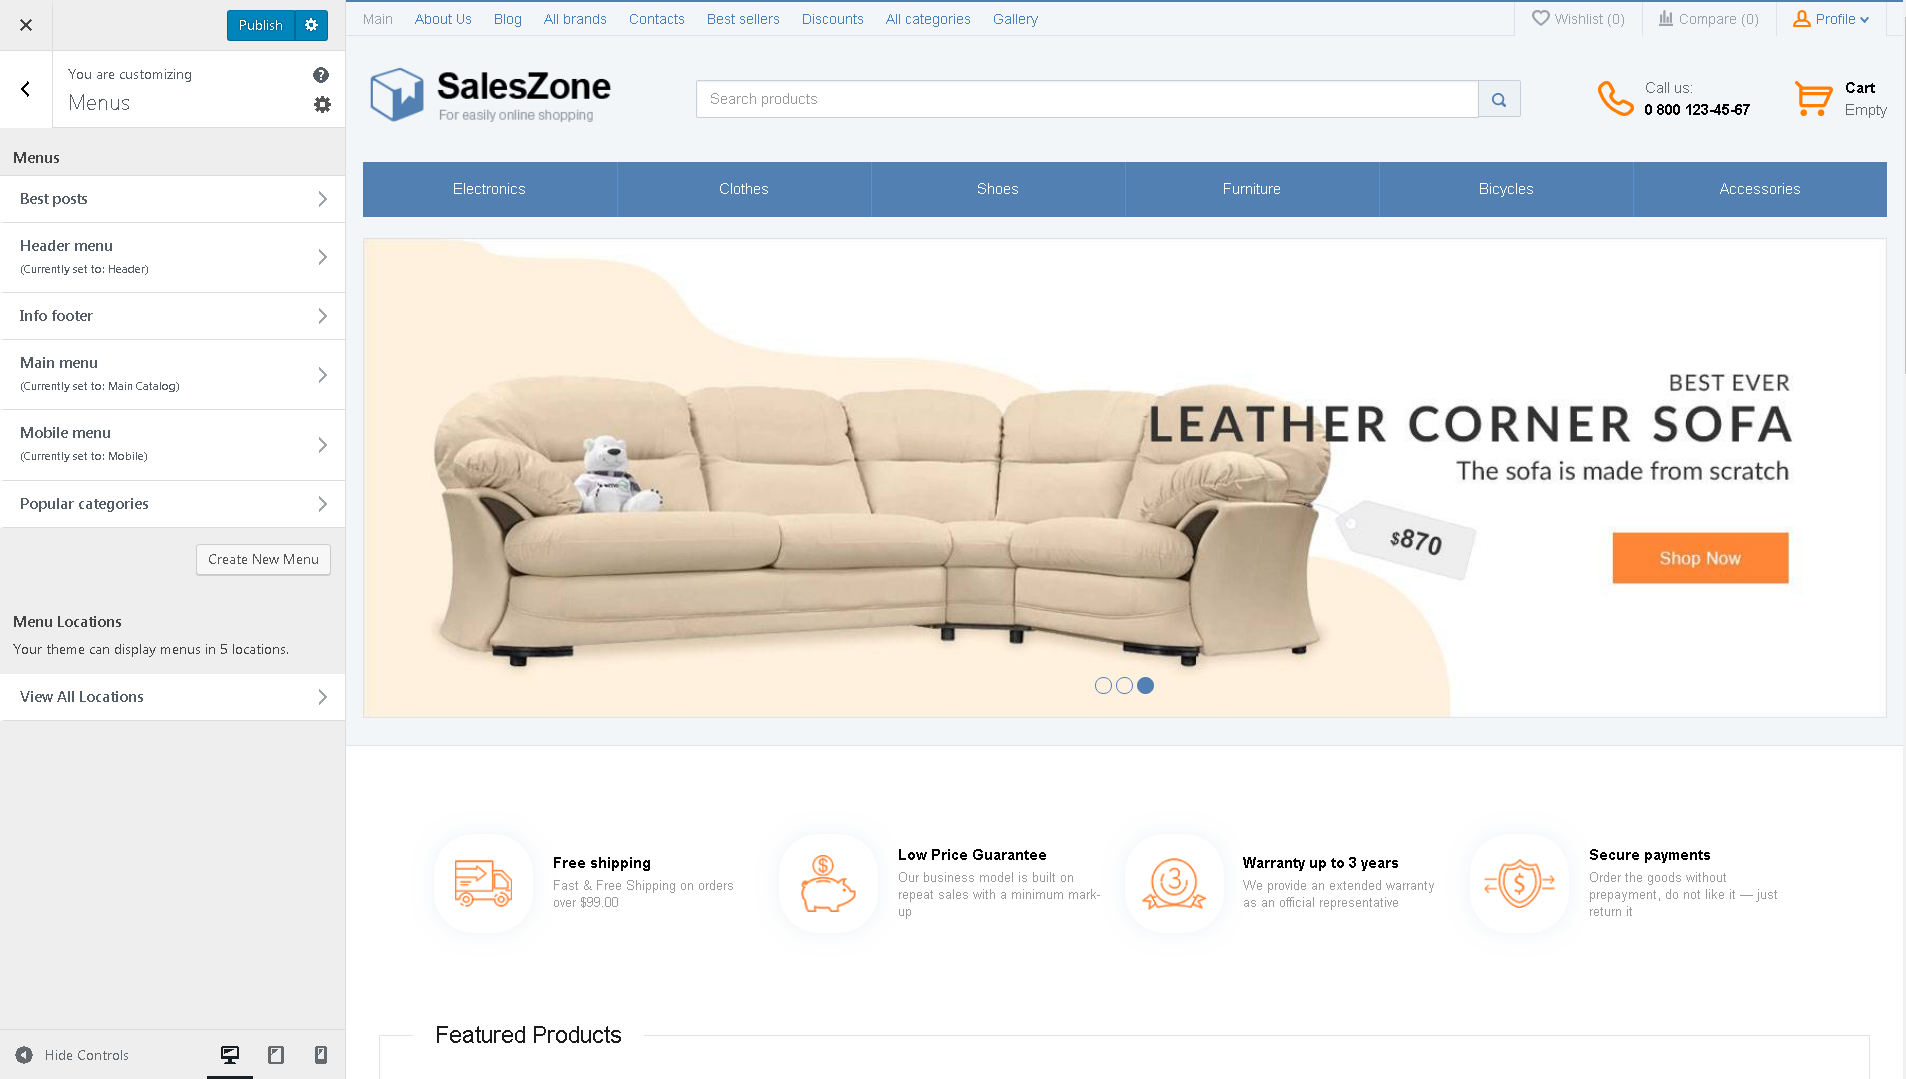
Menu – here the site menus are created and linked to the graphic display sections.
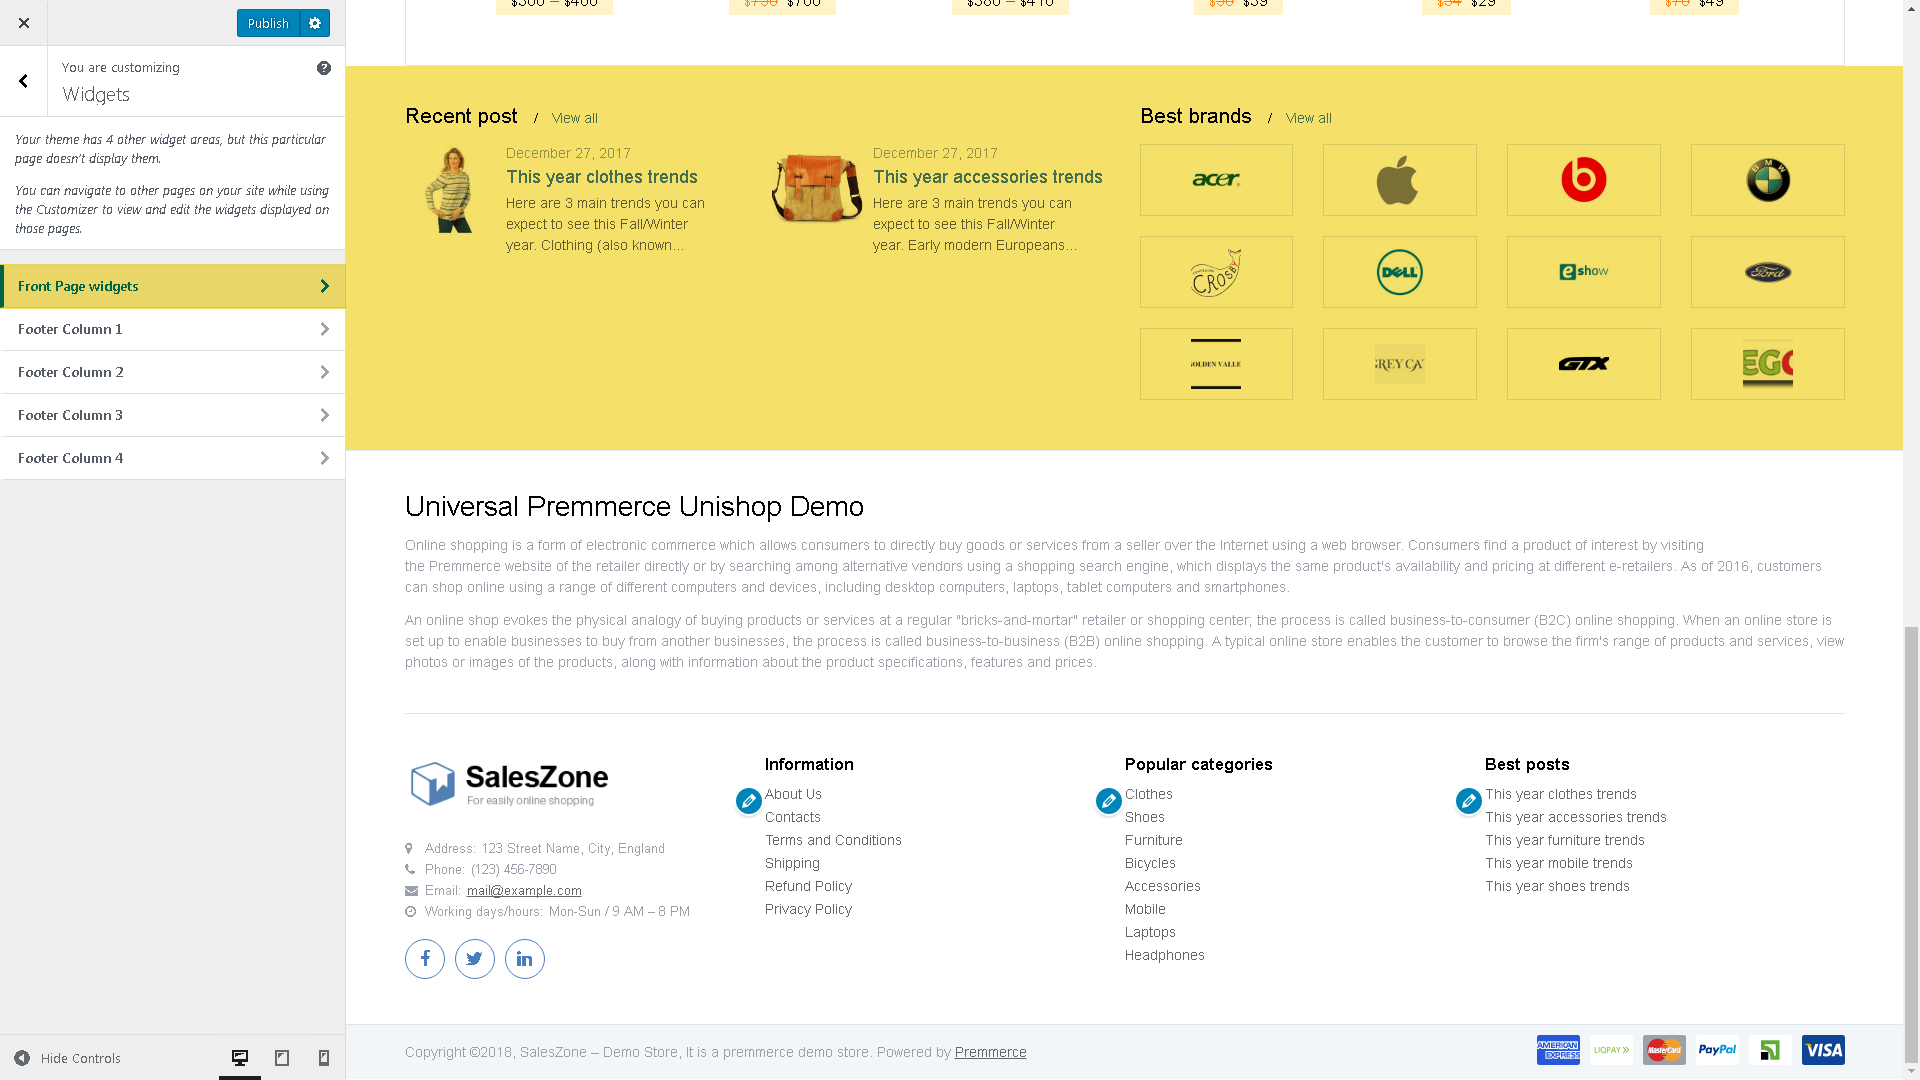
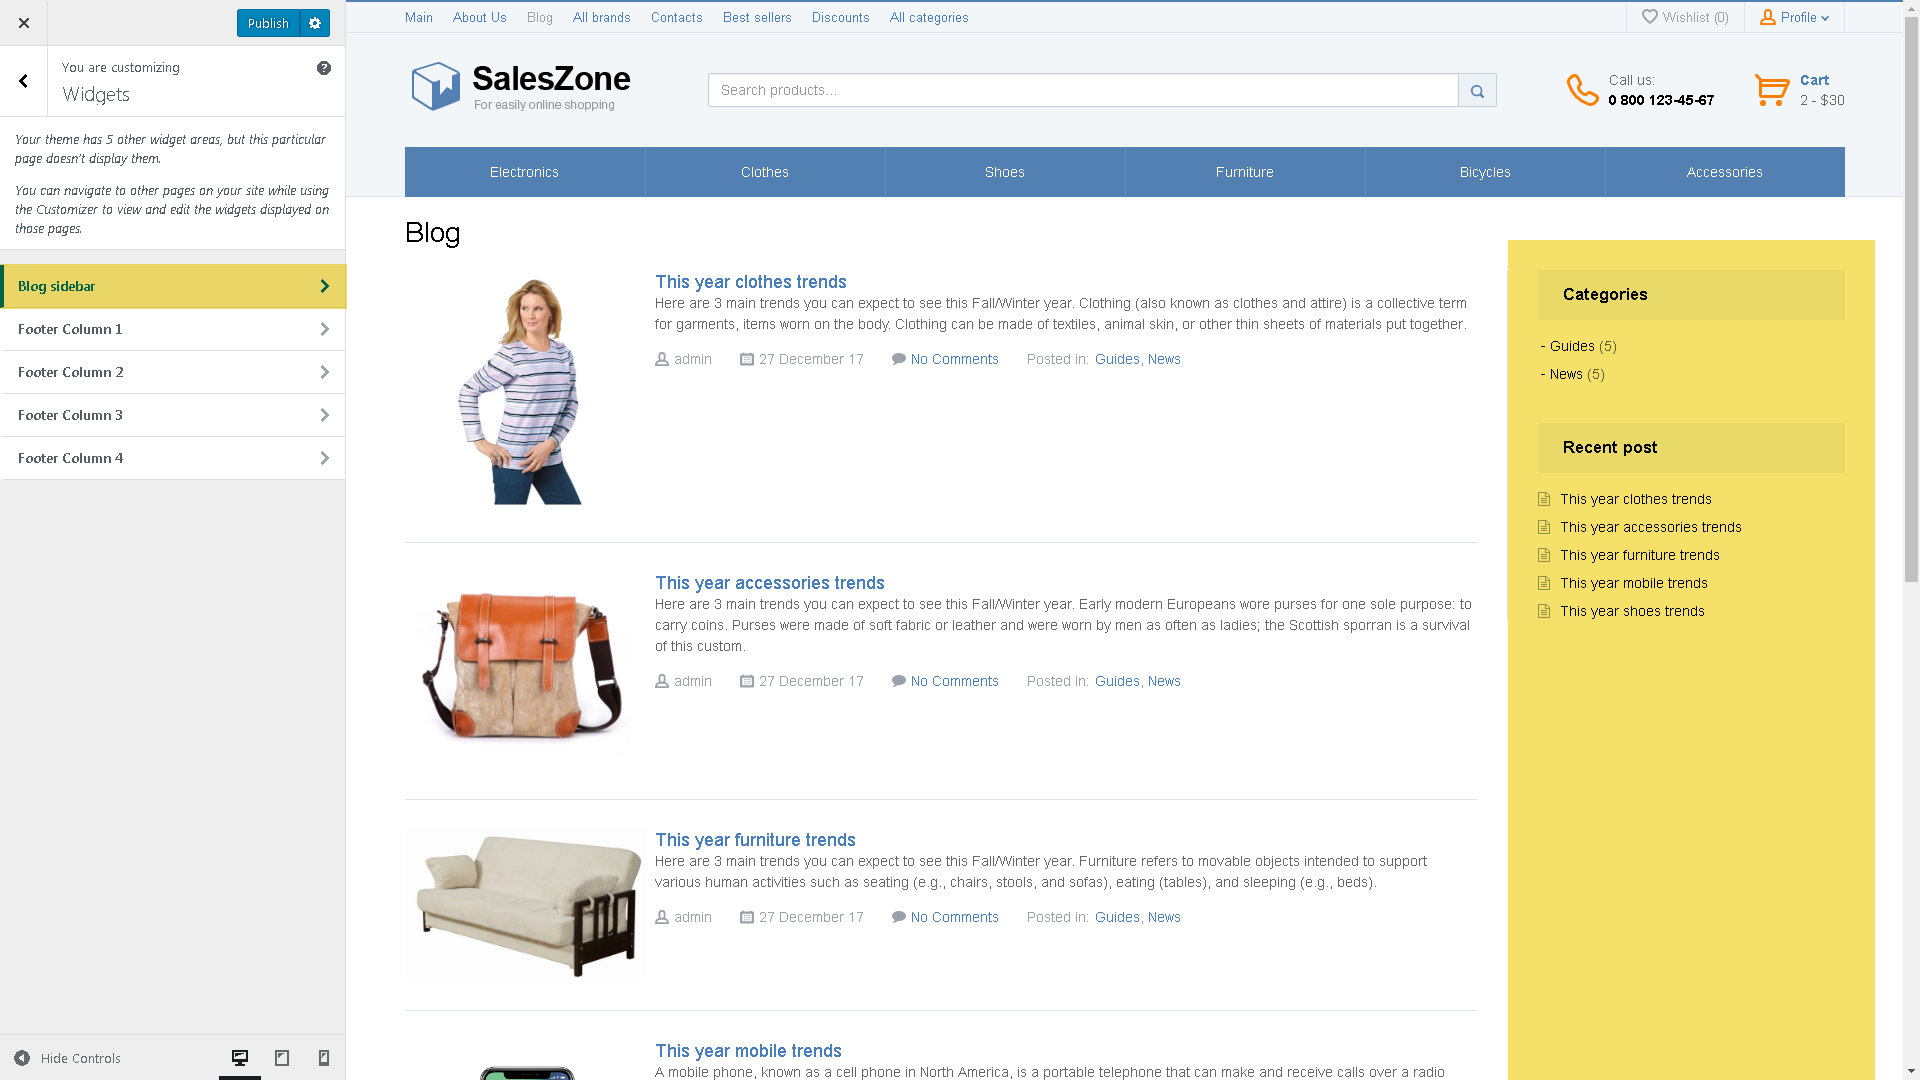
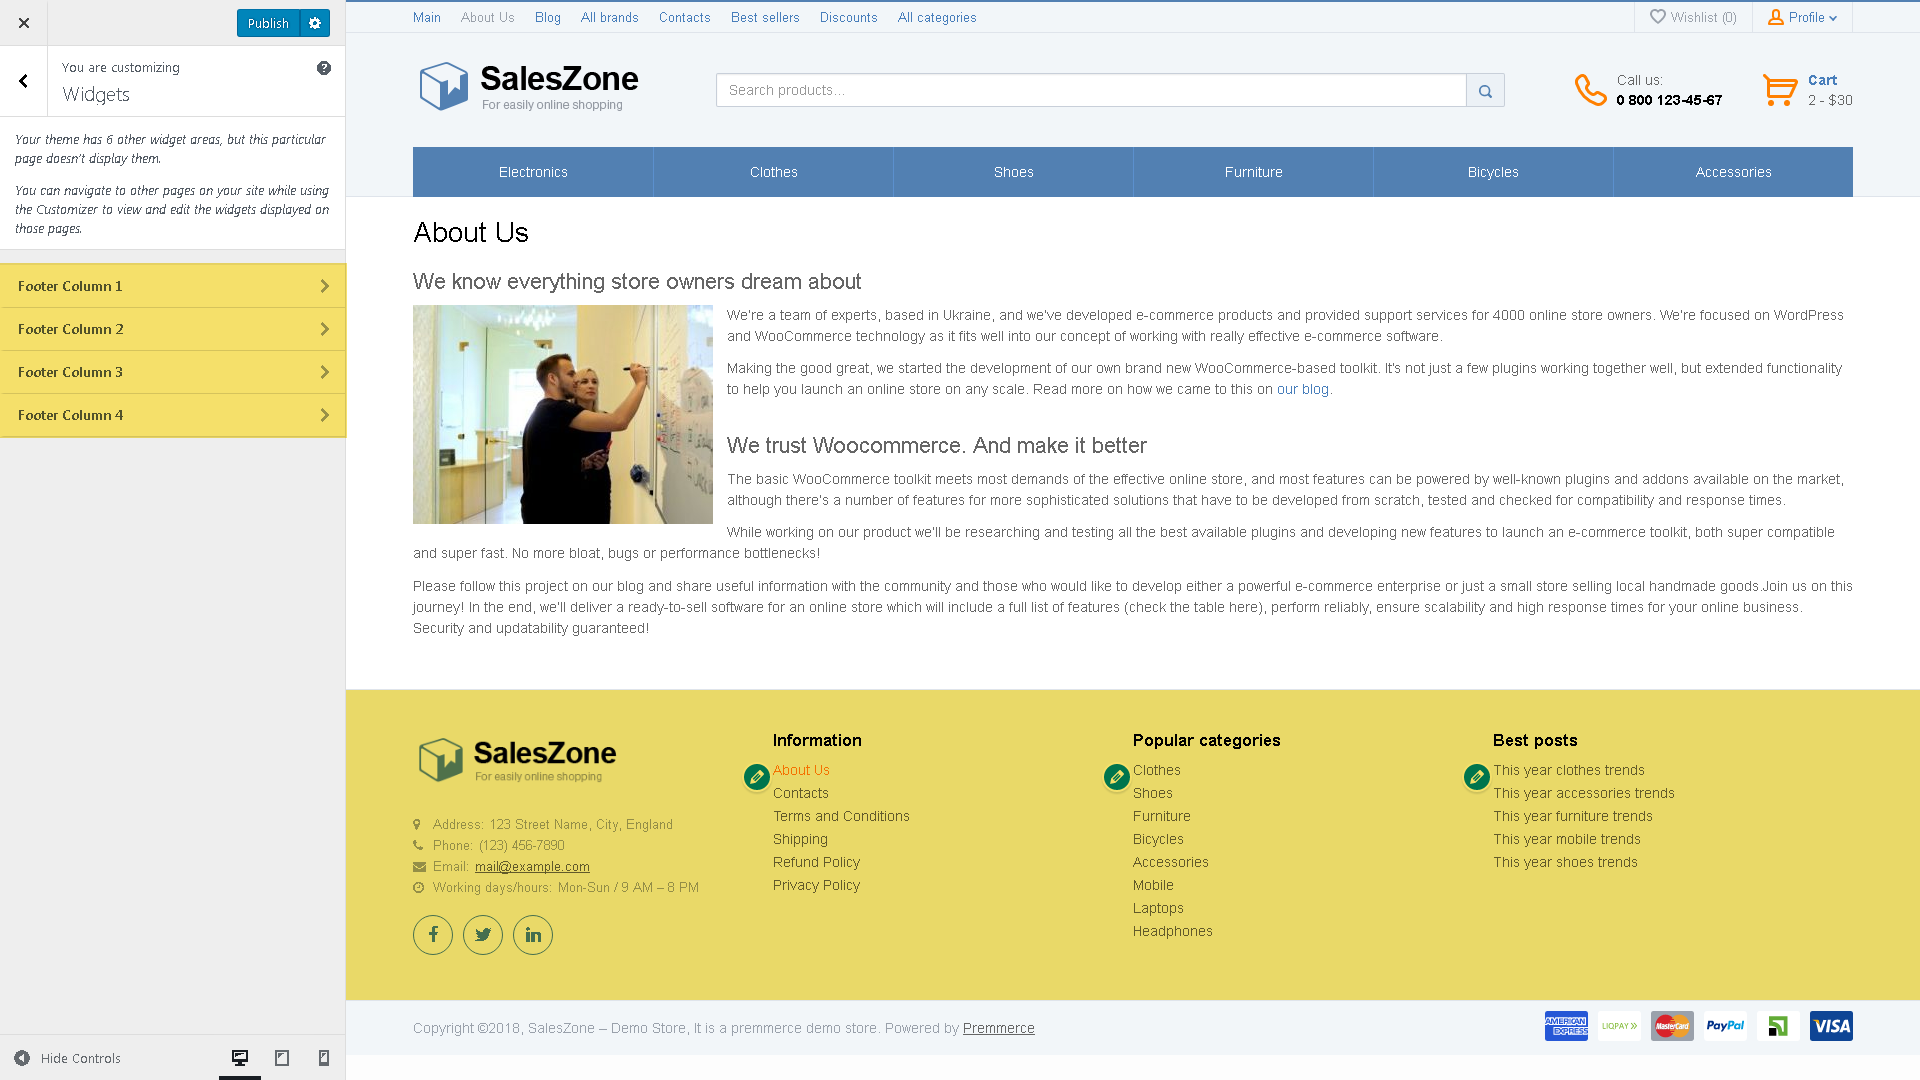
Widgets – here you can choose the needed widget and a place where to add it. You can see the widget zones here:

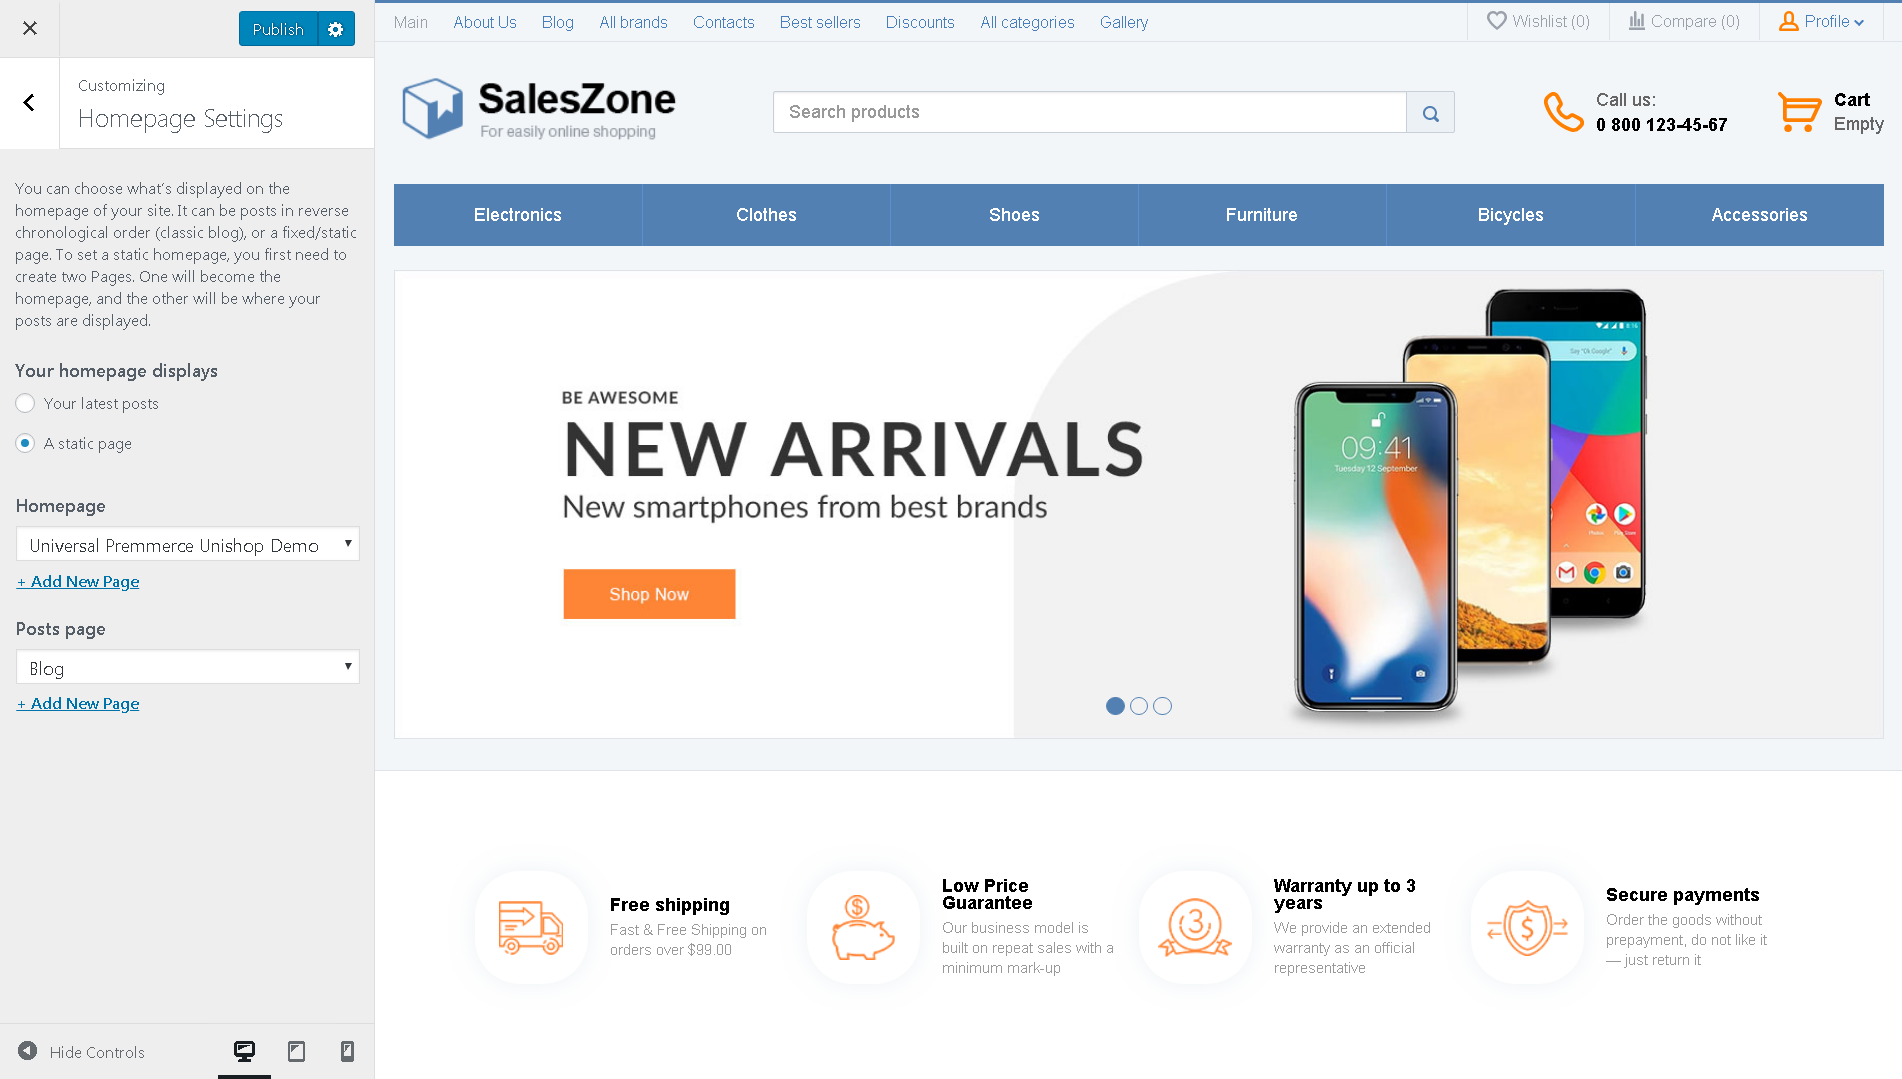
Homepage settings – here you can see the site homepage.
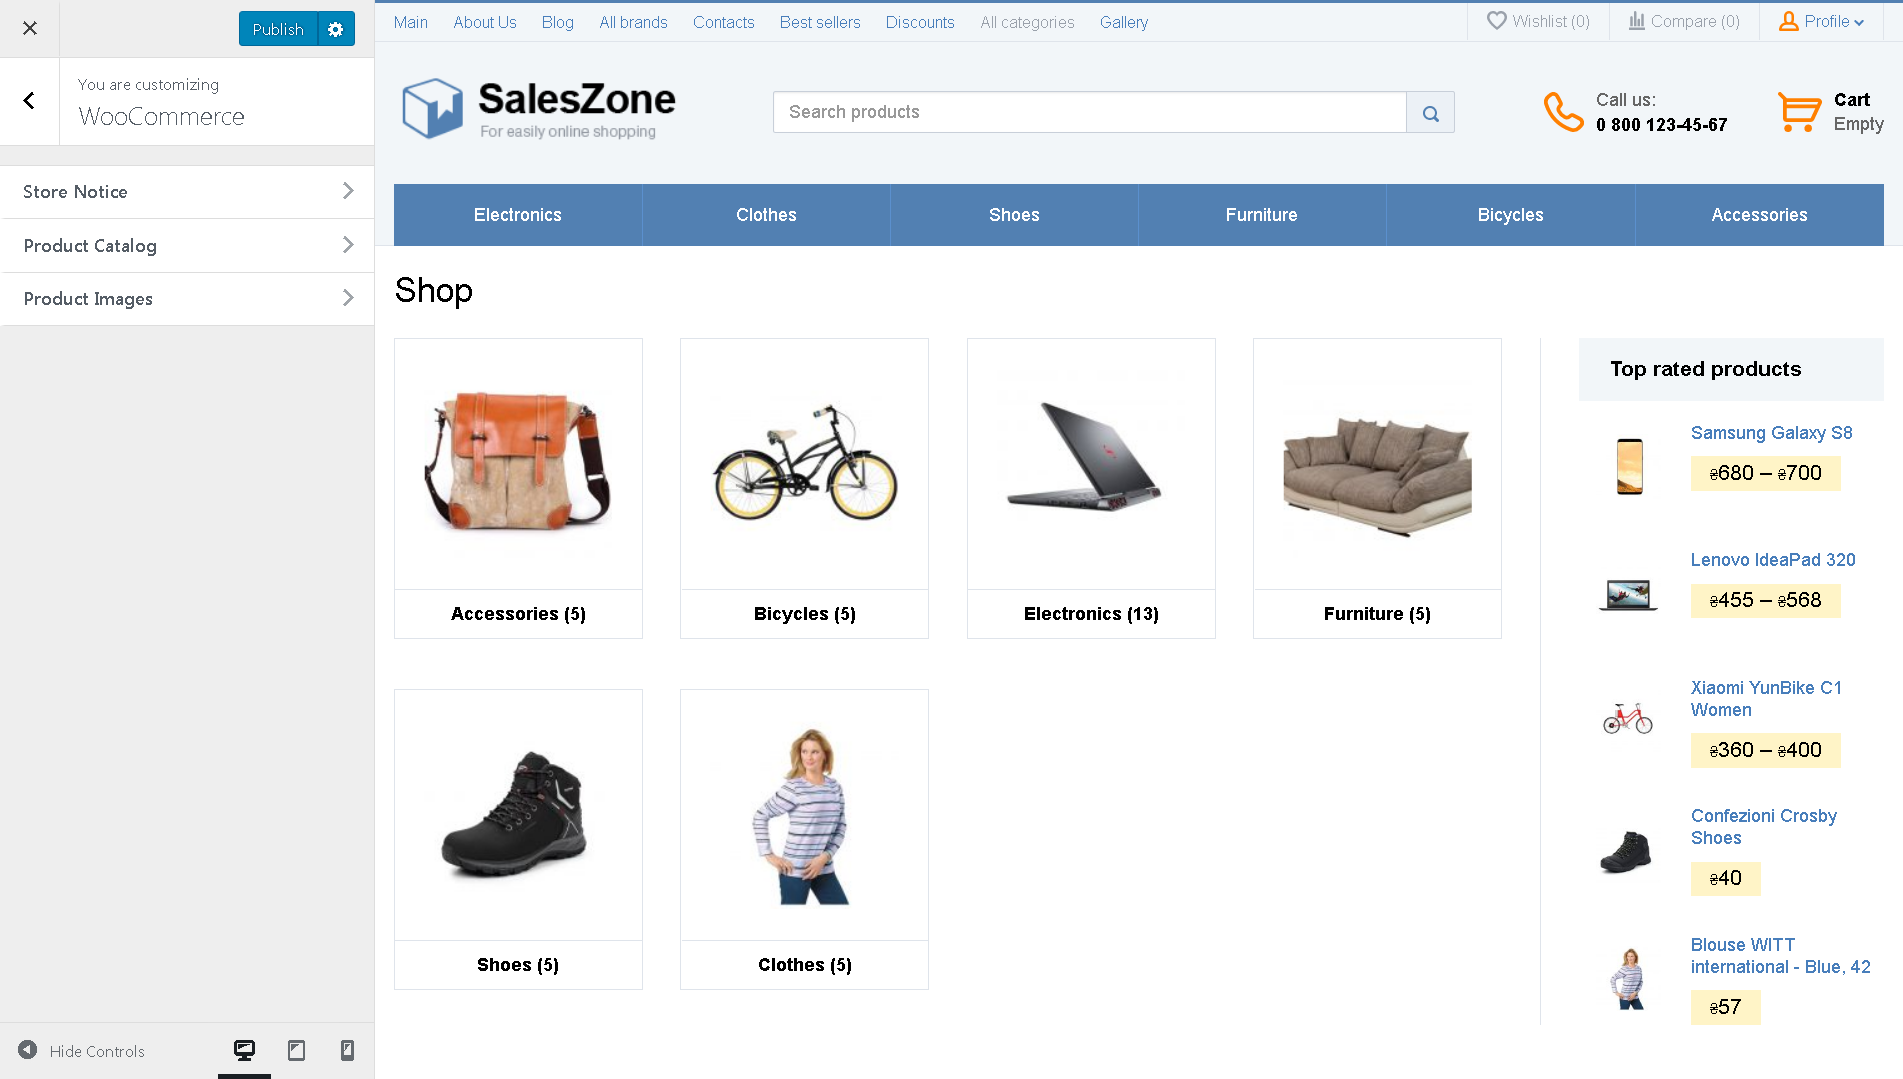
WooCommerce – settings for displaying products in categories and on the product page.
Additional styles
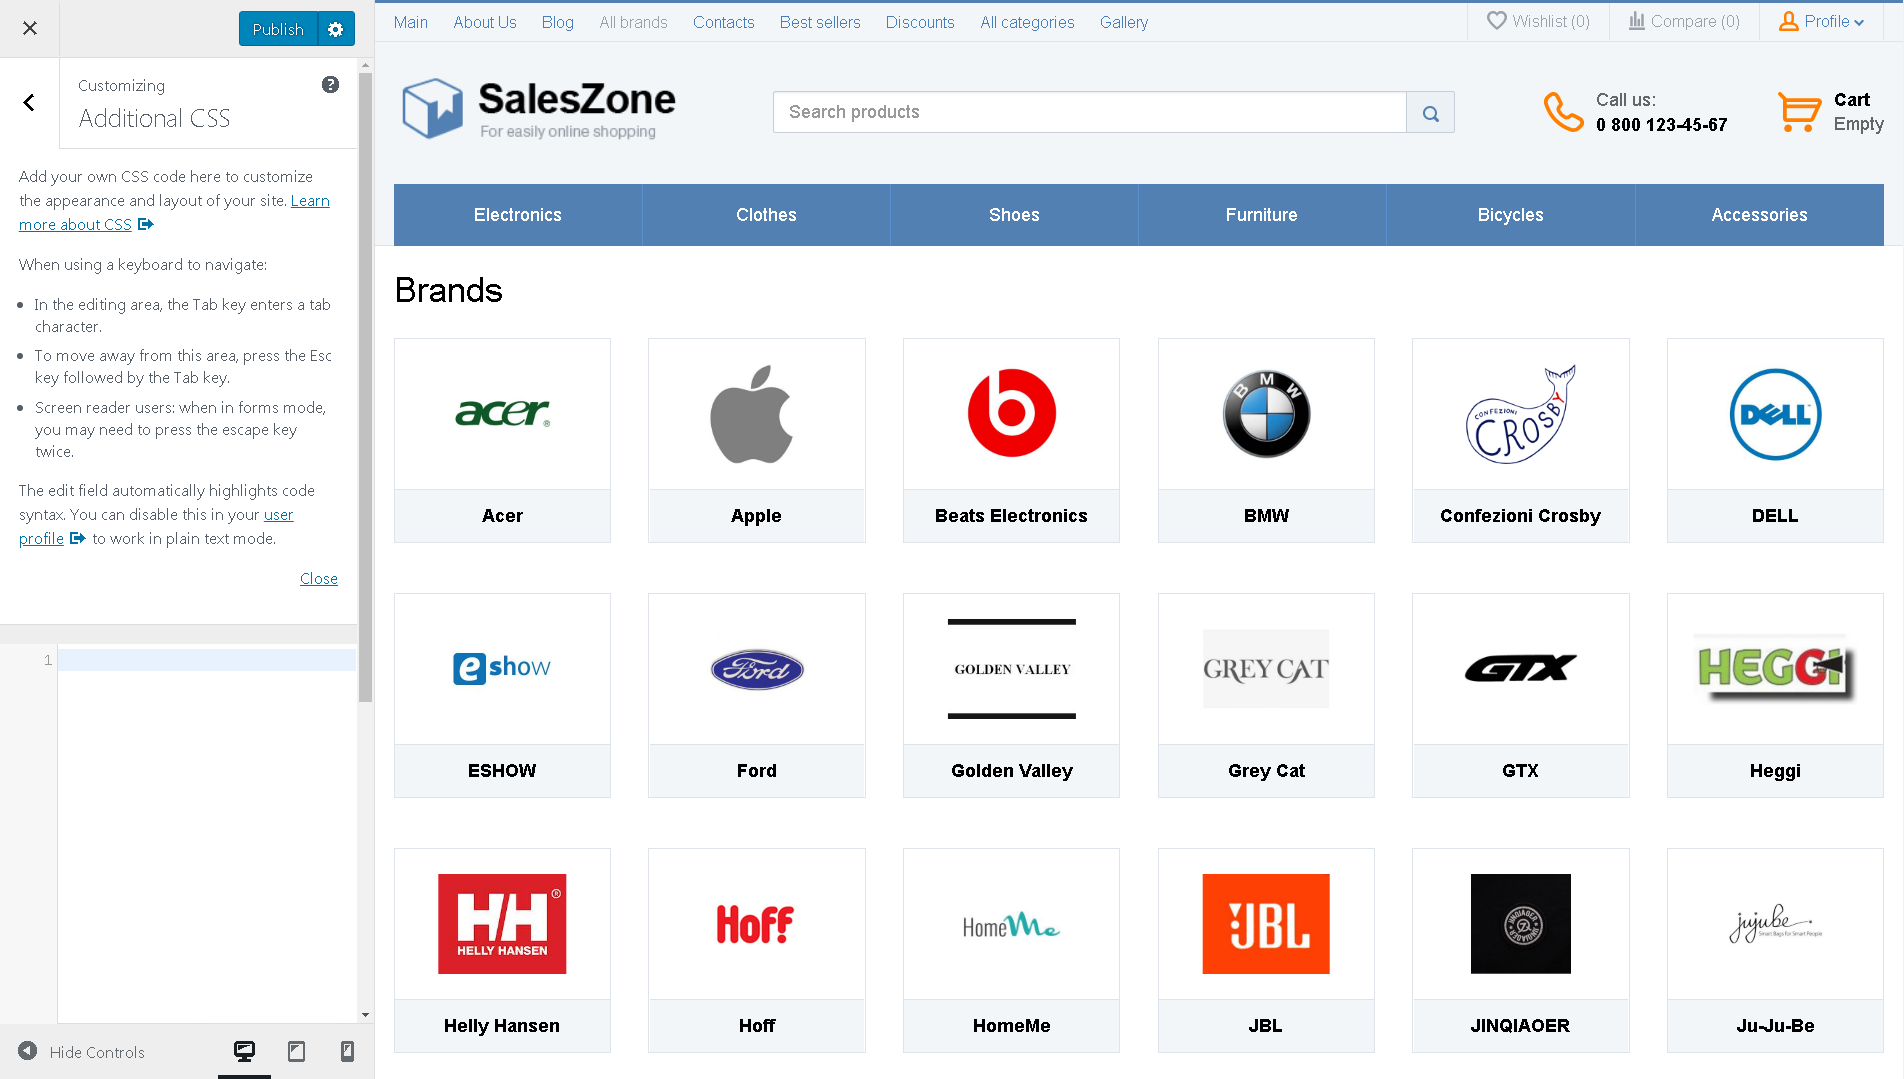
Additionally to the main tabs we’ve added the following tabs for more flexible customization of your site:
- Colors – here you can choose all the colors of the site
- Shop – here you can choose a site layout and add the SEO text to the Home page
- Header – here you can choose header layouts, enter a phone number and the placeholder for the ‘Search product’ field
- Social Icons – here you can set up Follow and Share social icons
- Typography – you can choose a site font.
- Footer – here you can enter the copyright text and choose the available Payment gateways on the site.
We’ll describe in detail each settings tab and explain how to apply changes below.
Colors
In this section, you can change almost all the colors used in the online store to the colors you need.
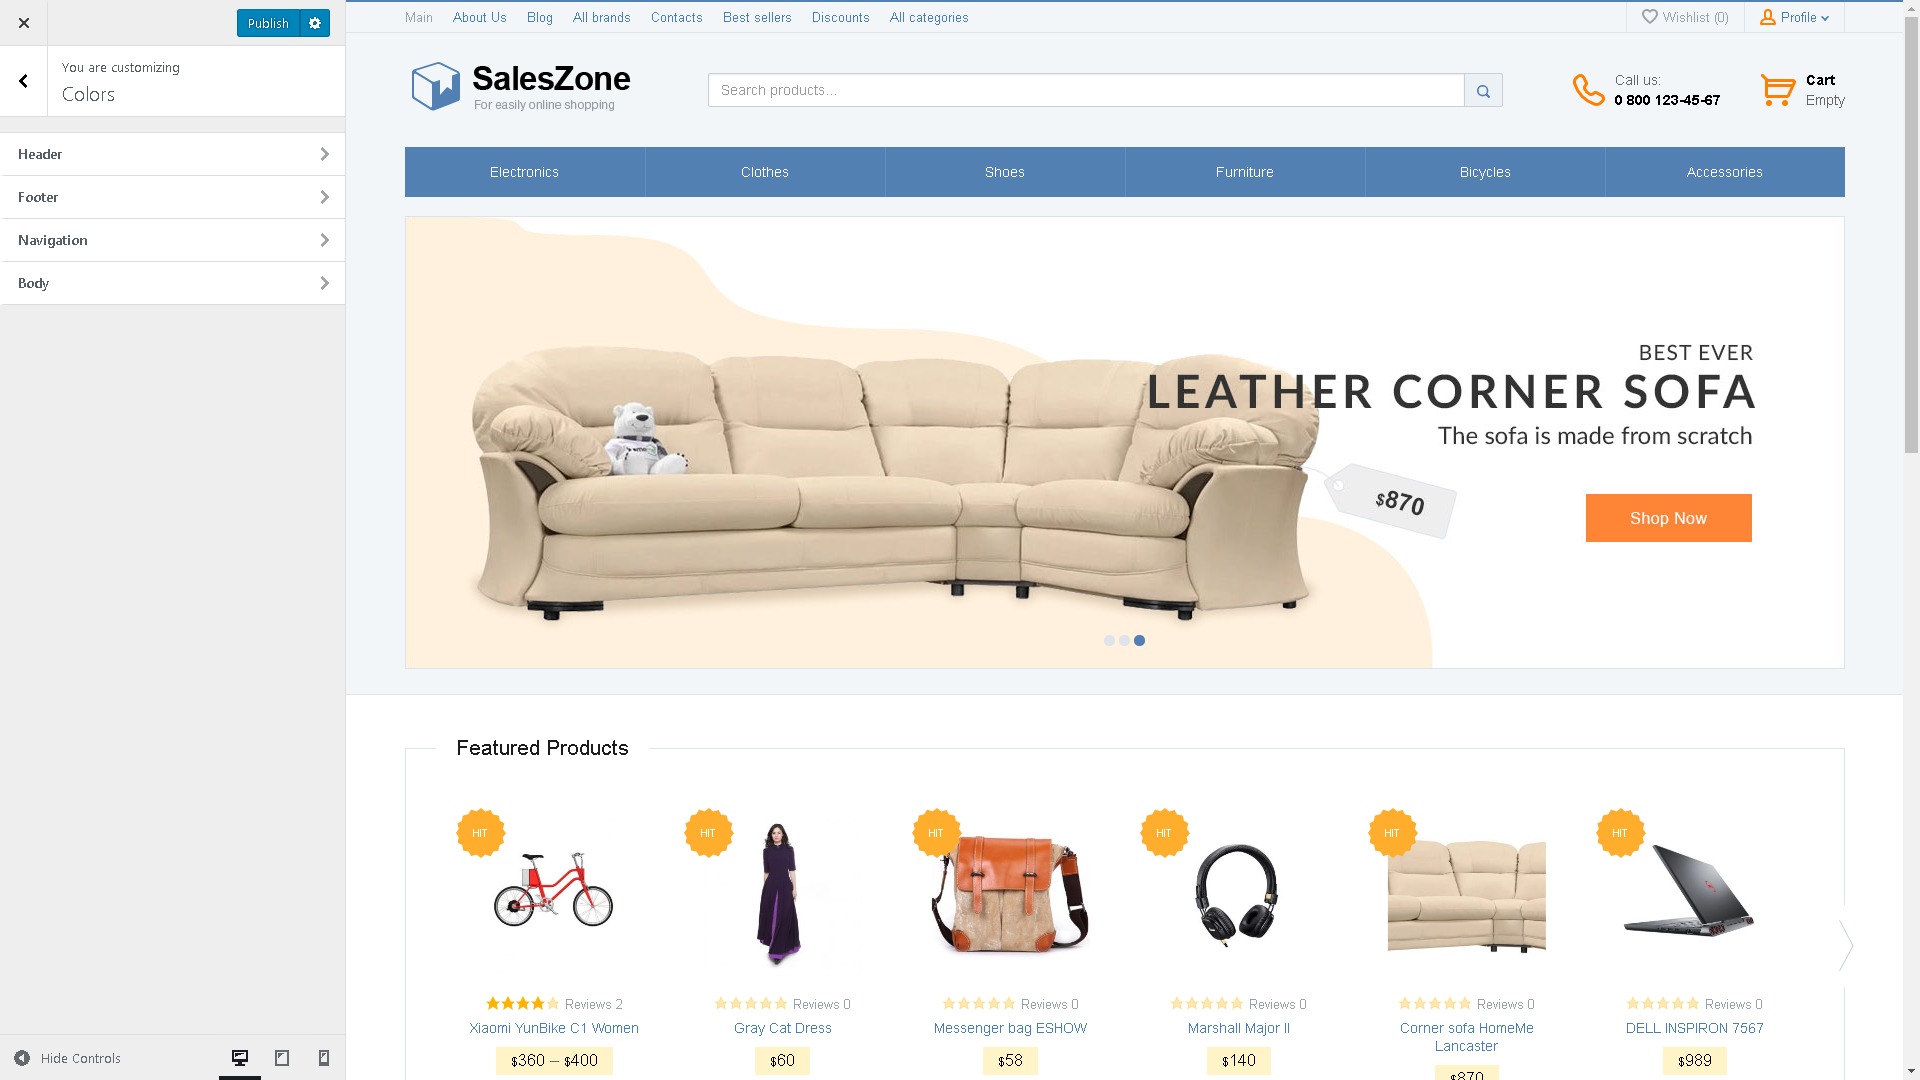
Colors has four tabs:
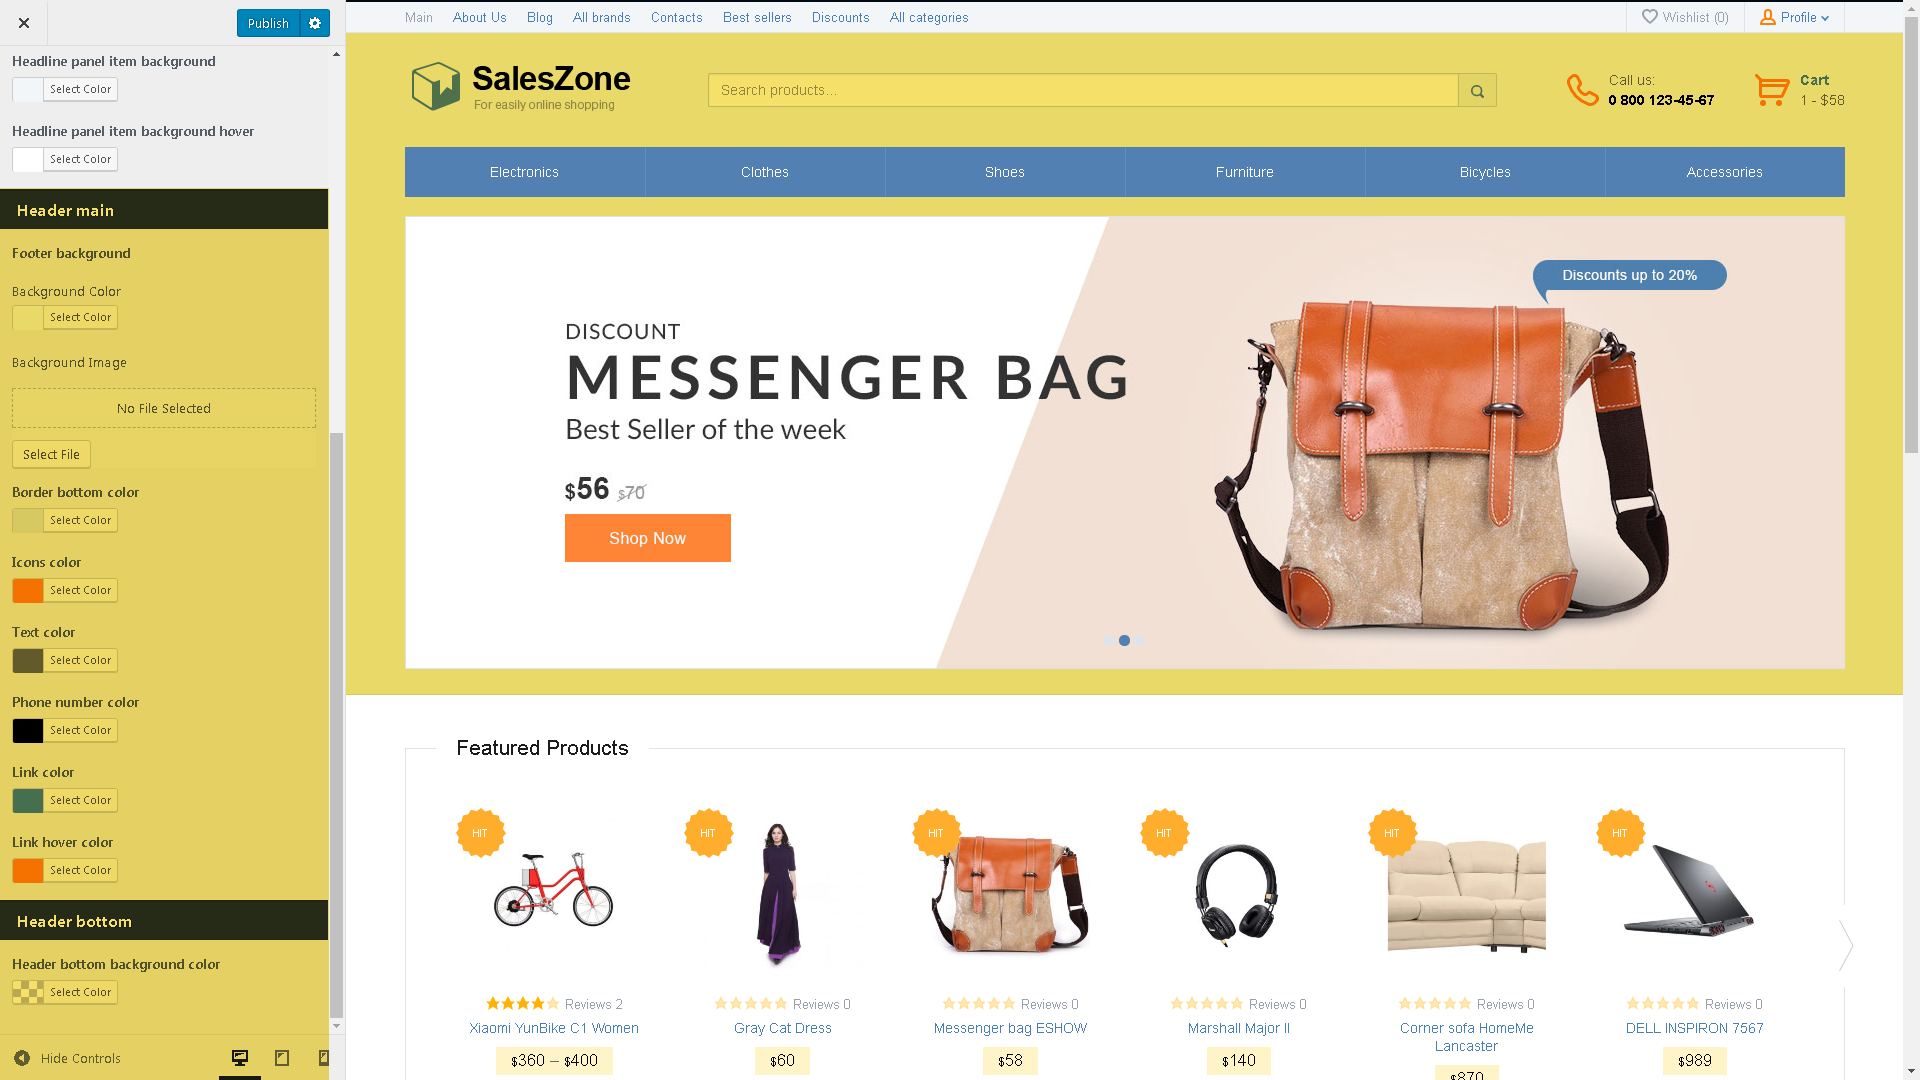
Header
Header top bar (available in Premium only)
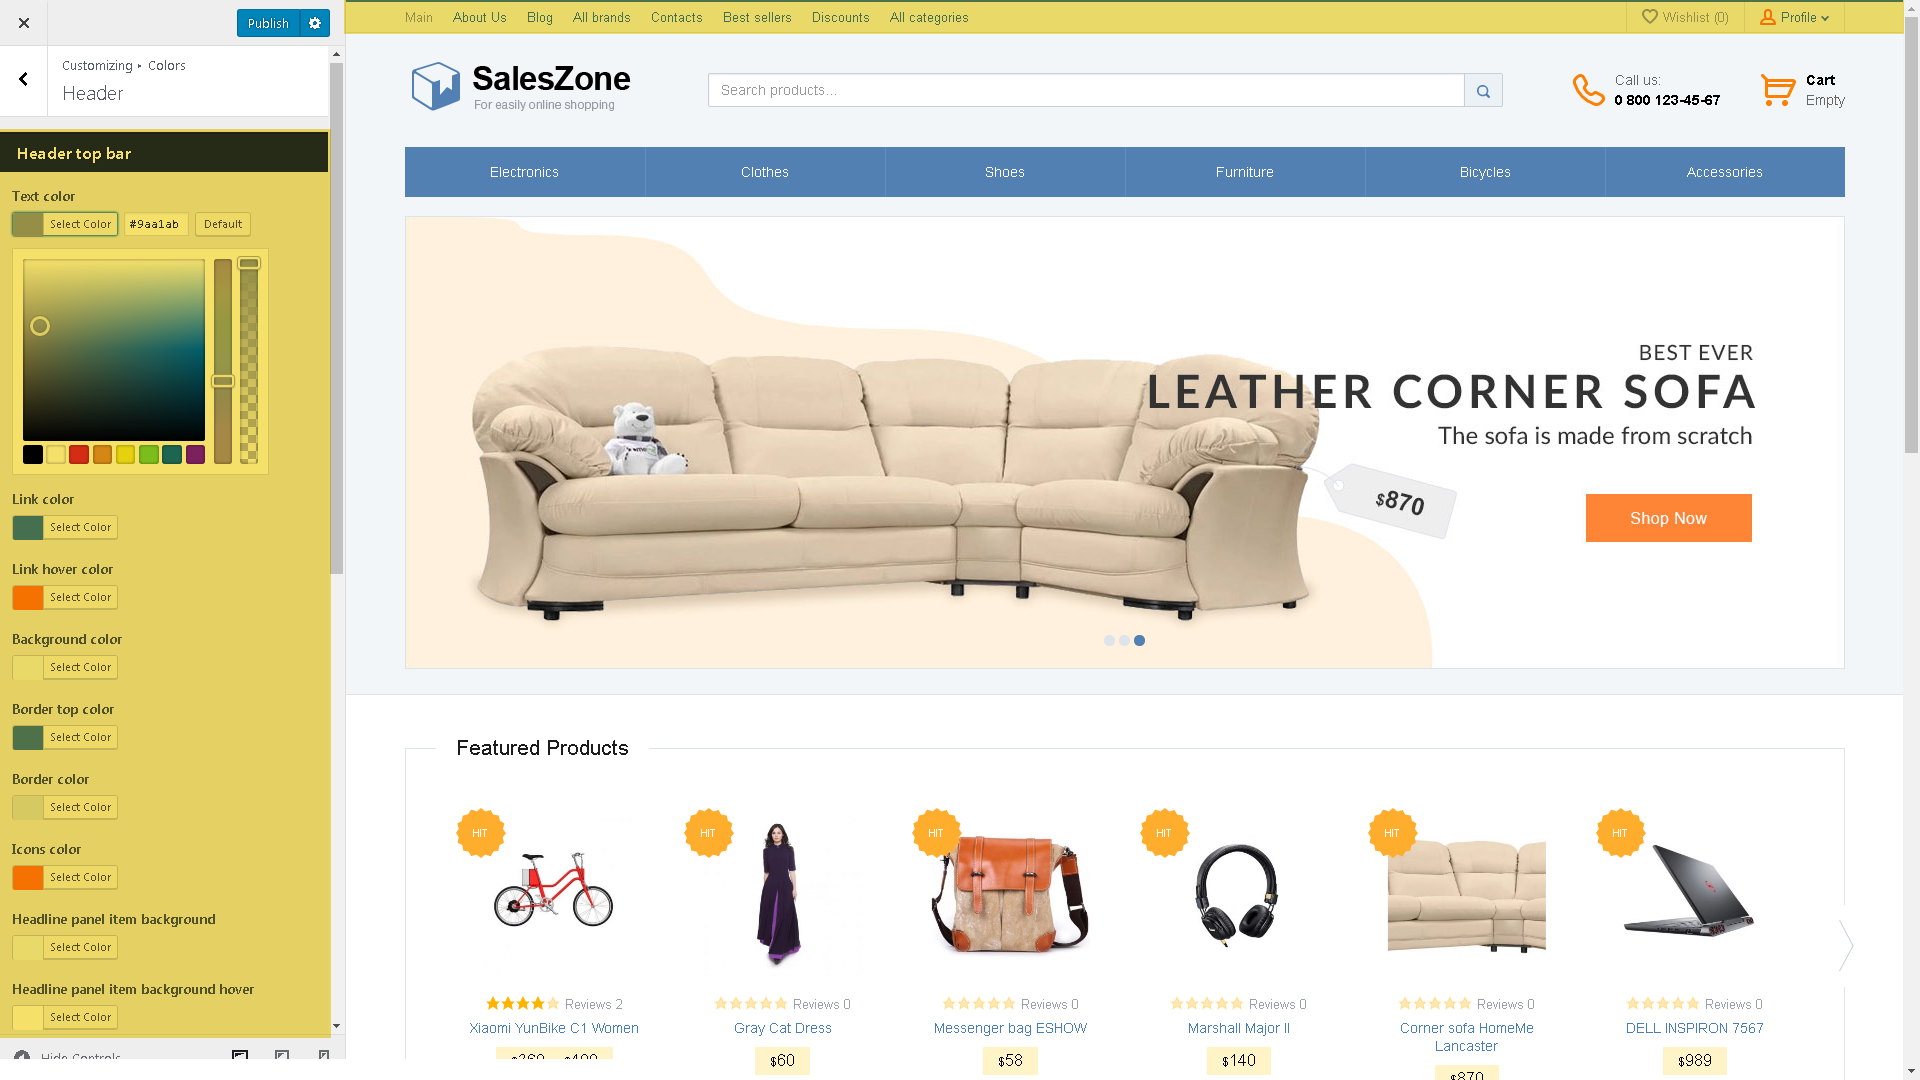
Header main and Header bottom
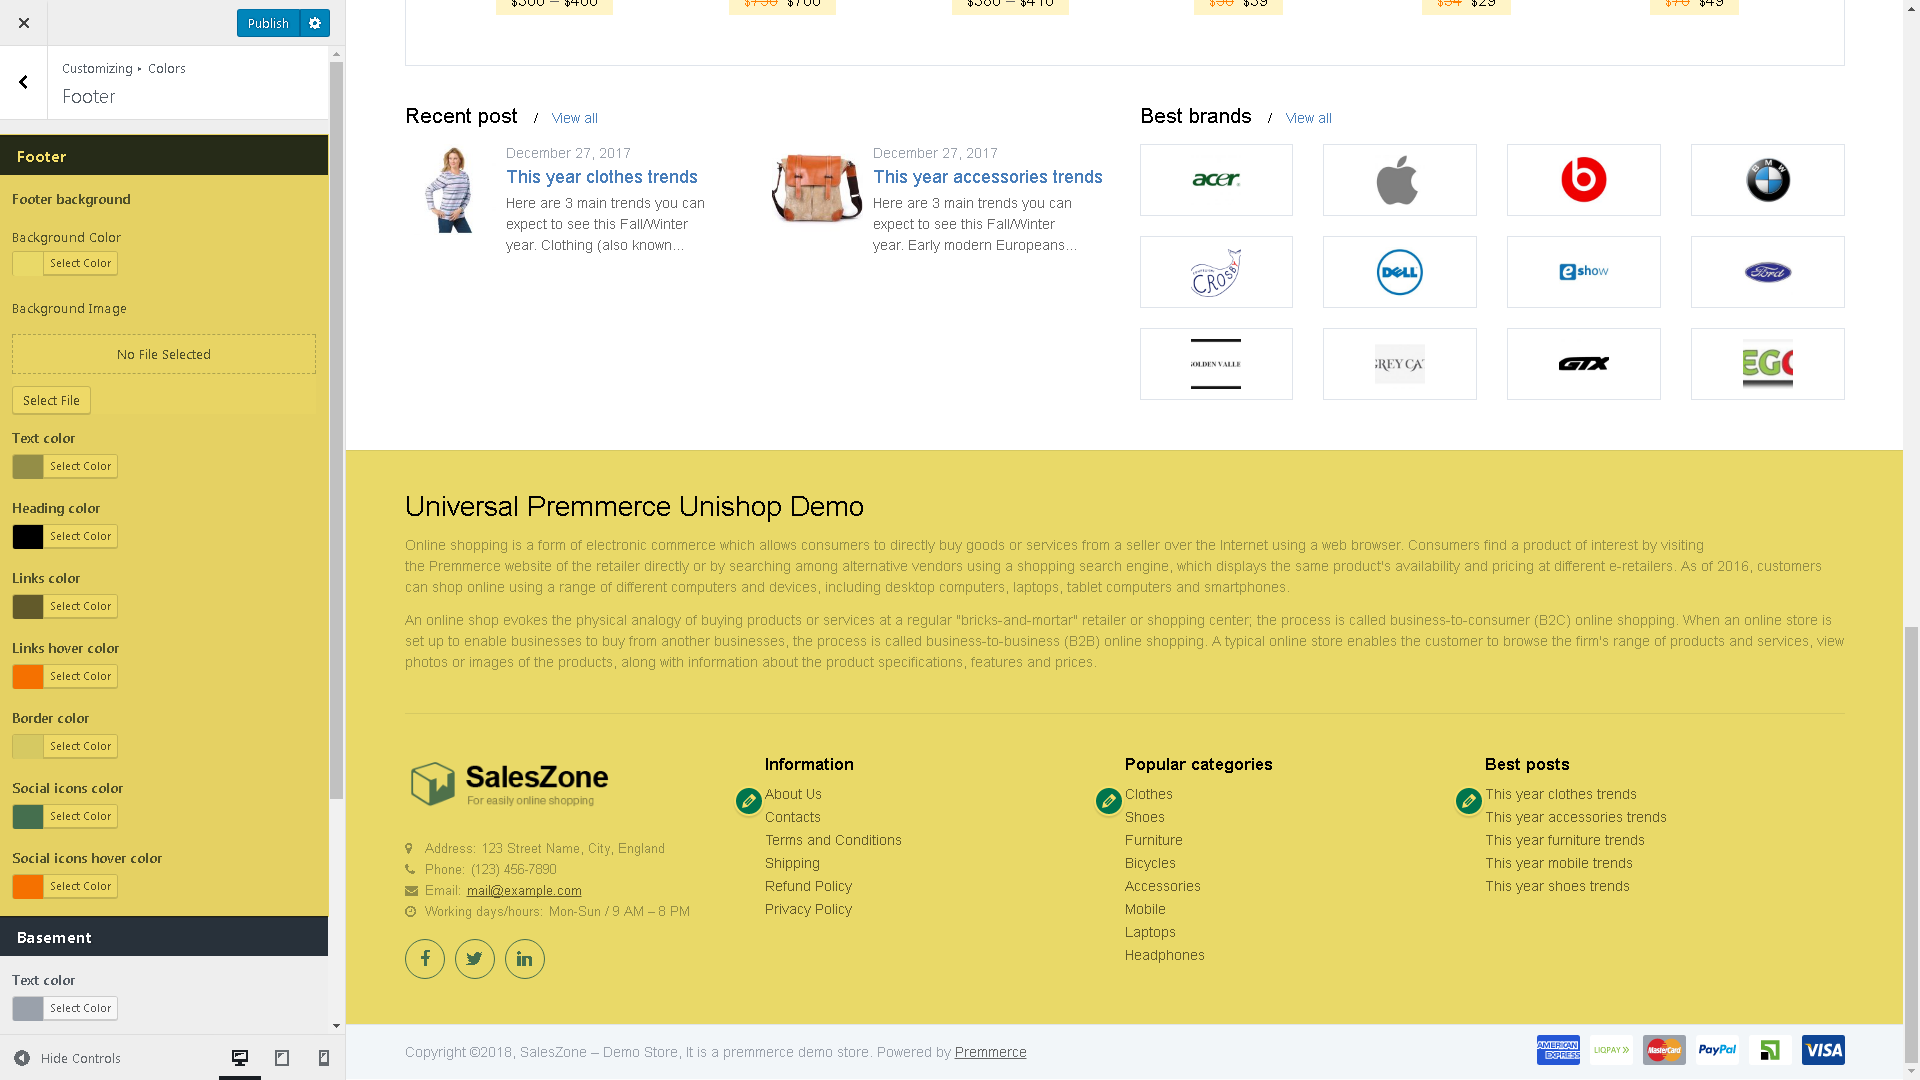
Footer
Footer (all colors available in Premium only)
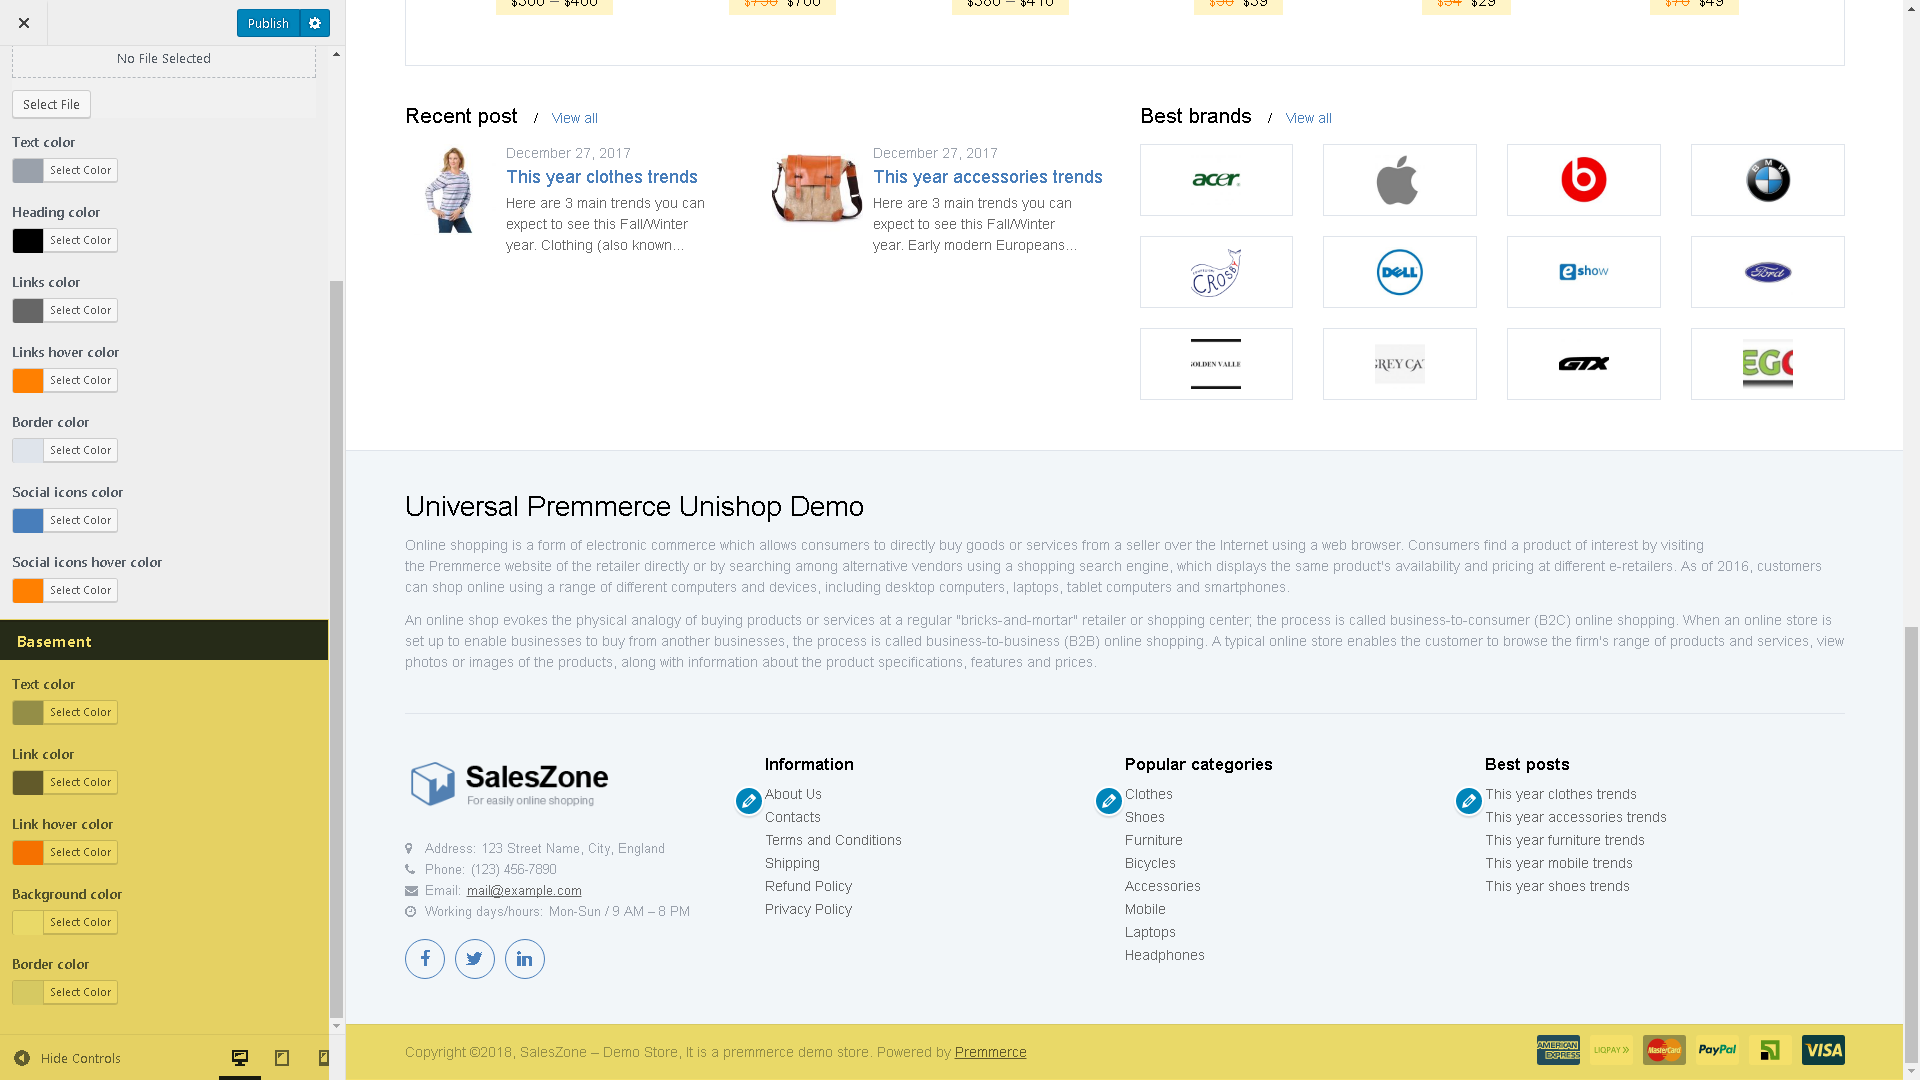
Basement (available in Premium only)
Navigation
Main navigation
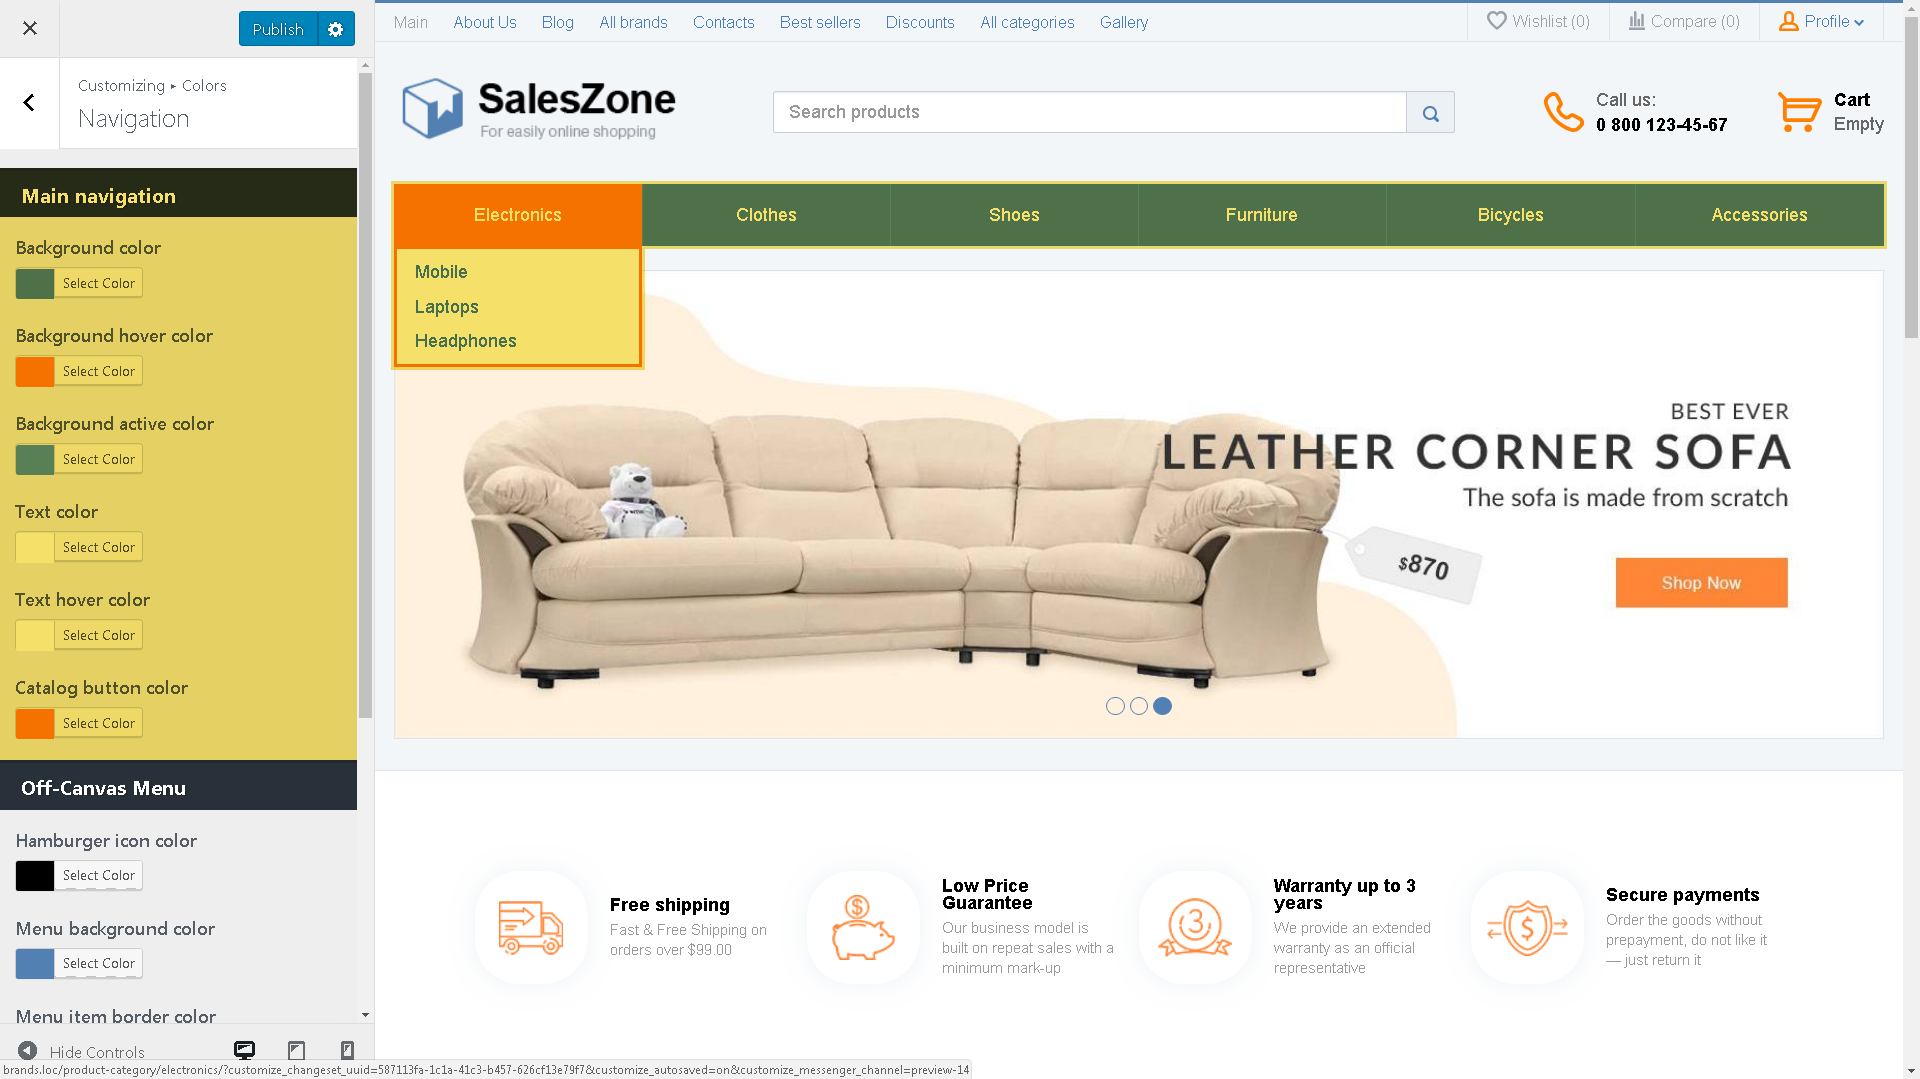
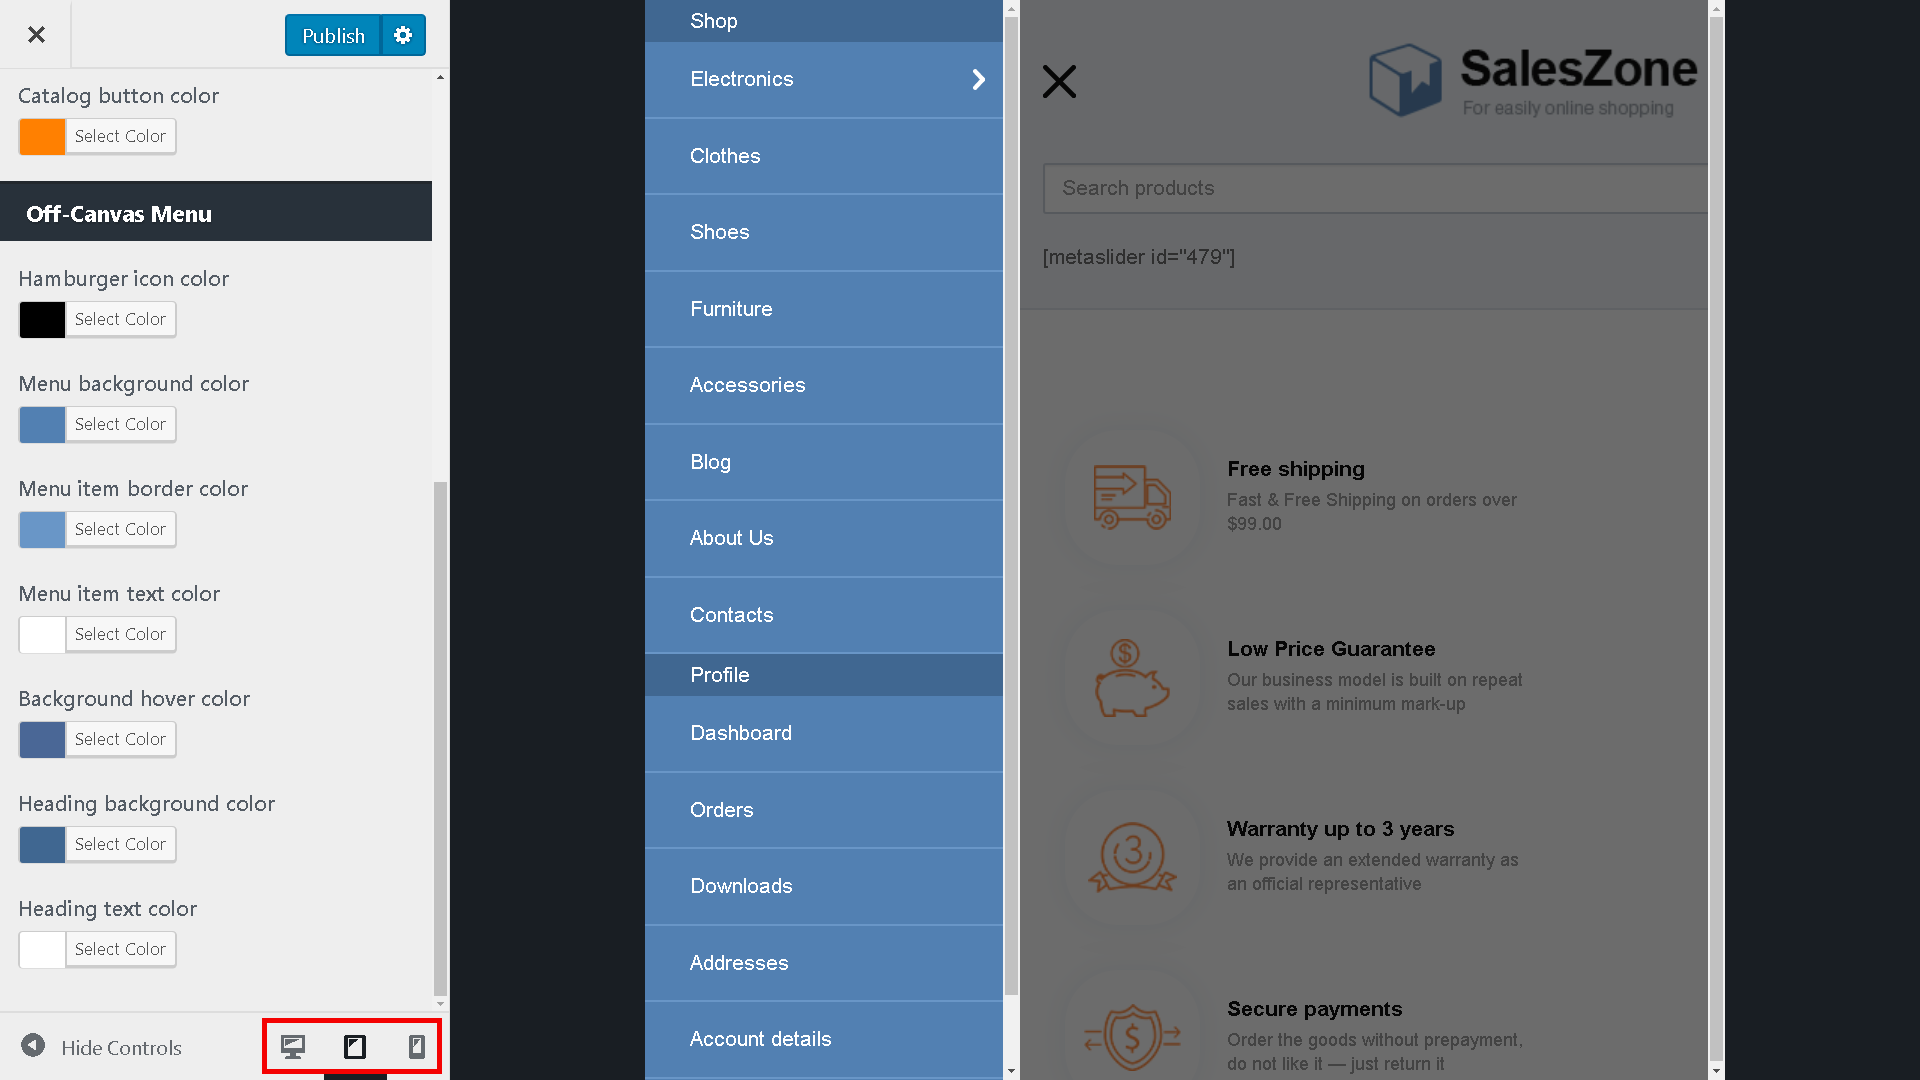
Off-Canvas Menu (available in Premium only)
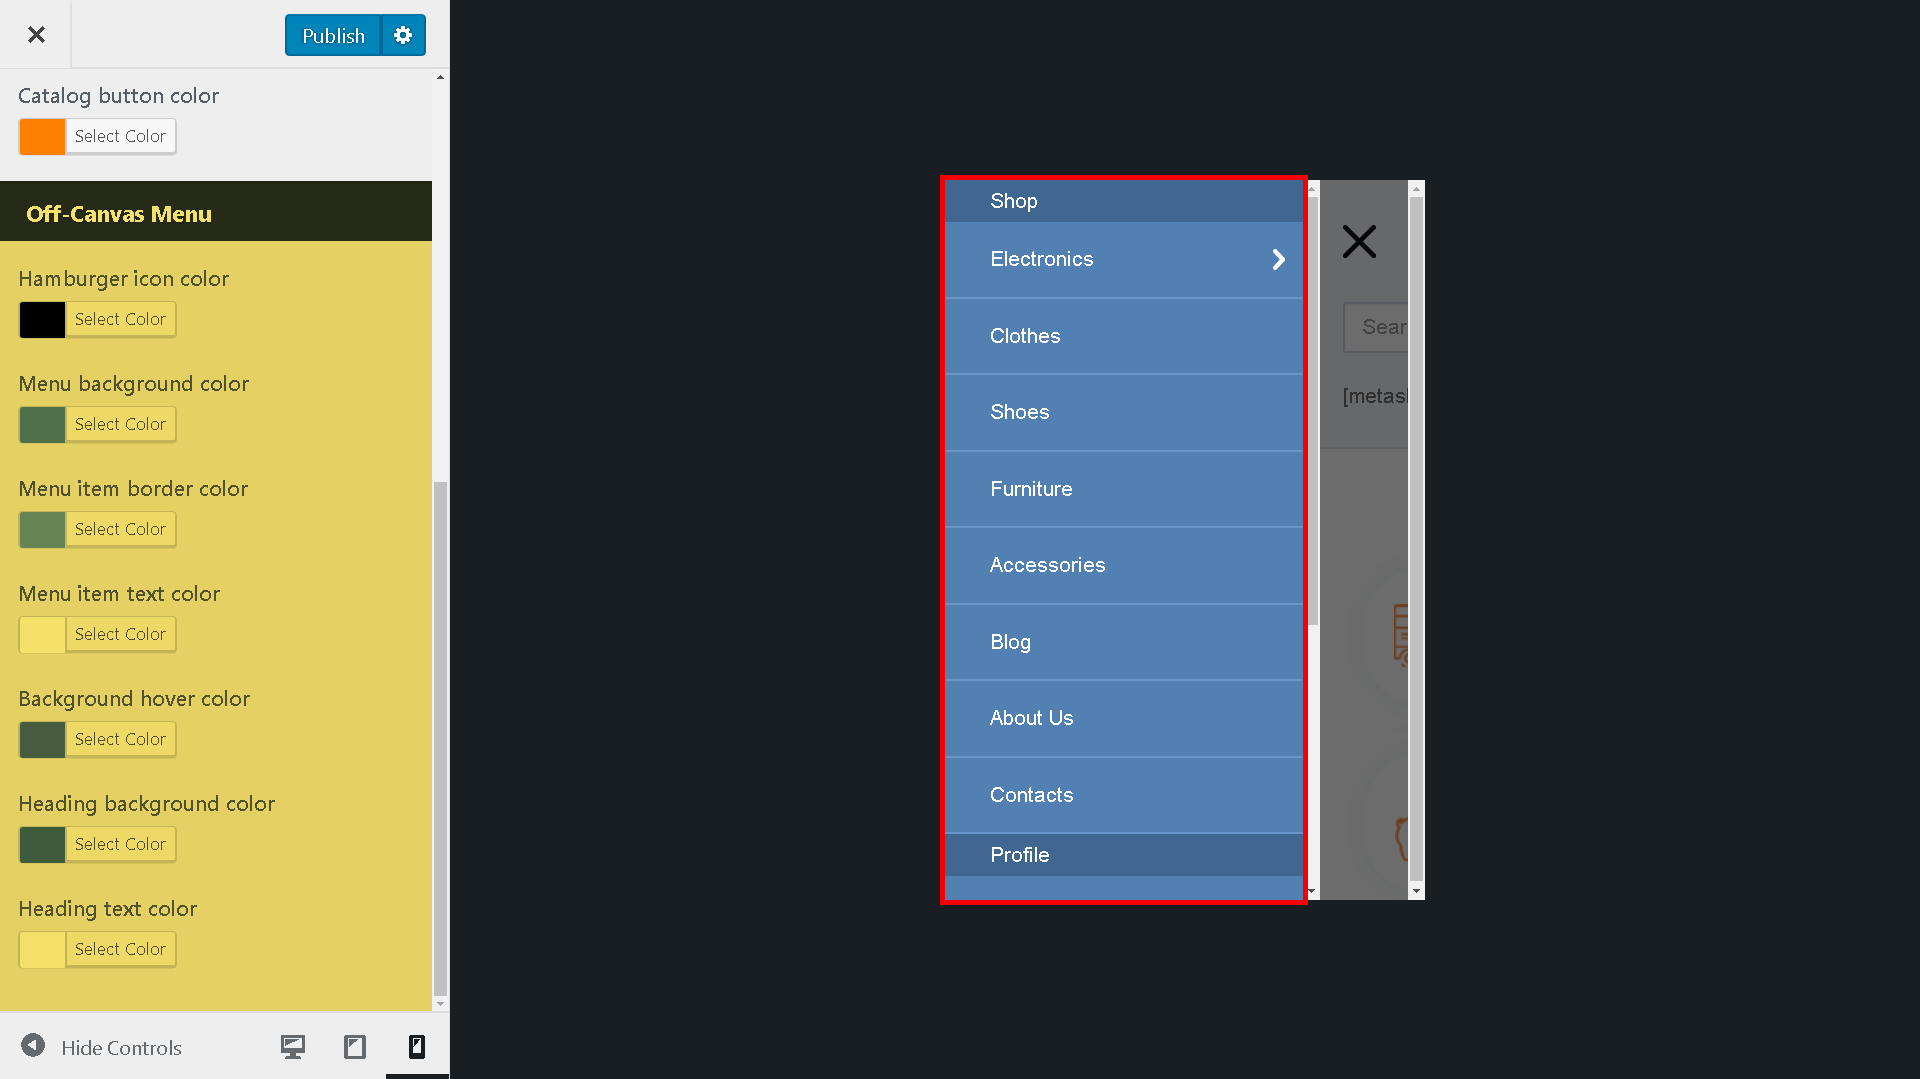
To check the changes in the menu for mobile devices – click the appropriate icon in the bottom left corner of the screen:
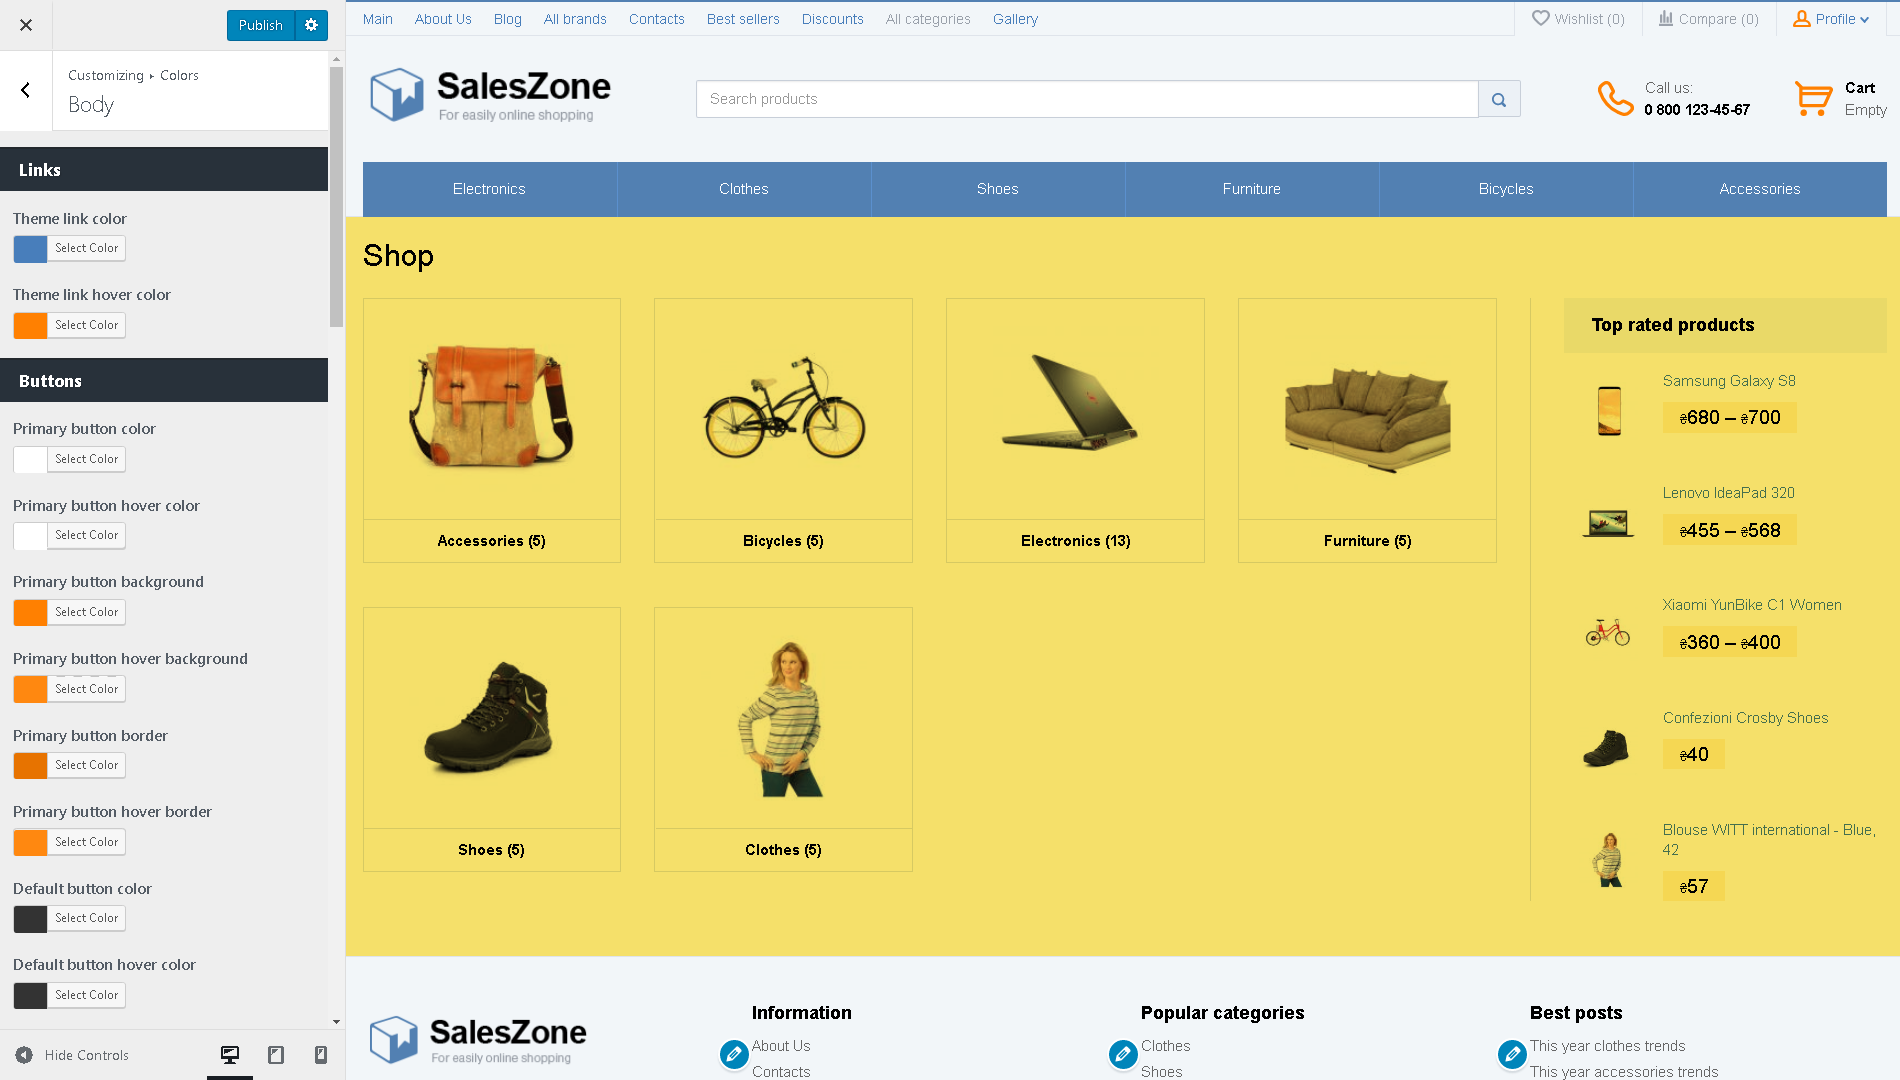
Body (all colors available in Premium only)
Here the elements colors, that are between the header and the footer, are selected: links, buttons, sections, messages, form fields, price display.
The Shop
The basic settings of the online store structure and appearance are made in this tab. It contains the following tabs settings:
General
Catalog mode (available in Premium only)
This option turns your online store into the product catalog where user can’t make a purchase but only explore the product.
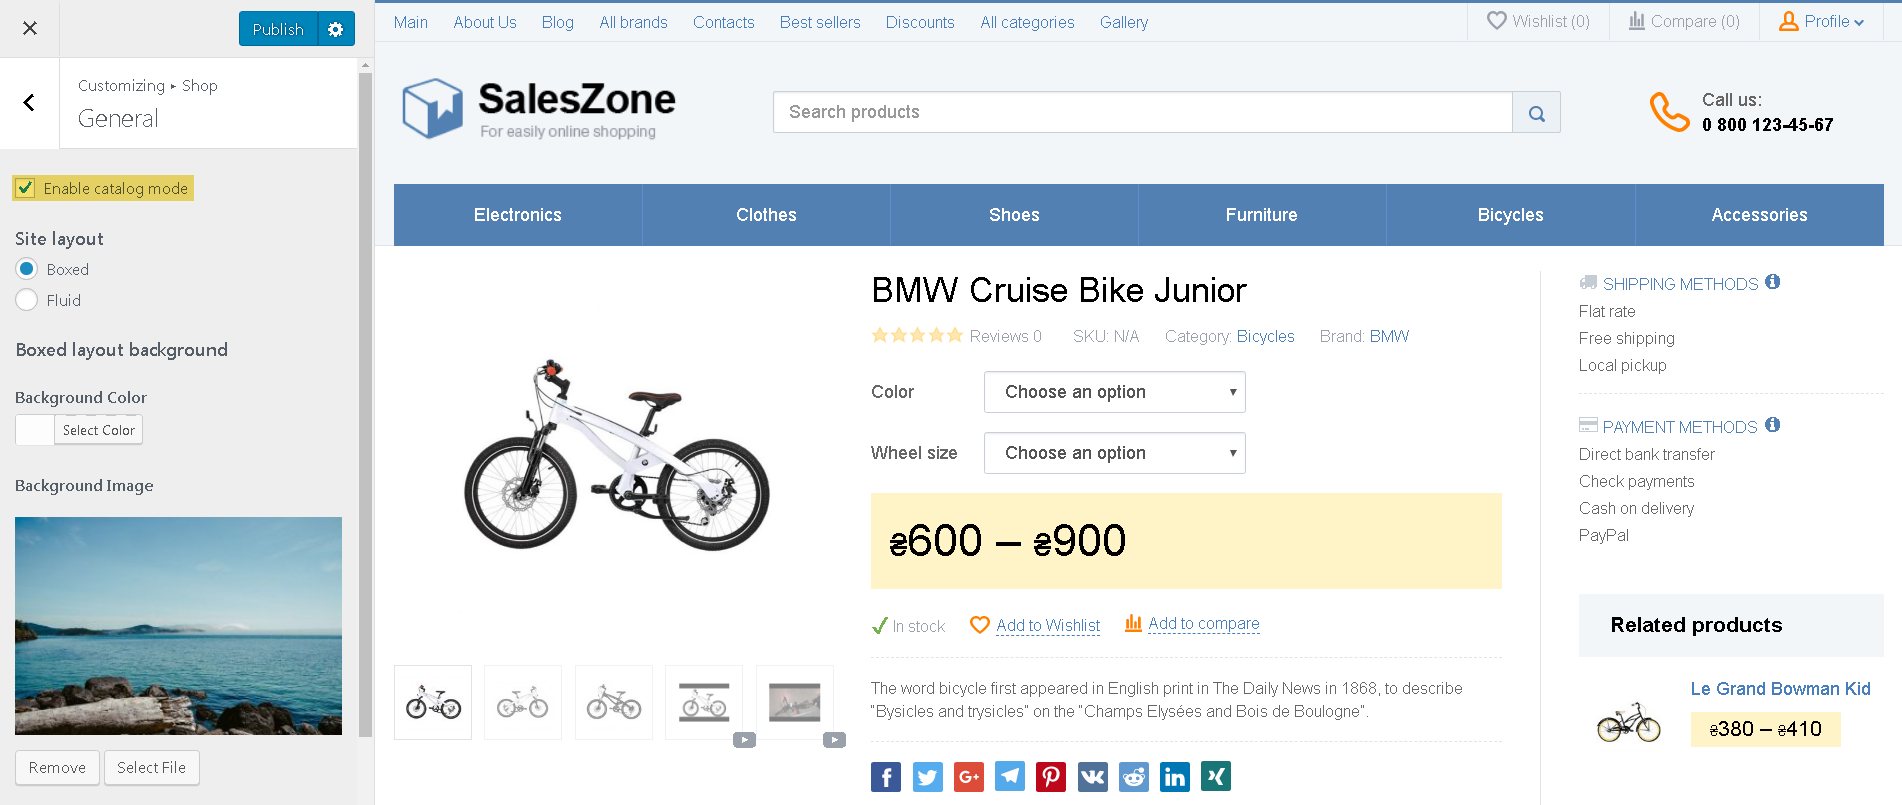
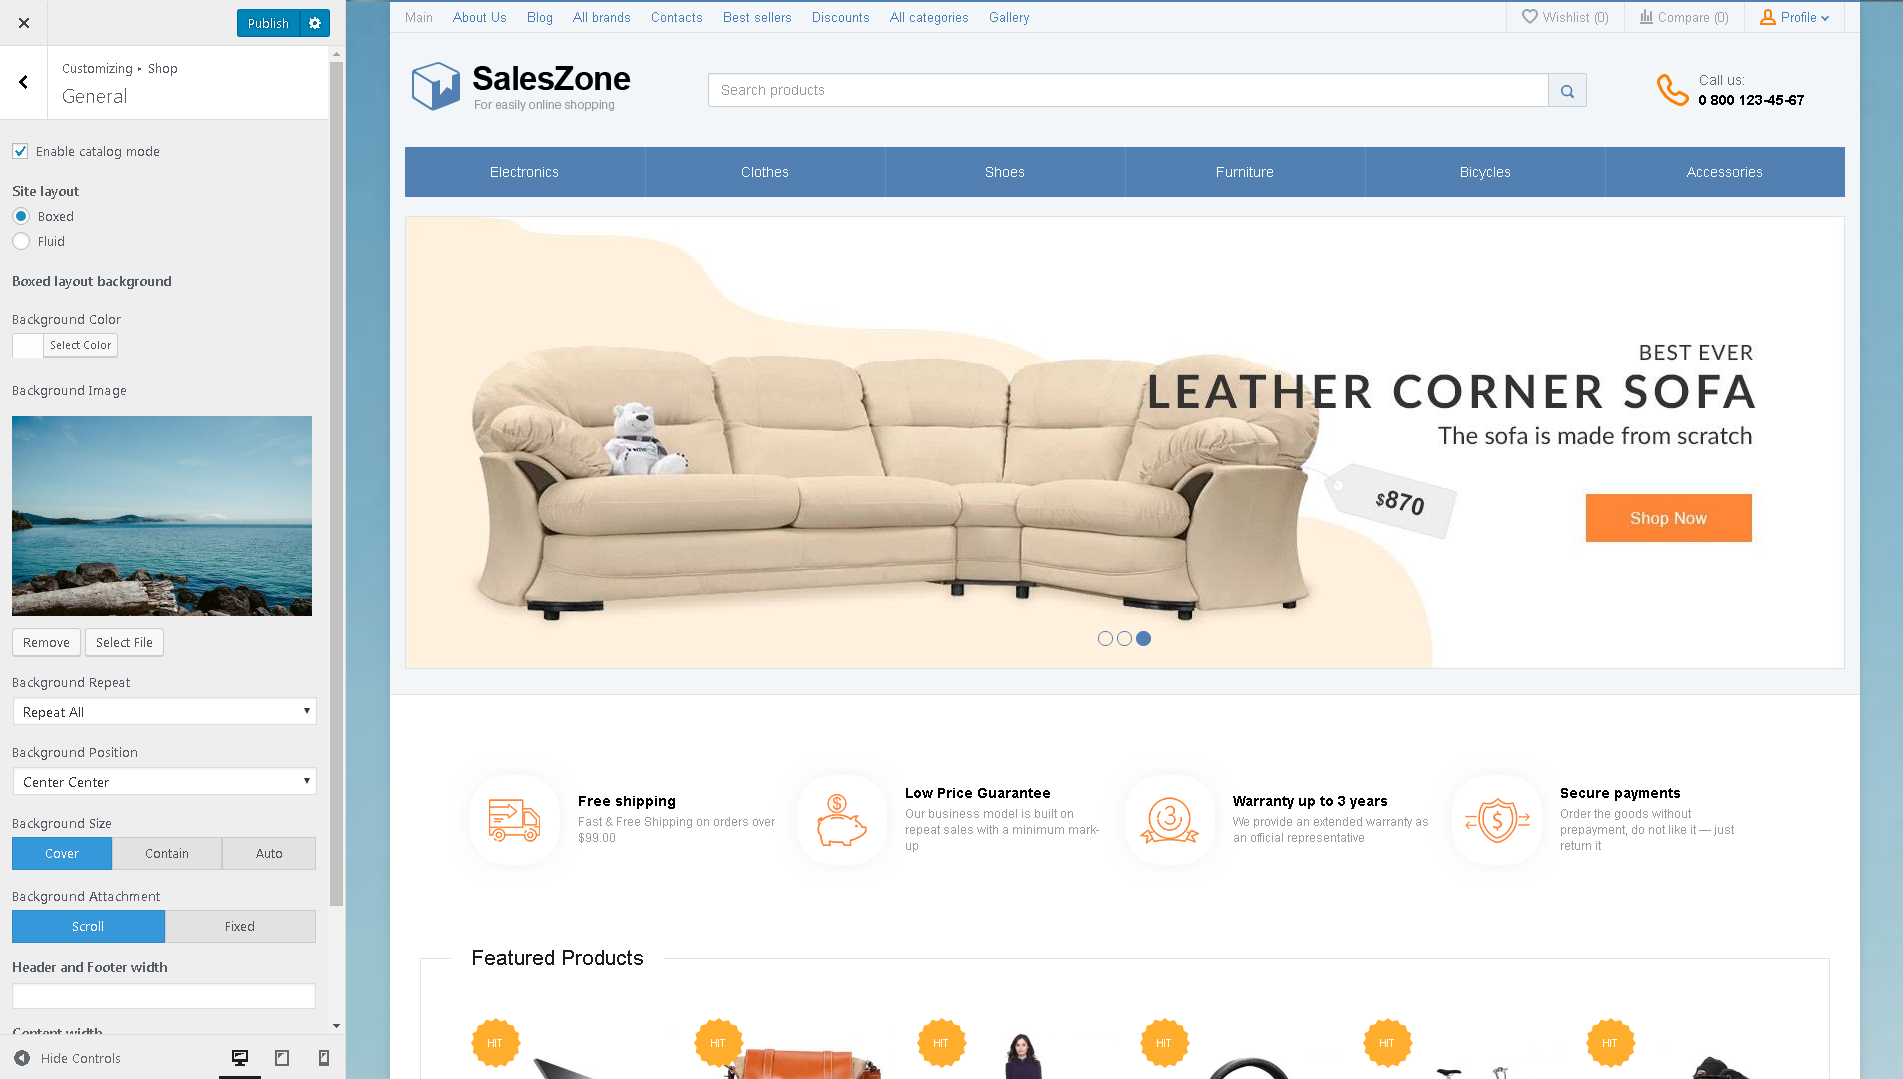
Site layout (available in Premium only)
Boxed. You can change the background color or select an image for the background with the additional display options.
Fluid
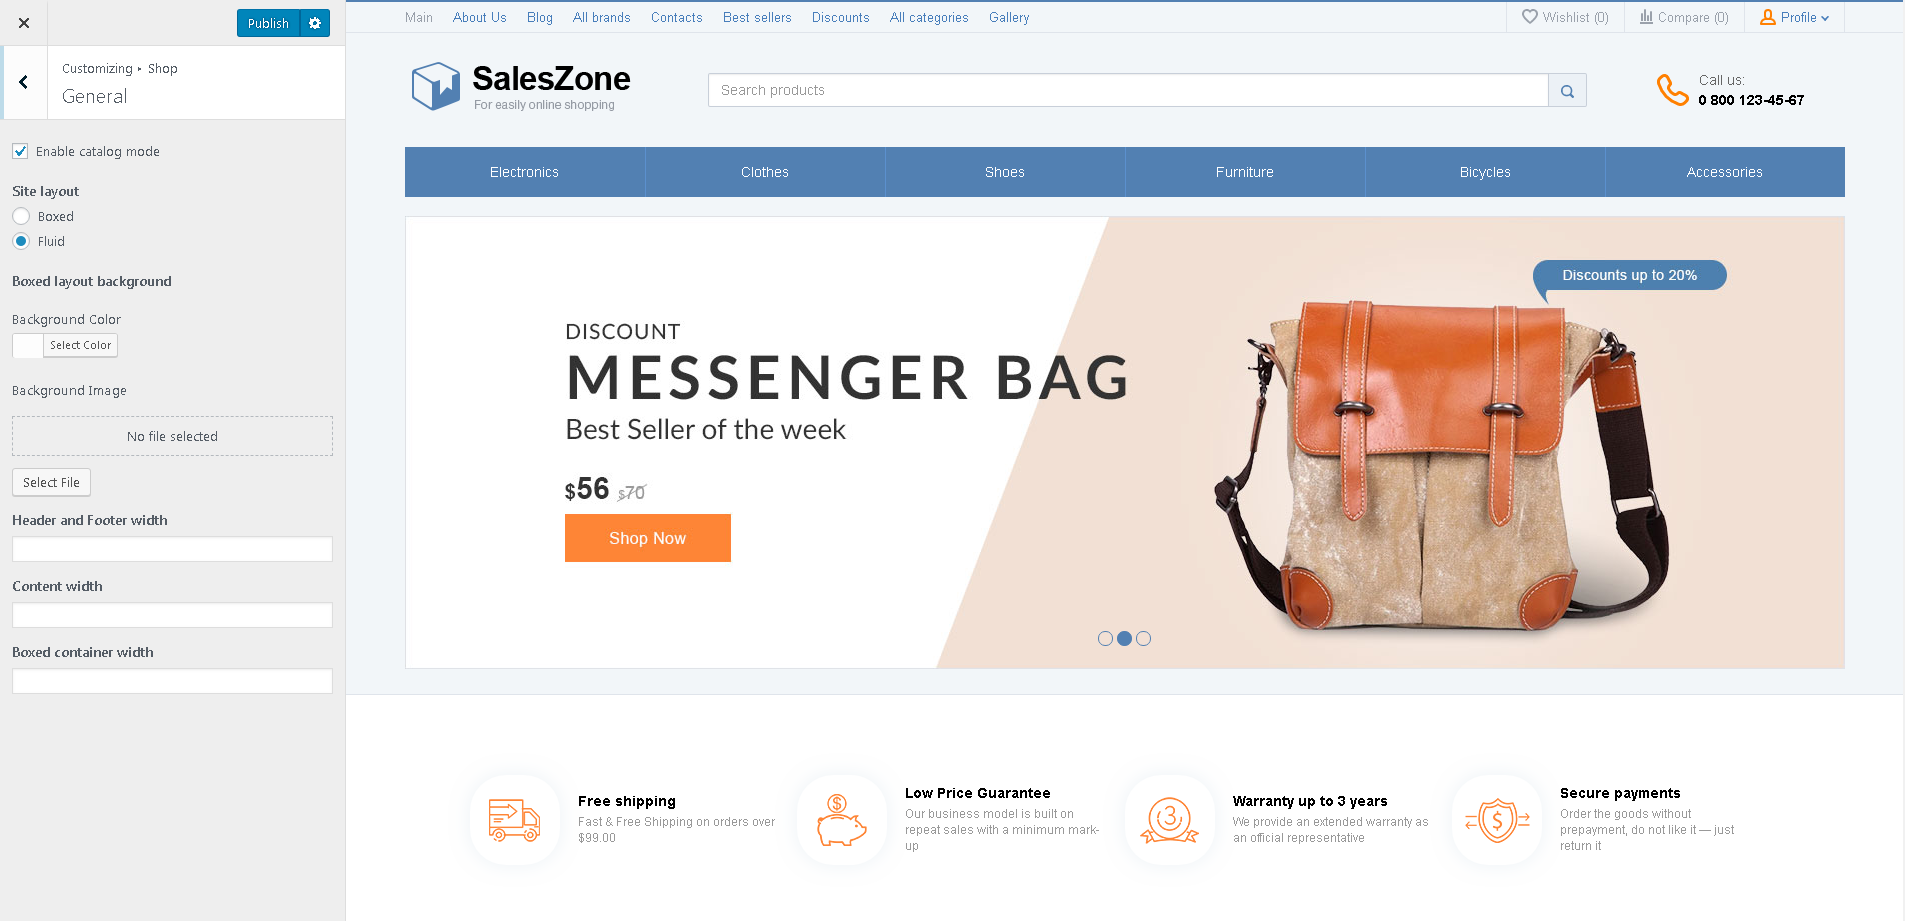
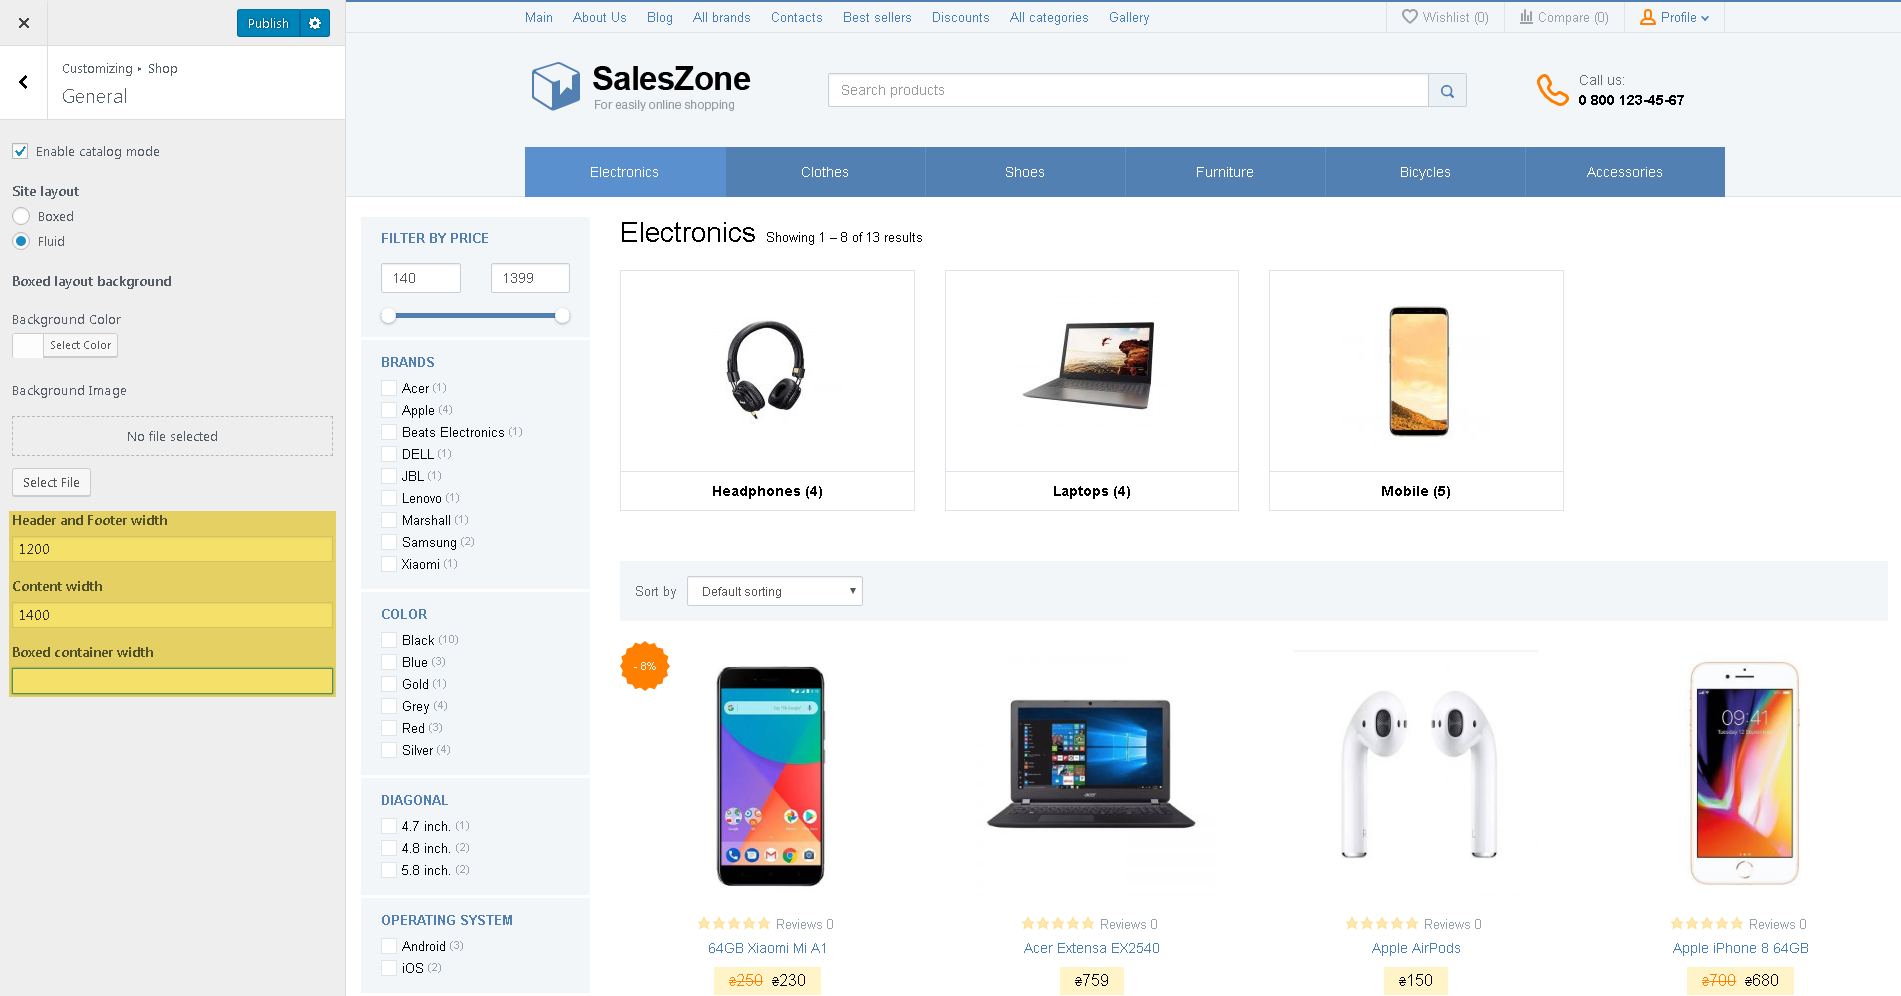
Site content width
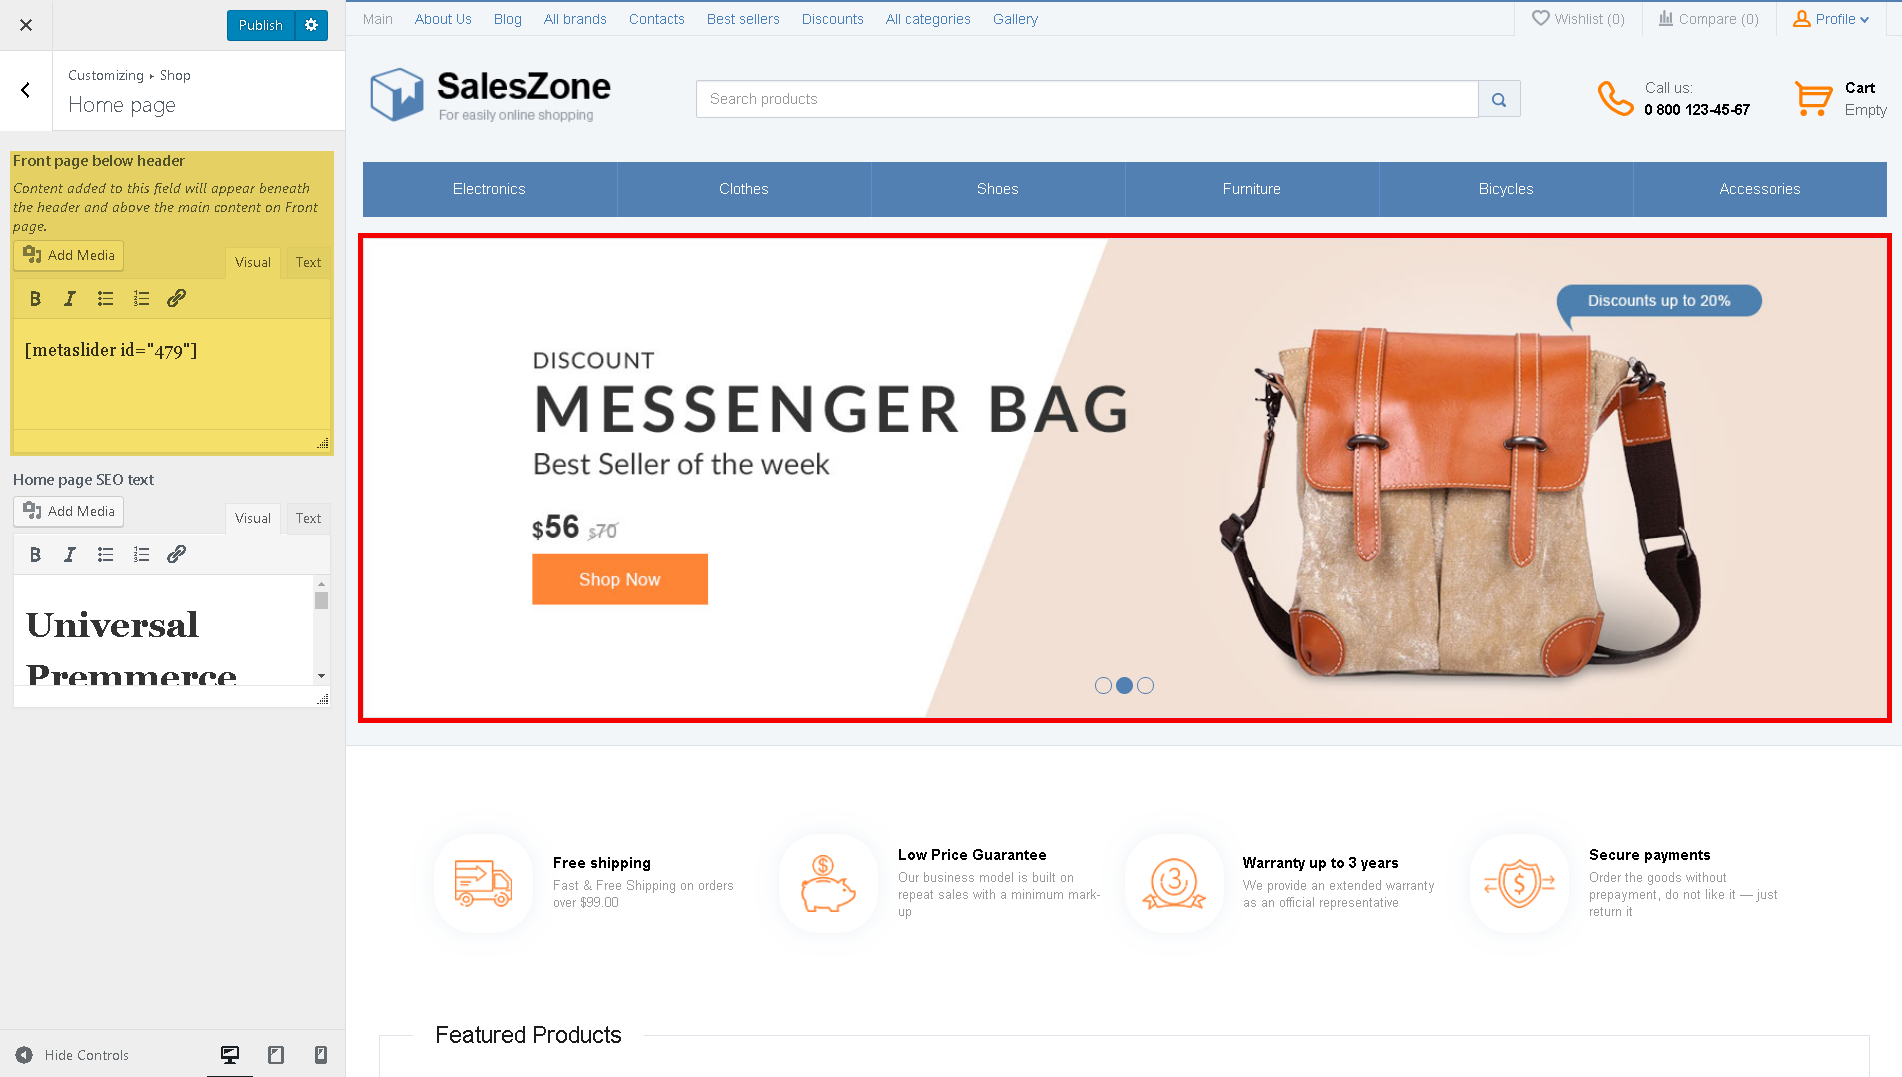
Homepage
Front page below the header
Homepage SEO text
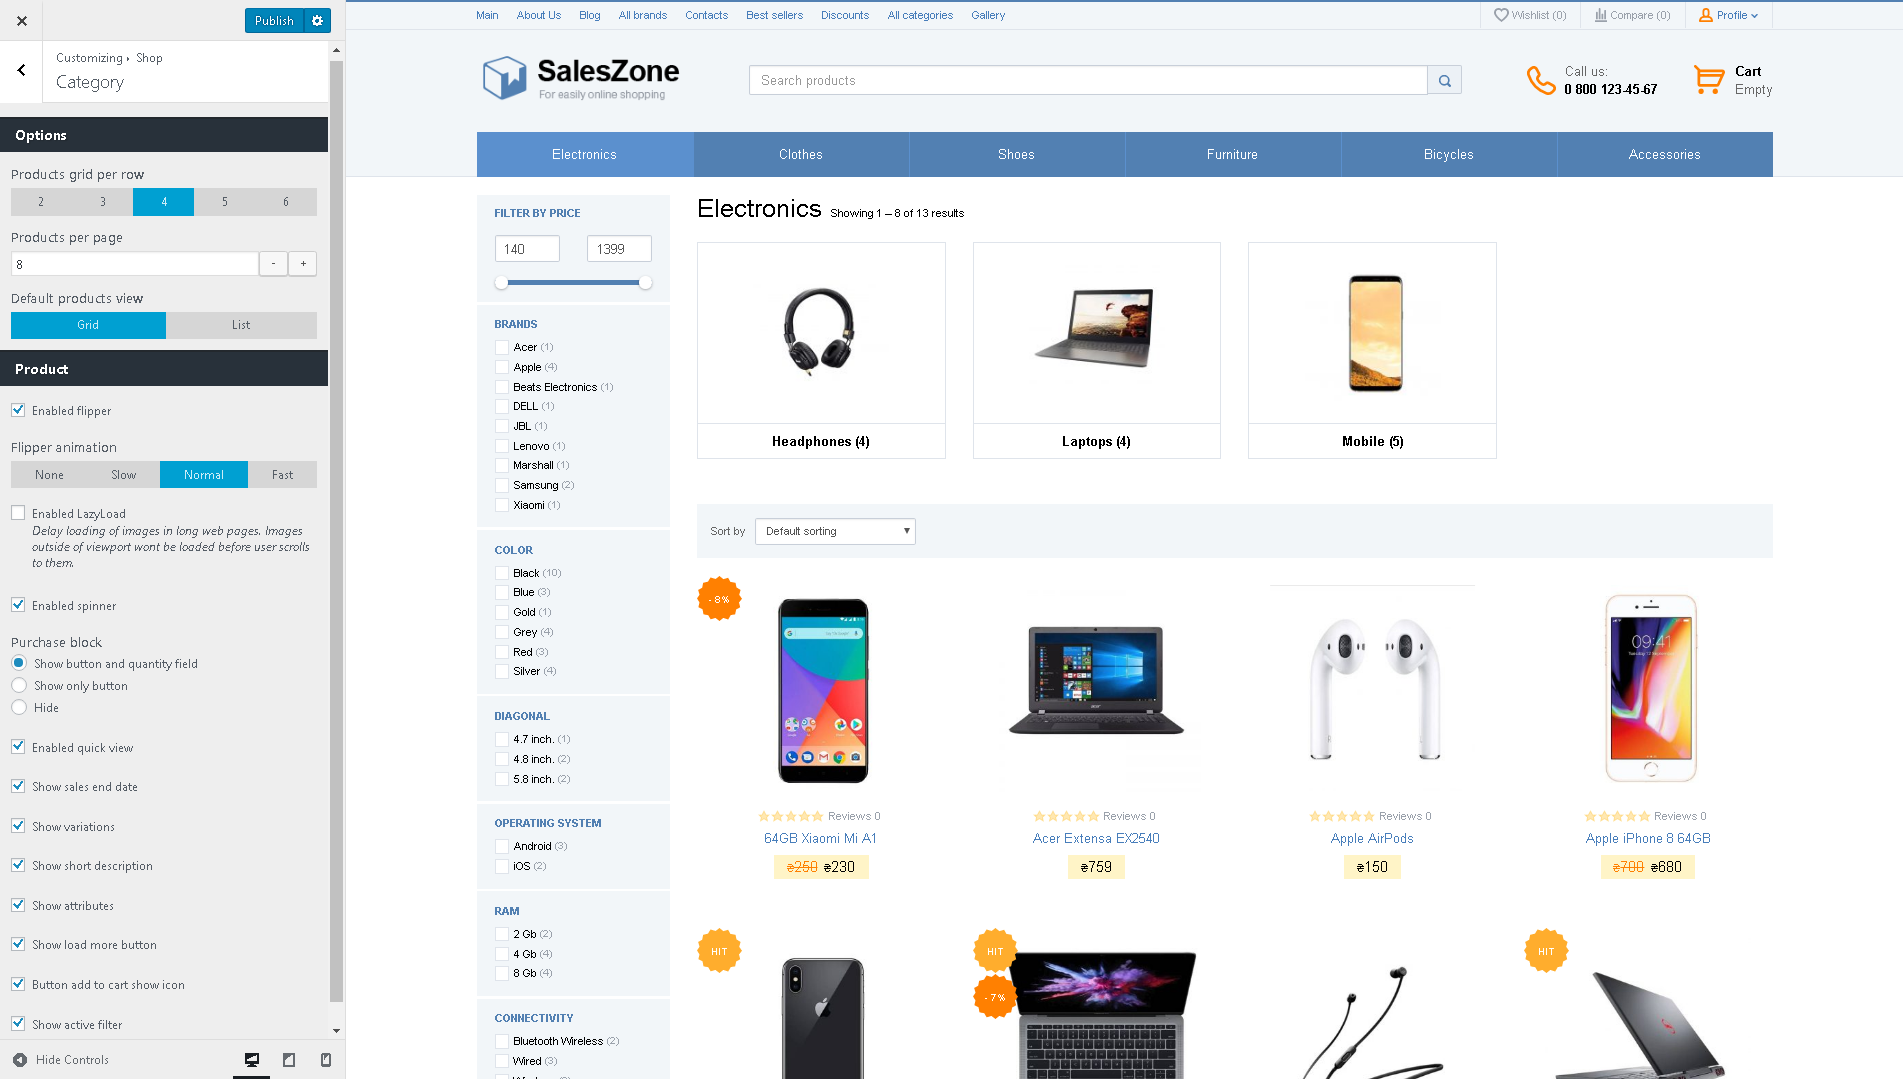
Category (all features available in Premium only)
You can set up the products display in the catalog and some additional options.
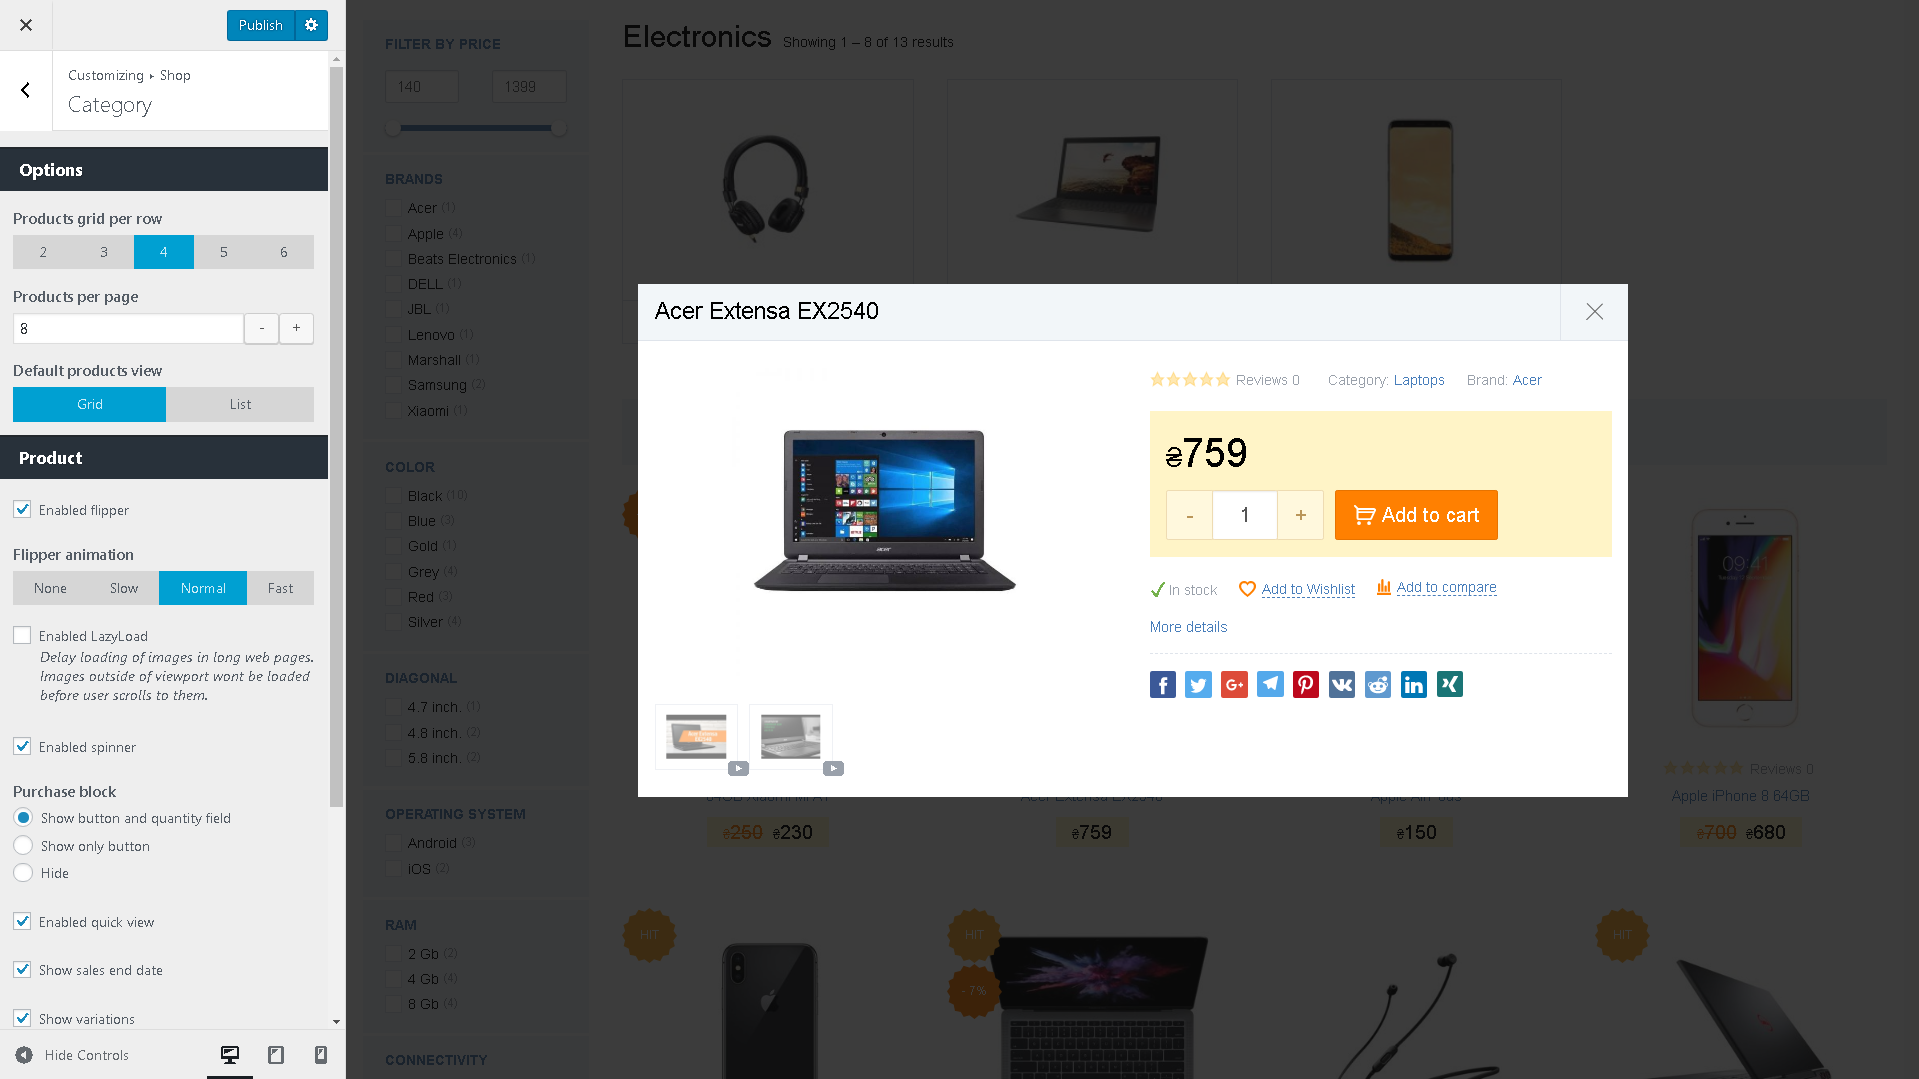
Enable quick view (available in Premium only)
It adds a button to the product that opens a product popup with the main product parameters.

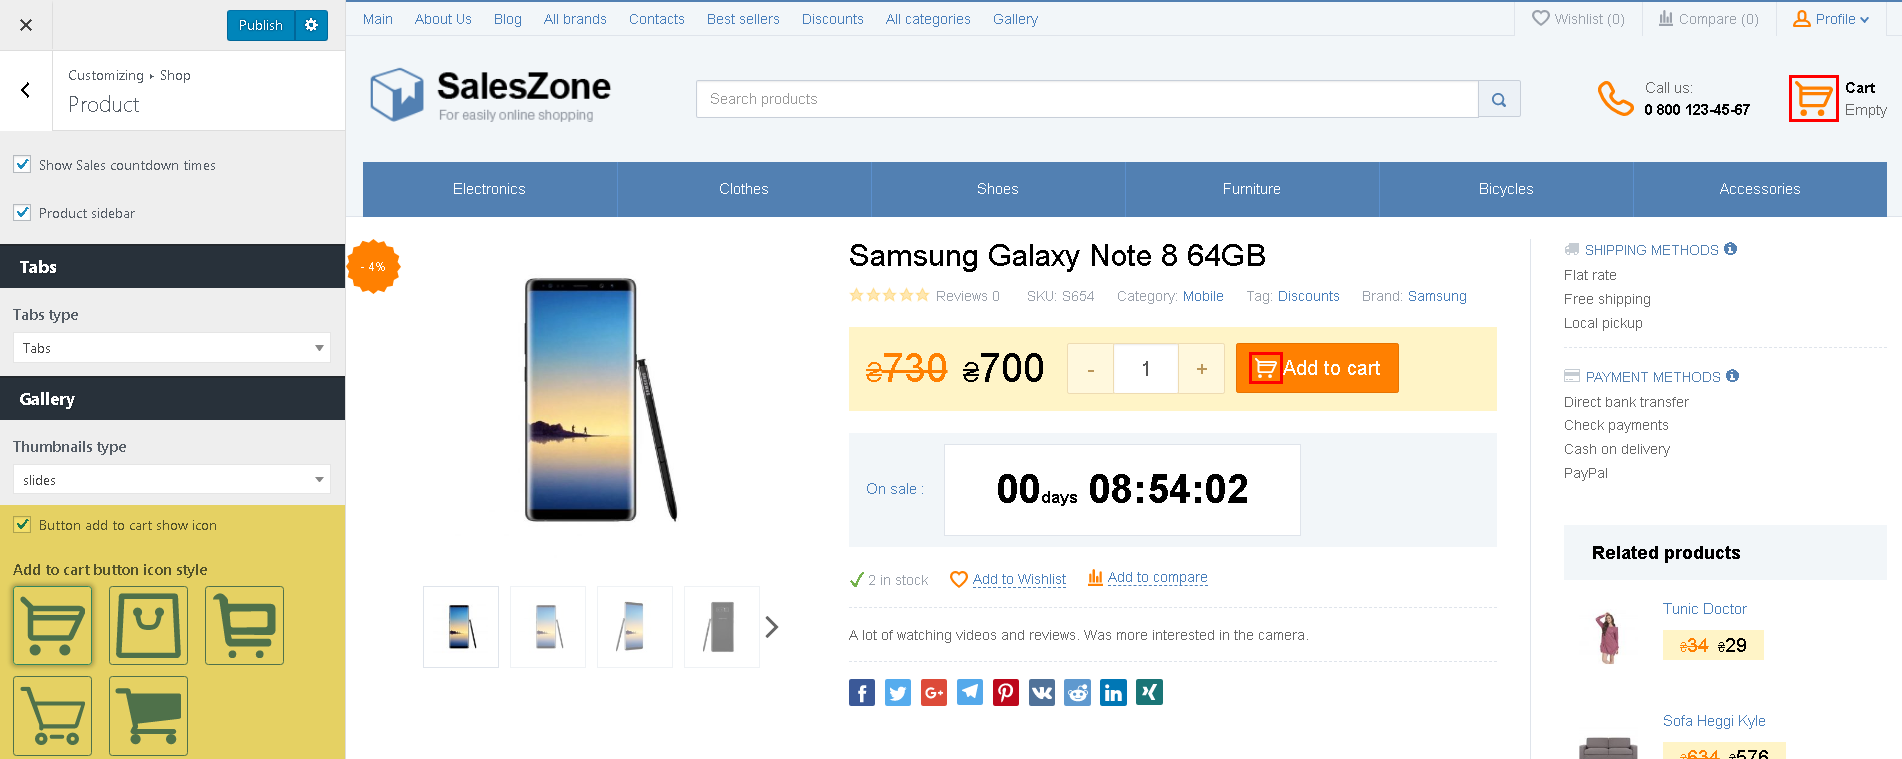
Product
You can set up a product page display in this tab.
Show Sales countdown (available in Premium only):
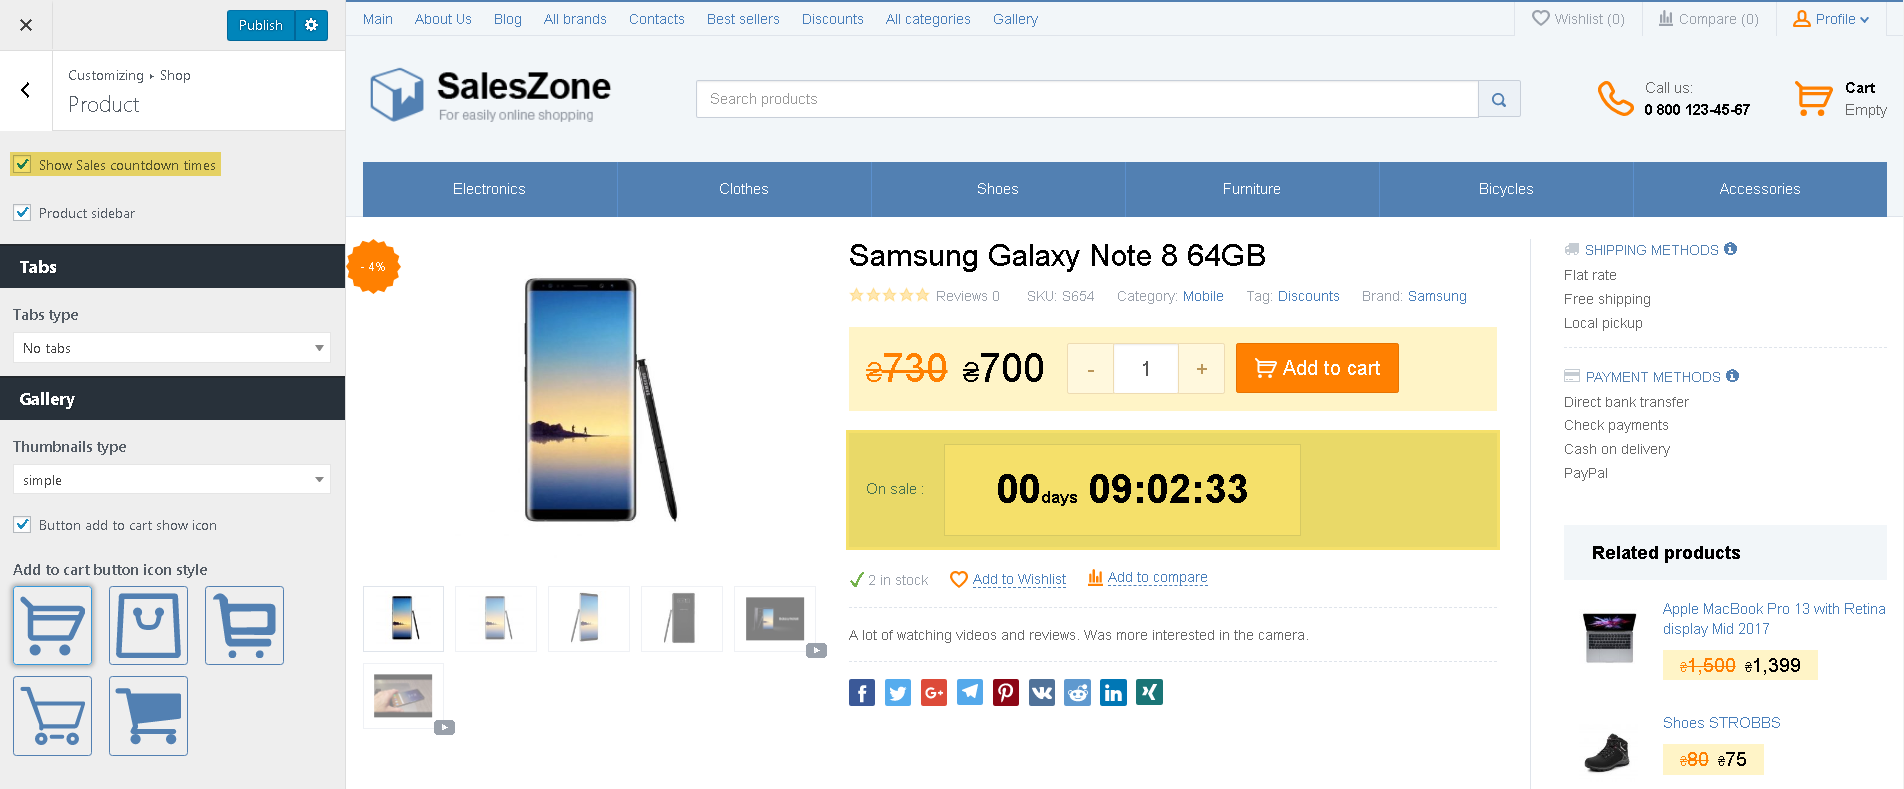
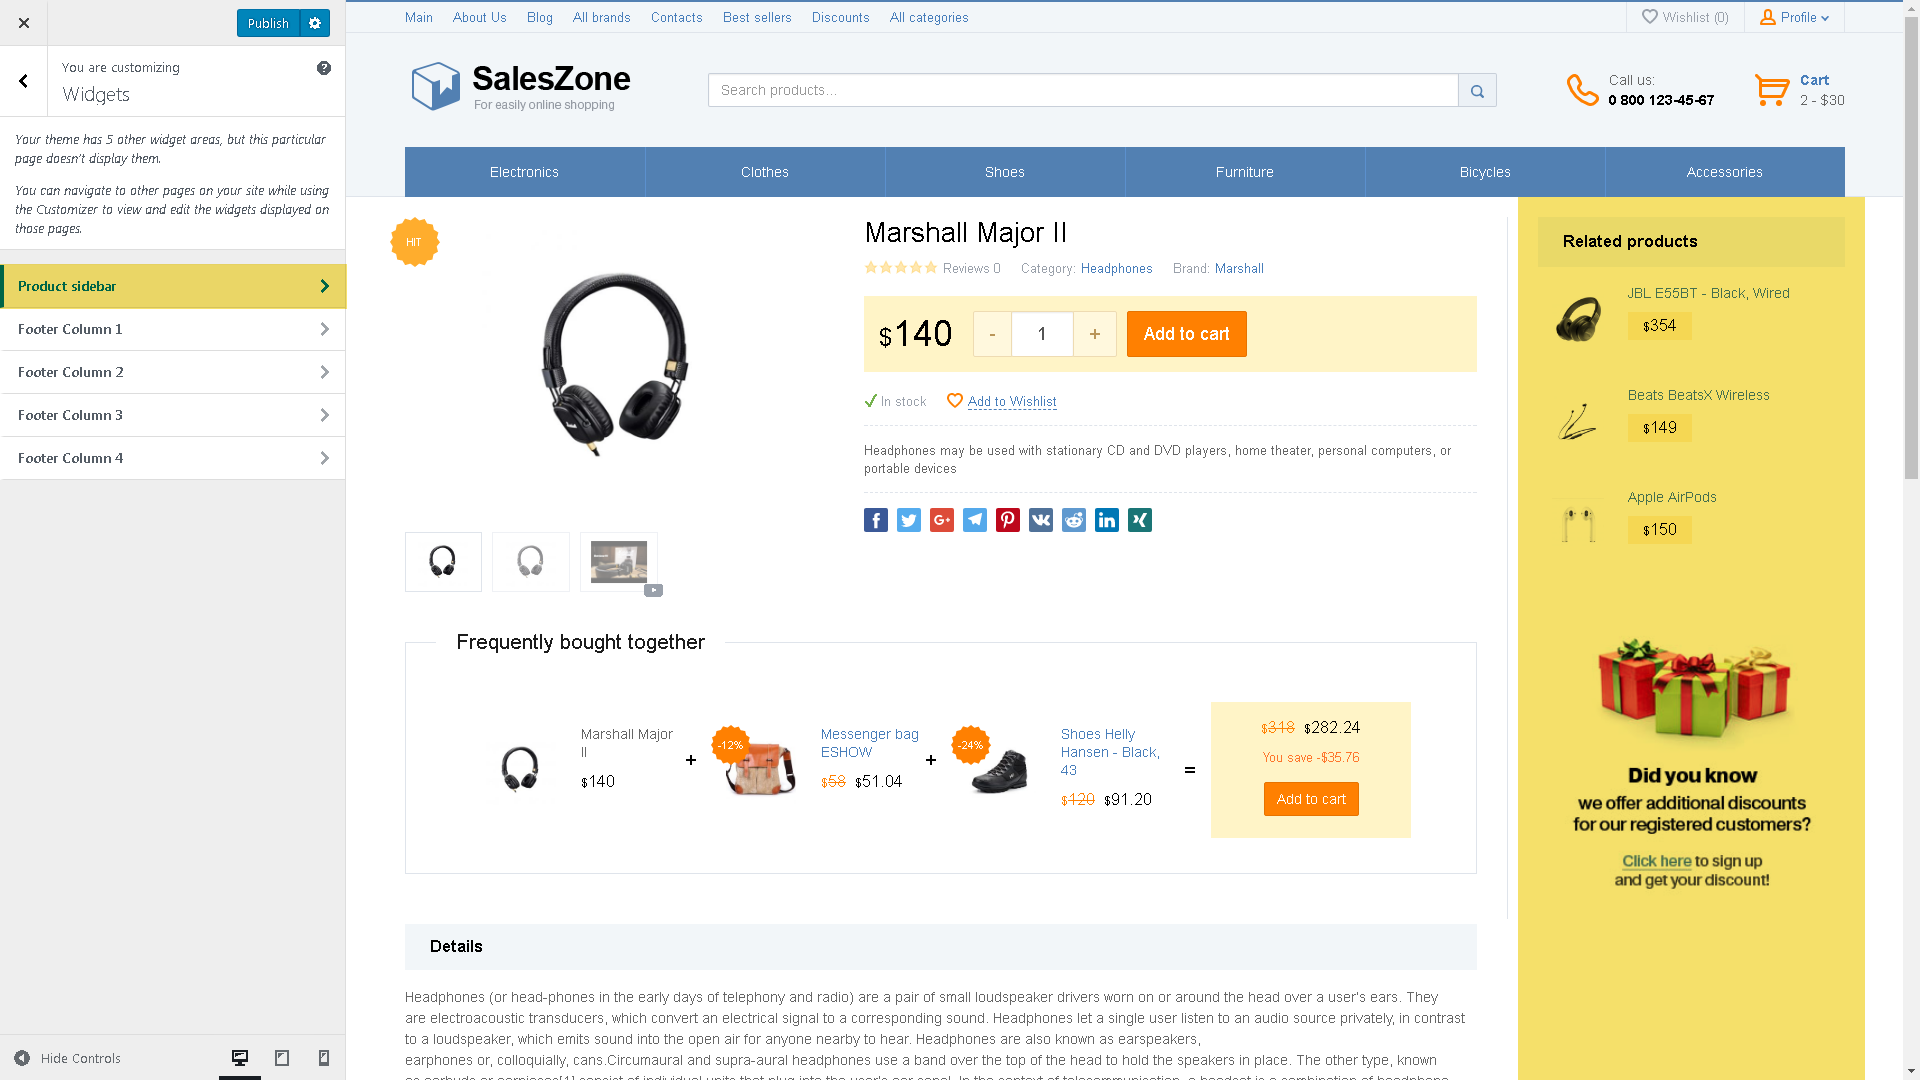
The right column activates the widget zone on the product page – Product sidebar.
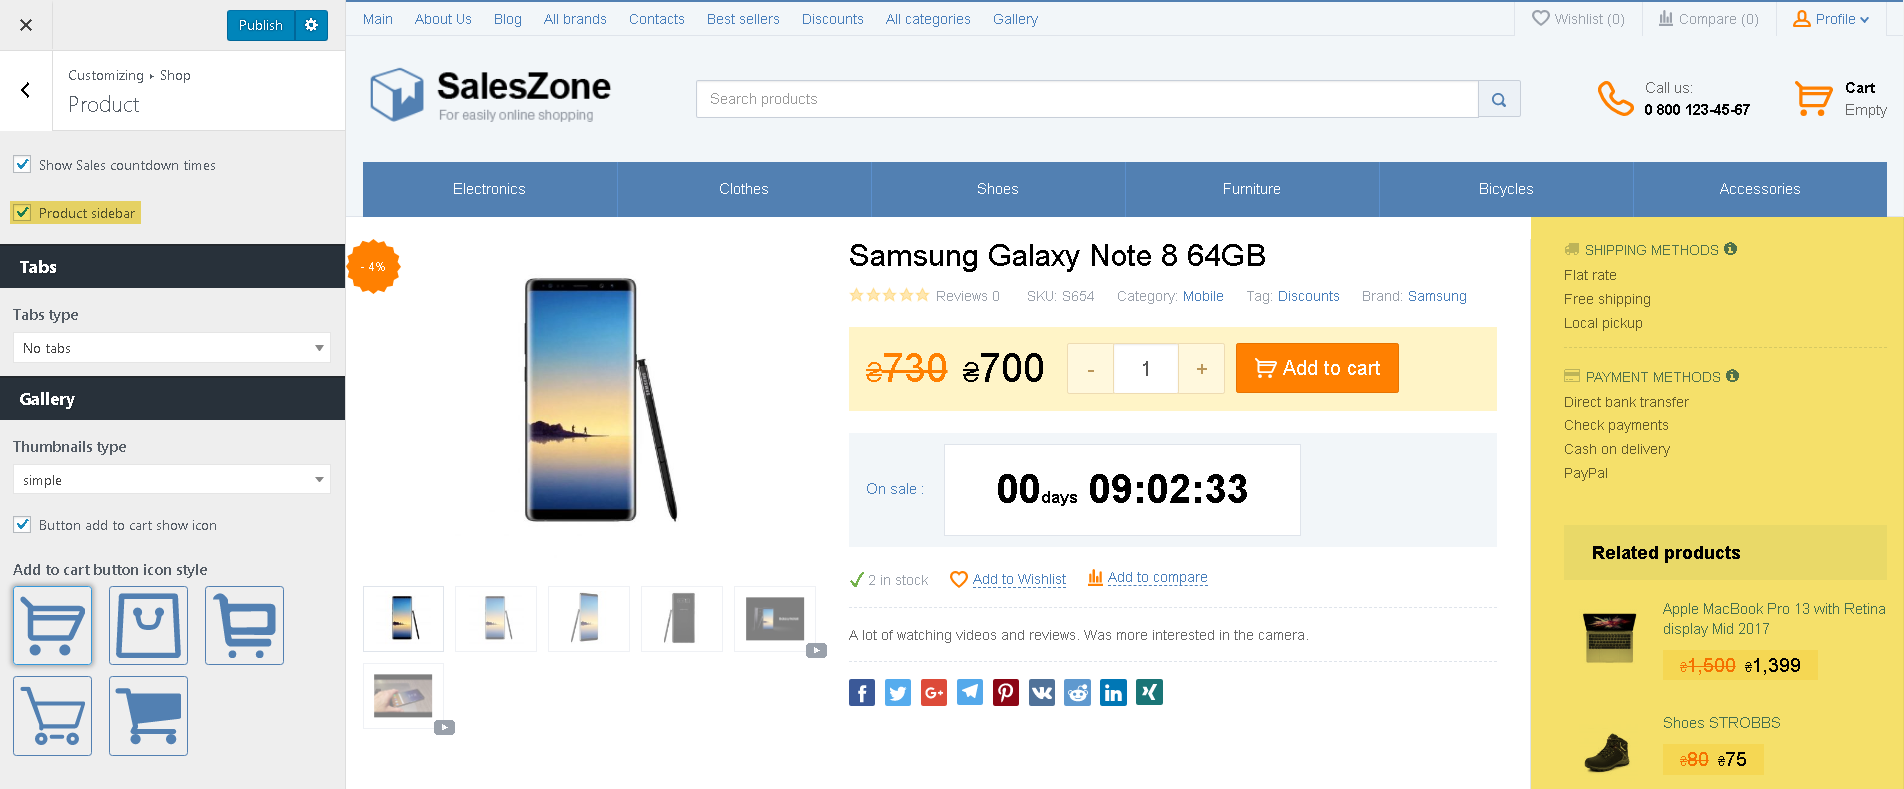
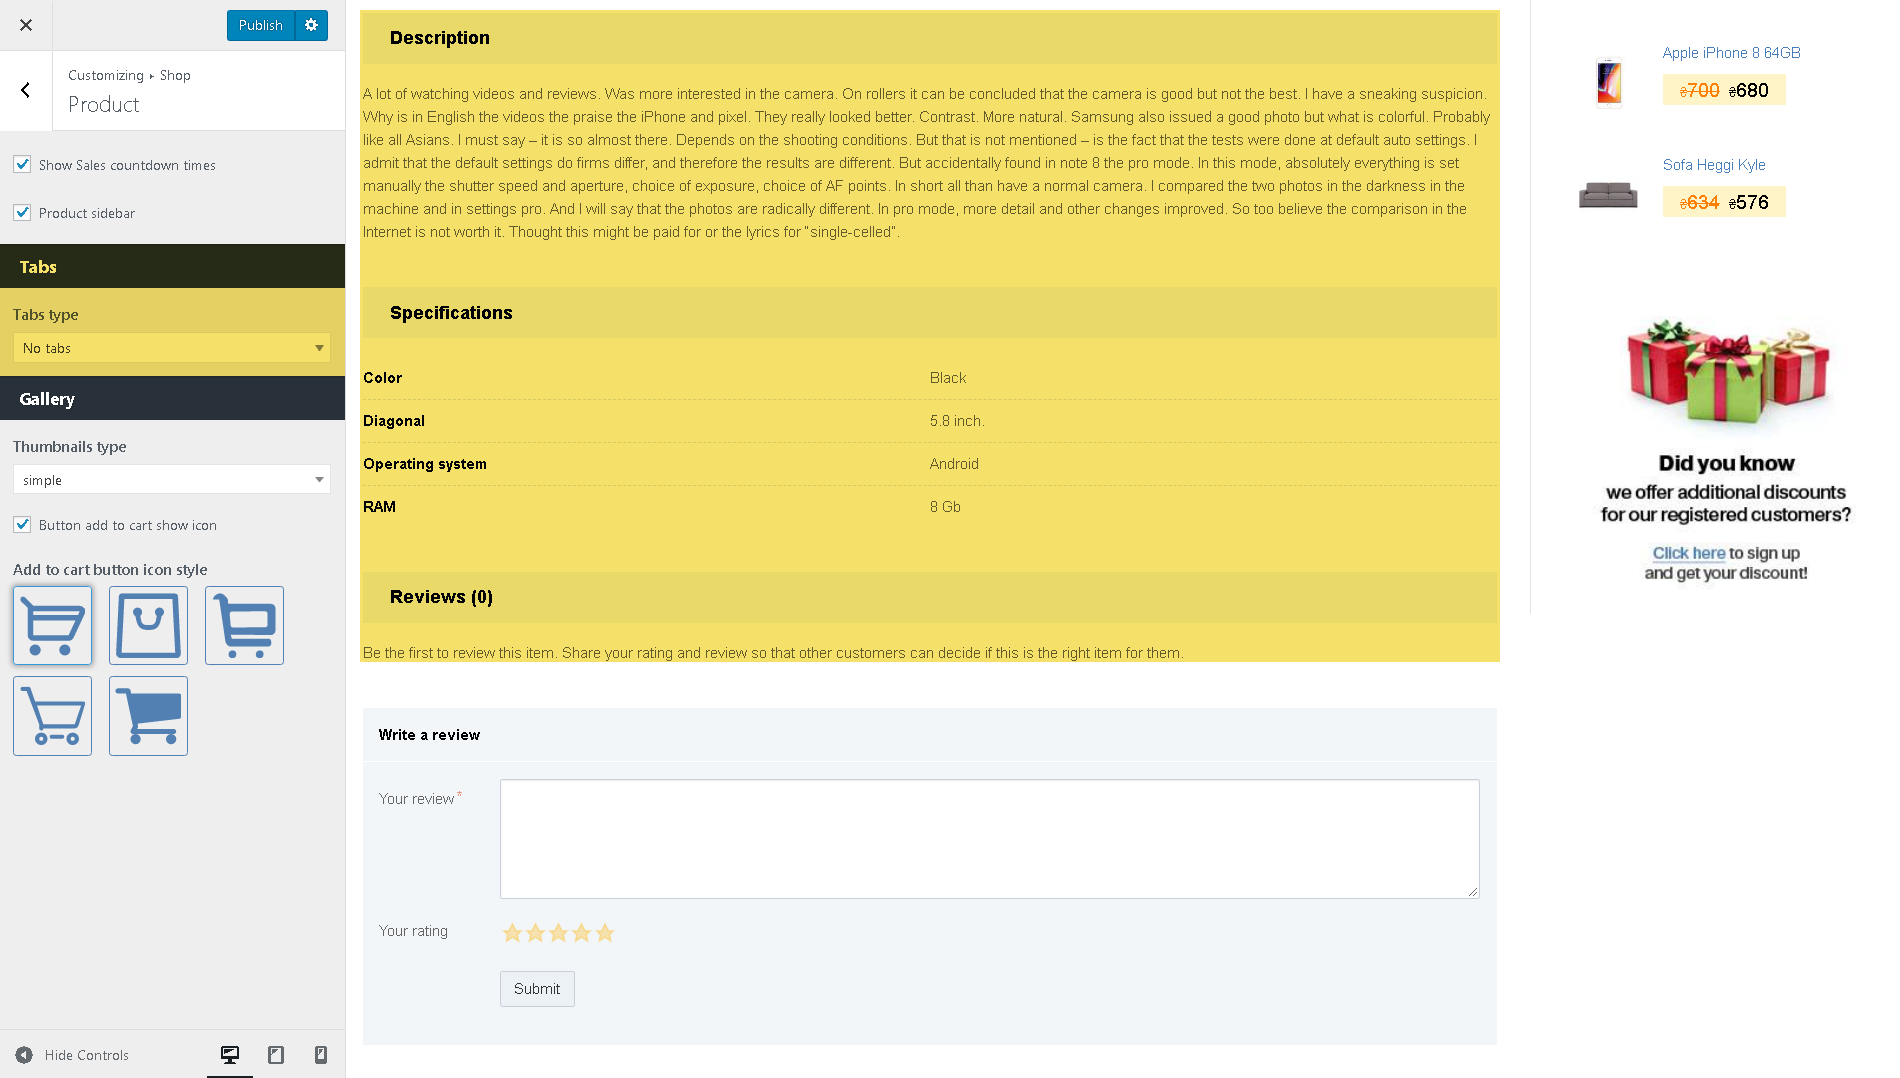
The type of additional product information display (available in Premium only):
Tabs
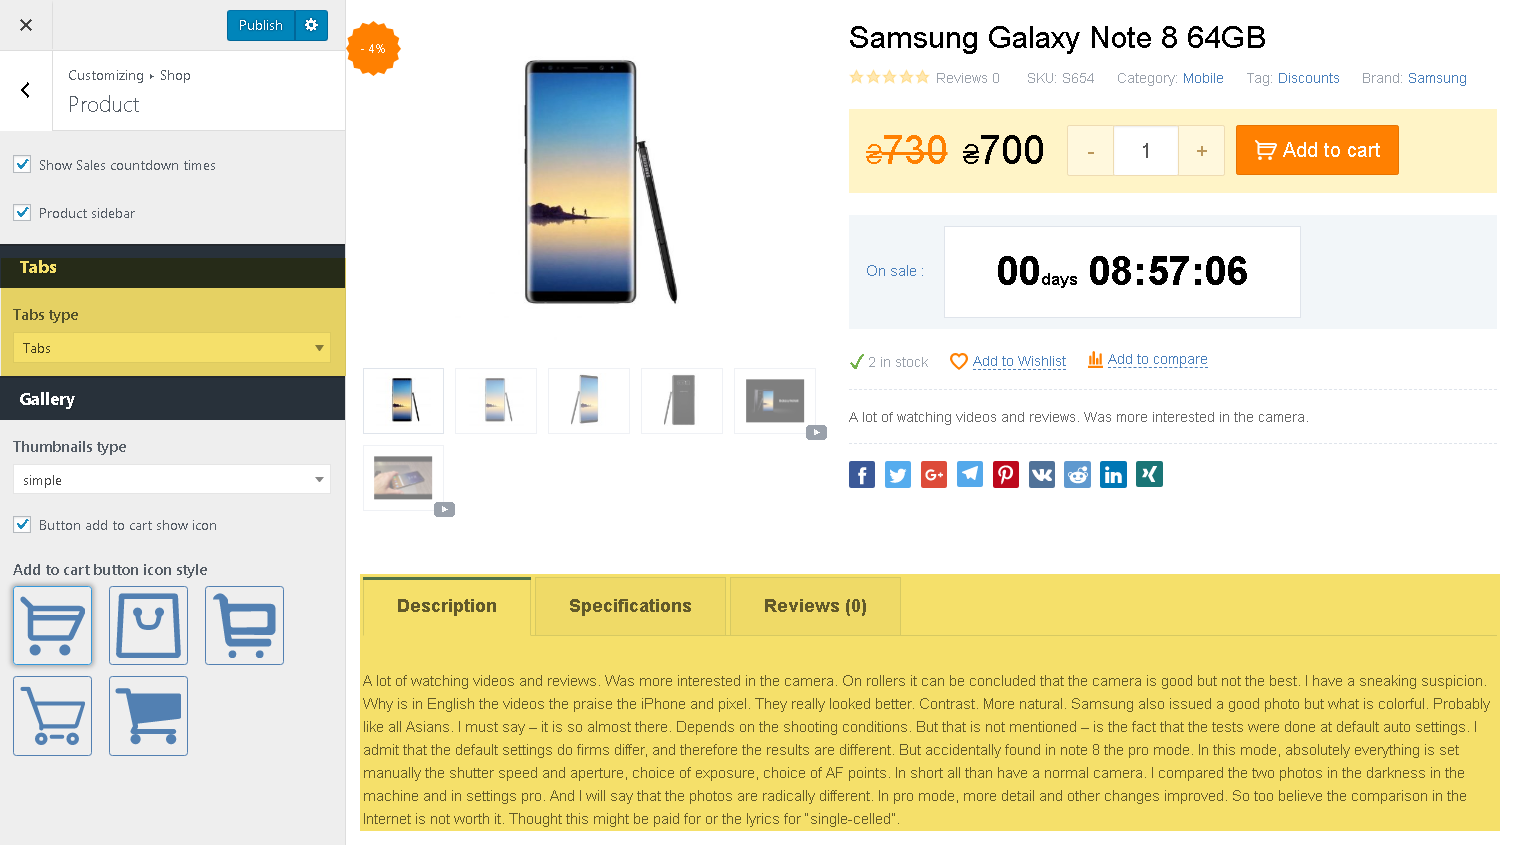
Do not use tabs
Types of additional images (available in Premium only):
slide view
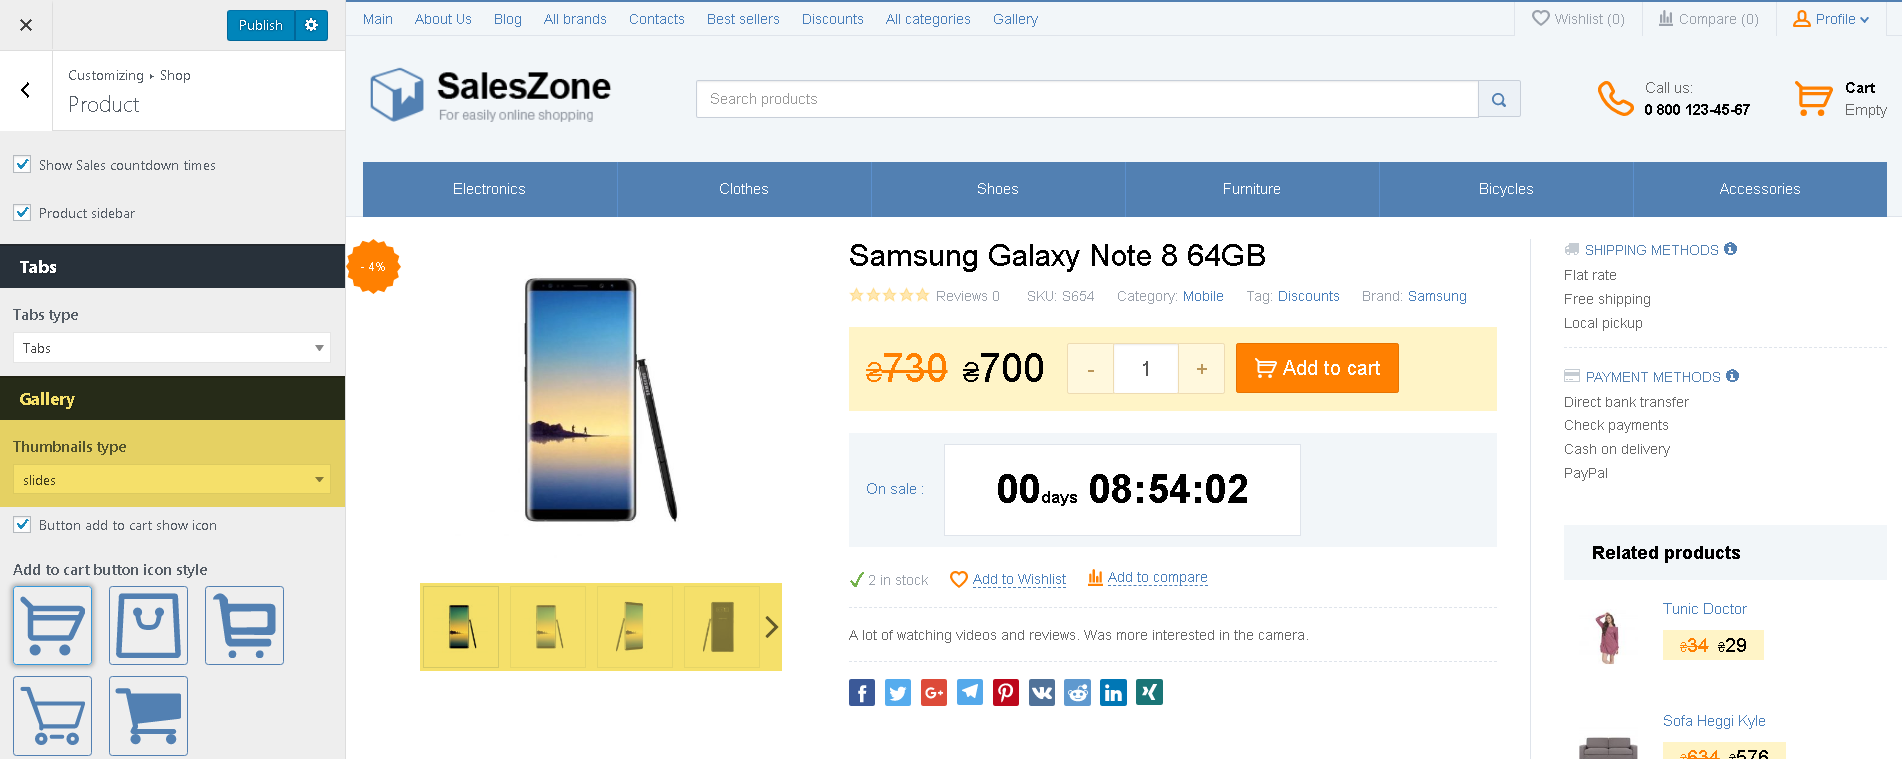
simple view
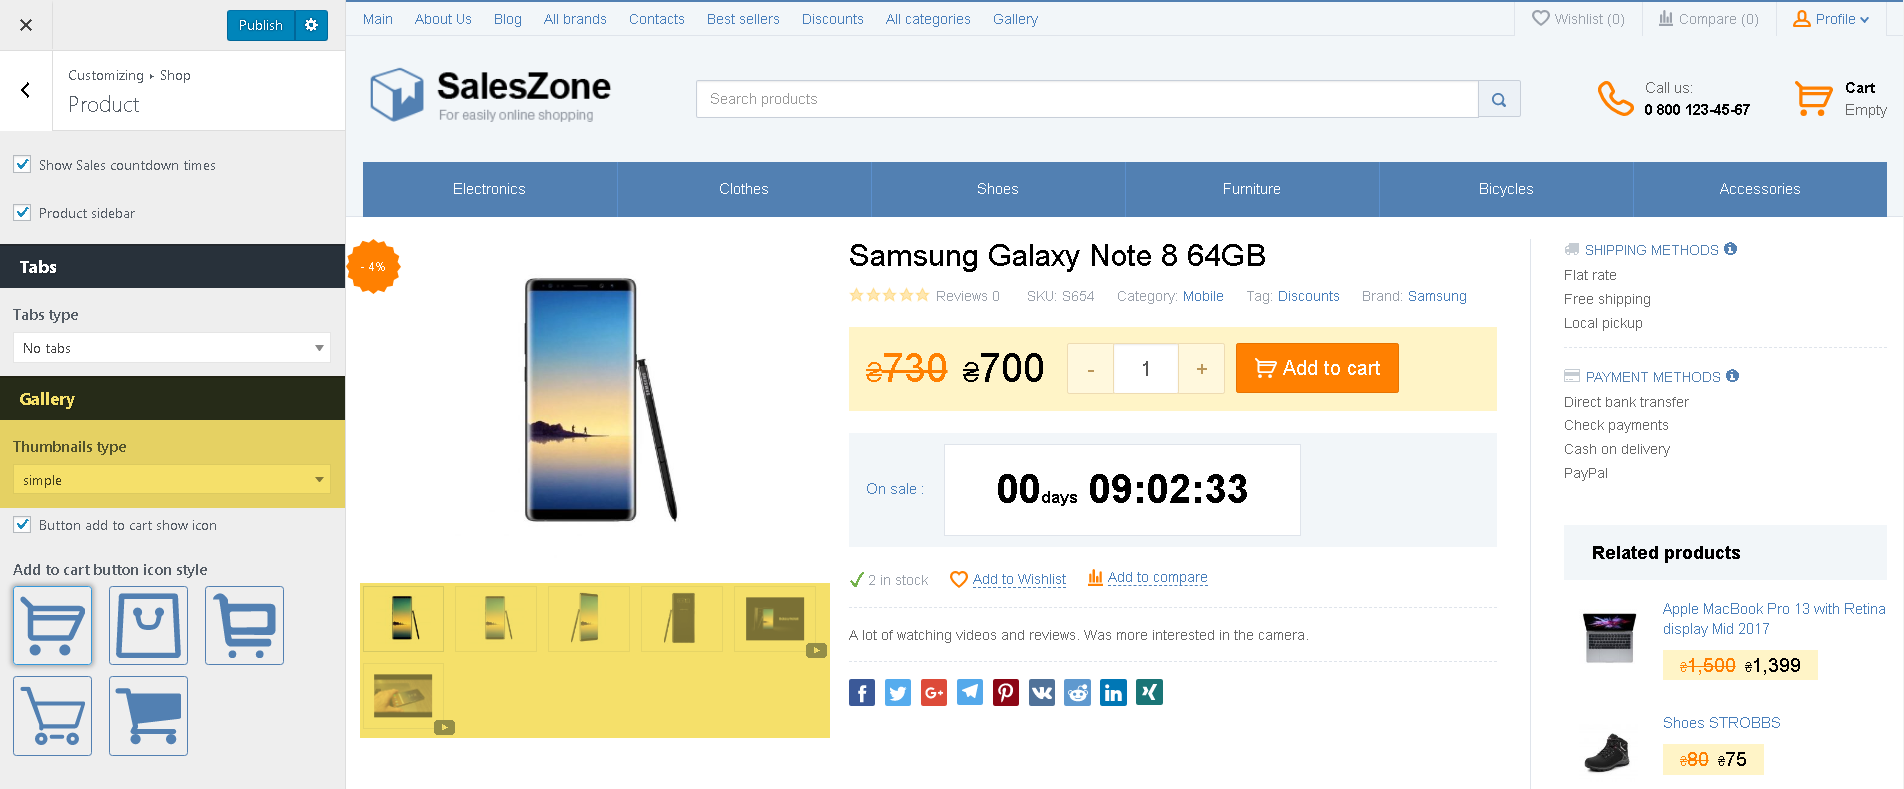
Icon style Add to cart button (available in Premium only)
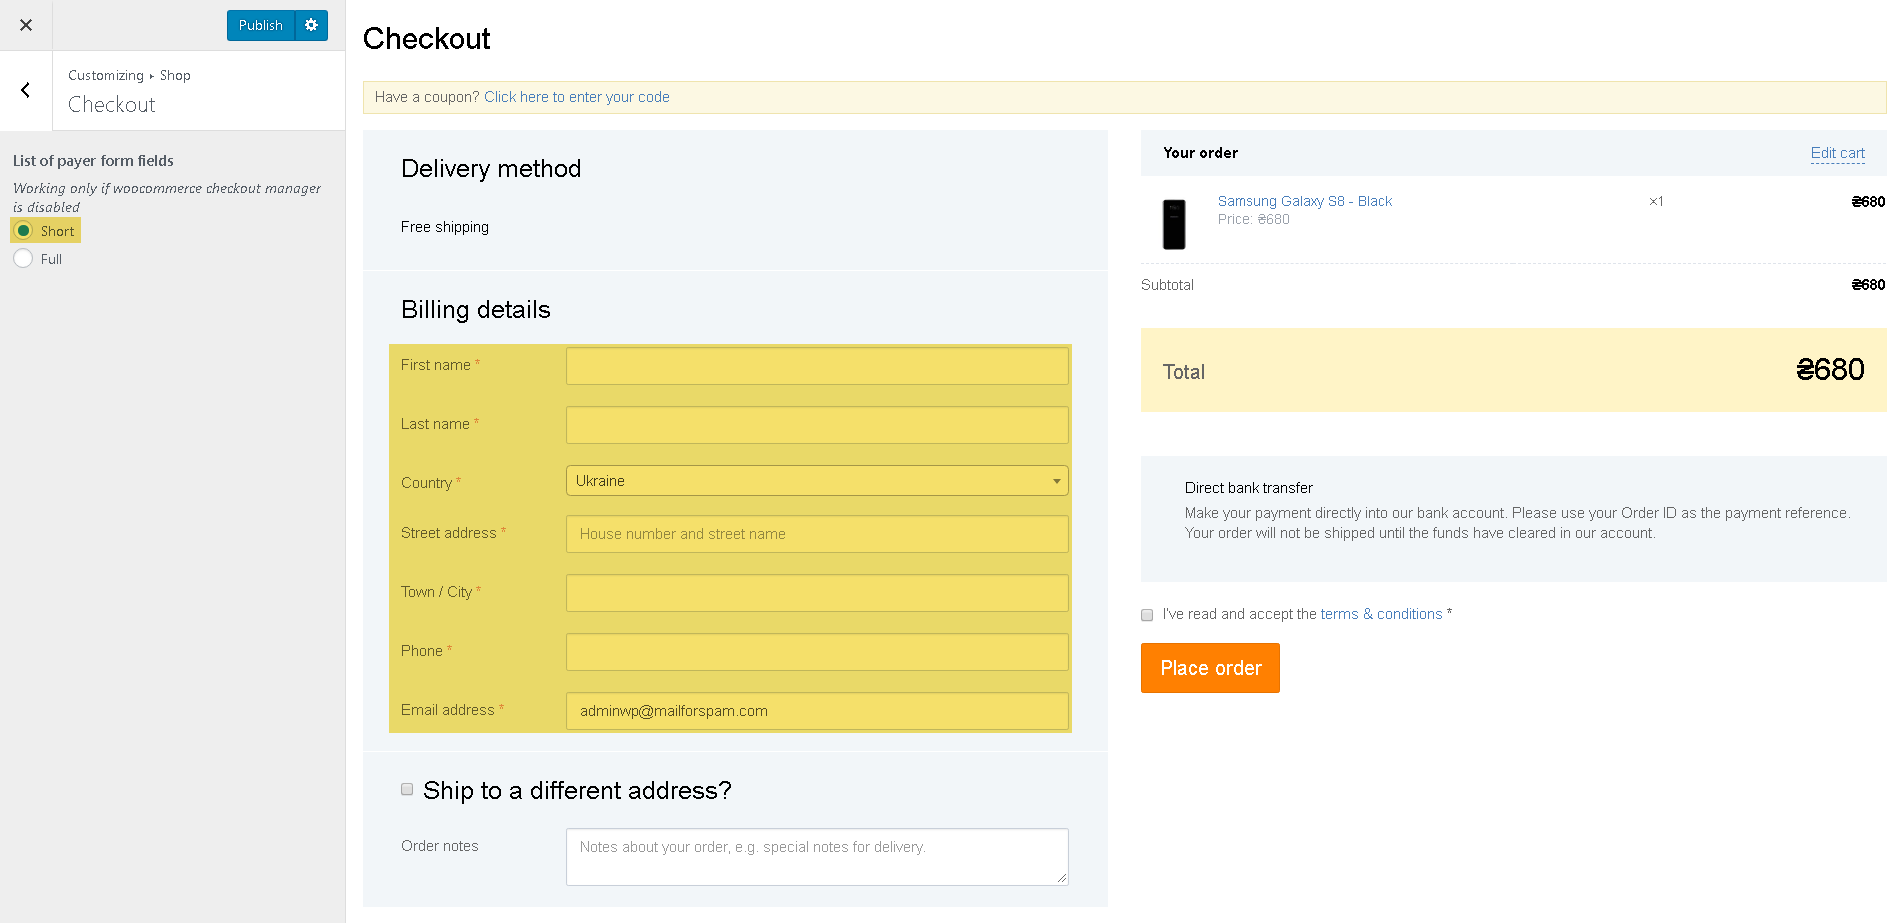
Checkout (available in Premium only)
Here you can choose which form of ‘Payment Details’ to use: short or full.
Benefits (available in Premium only)
You can display the benefits anywhere on your website using the shortcode [benefits].

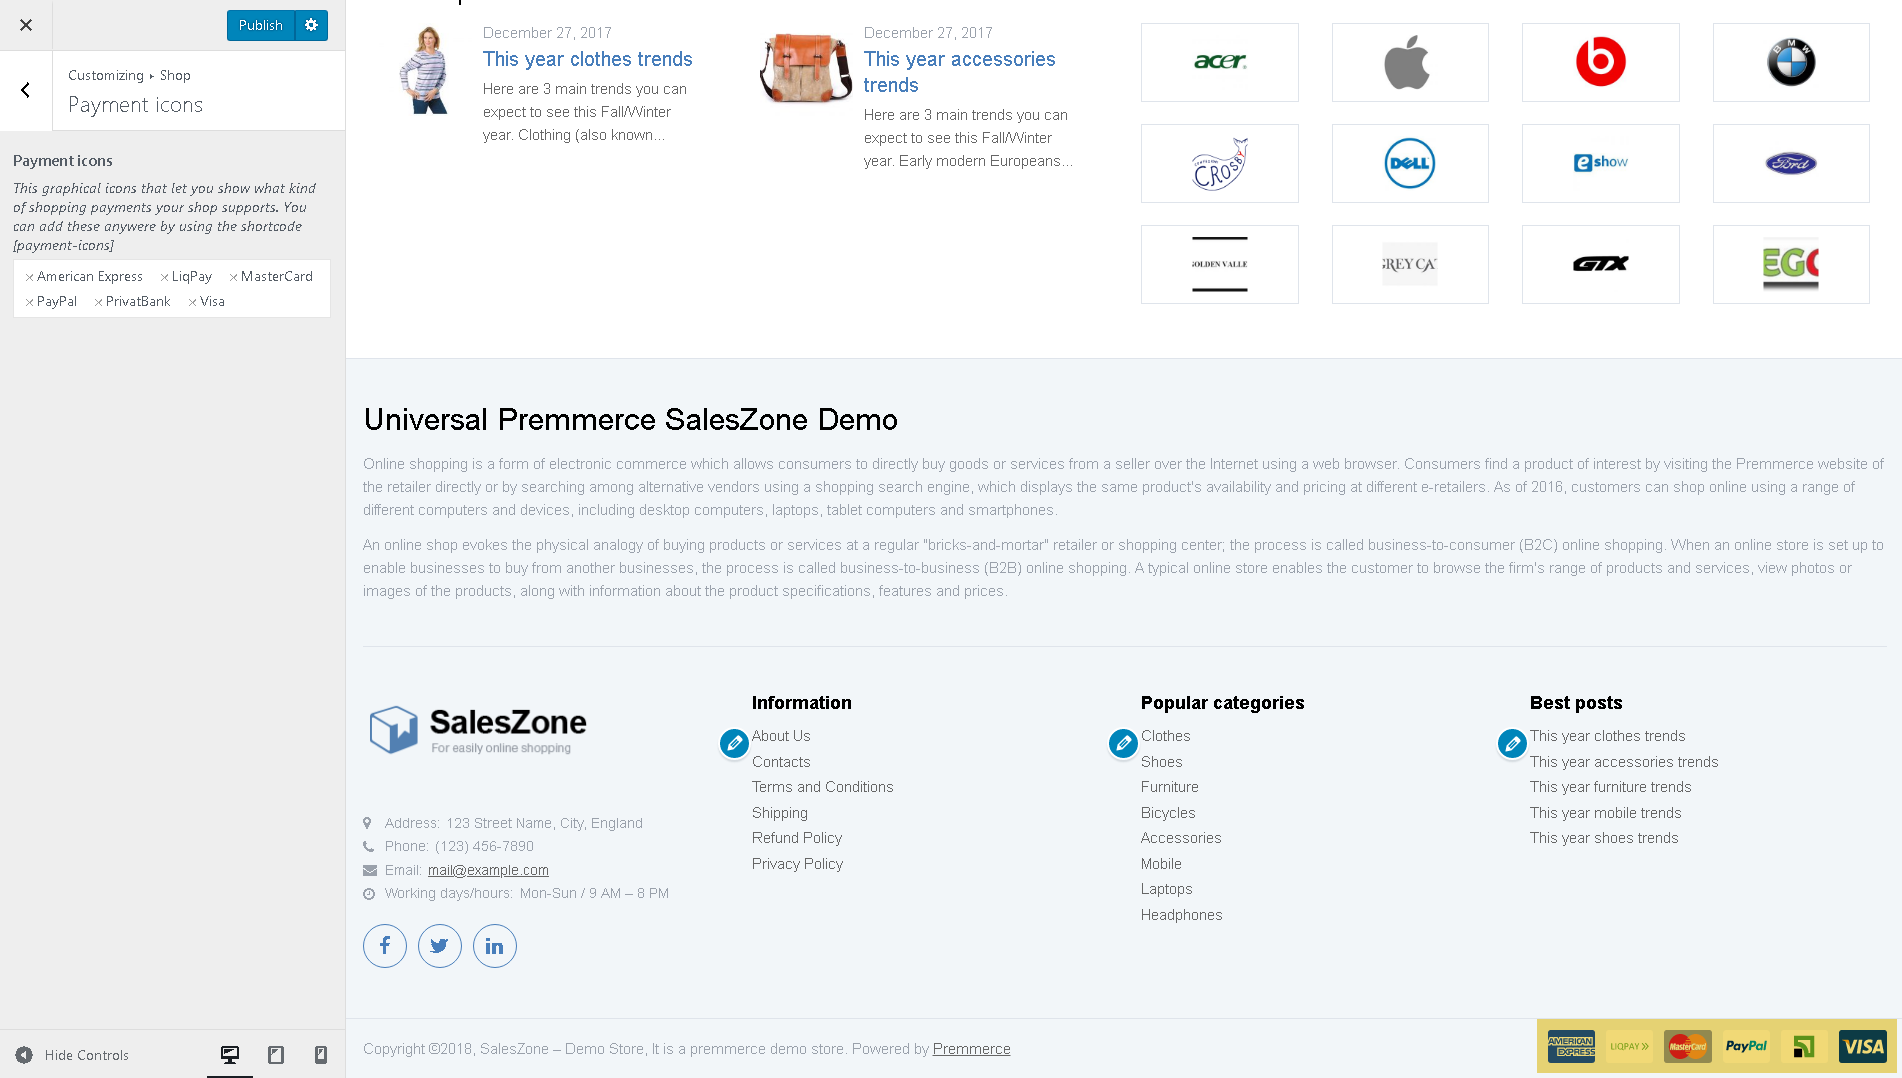
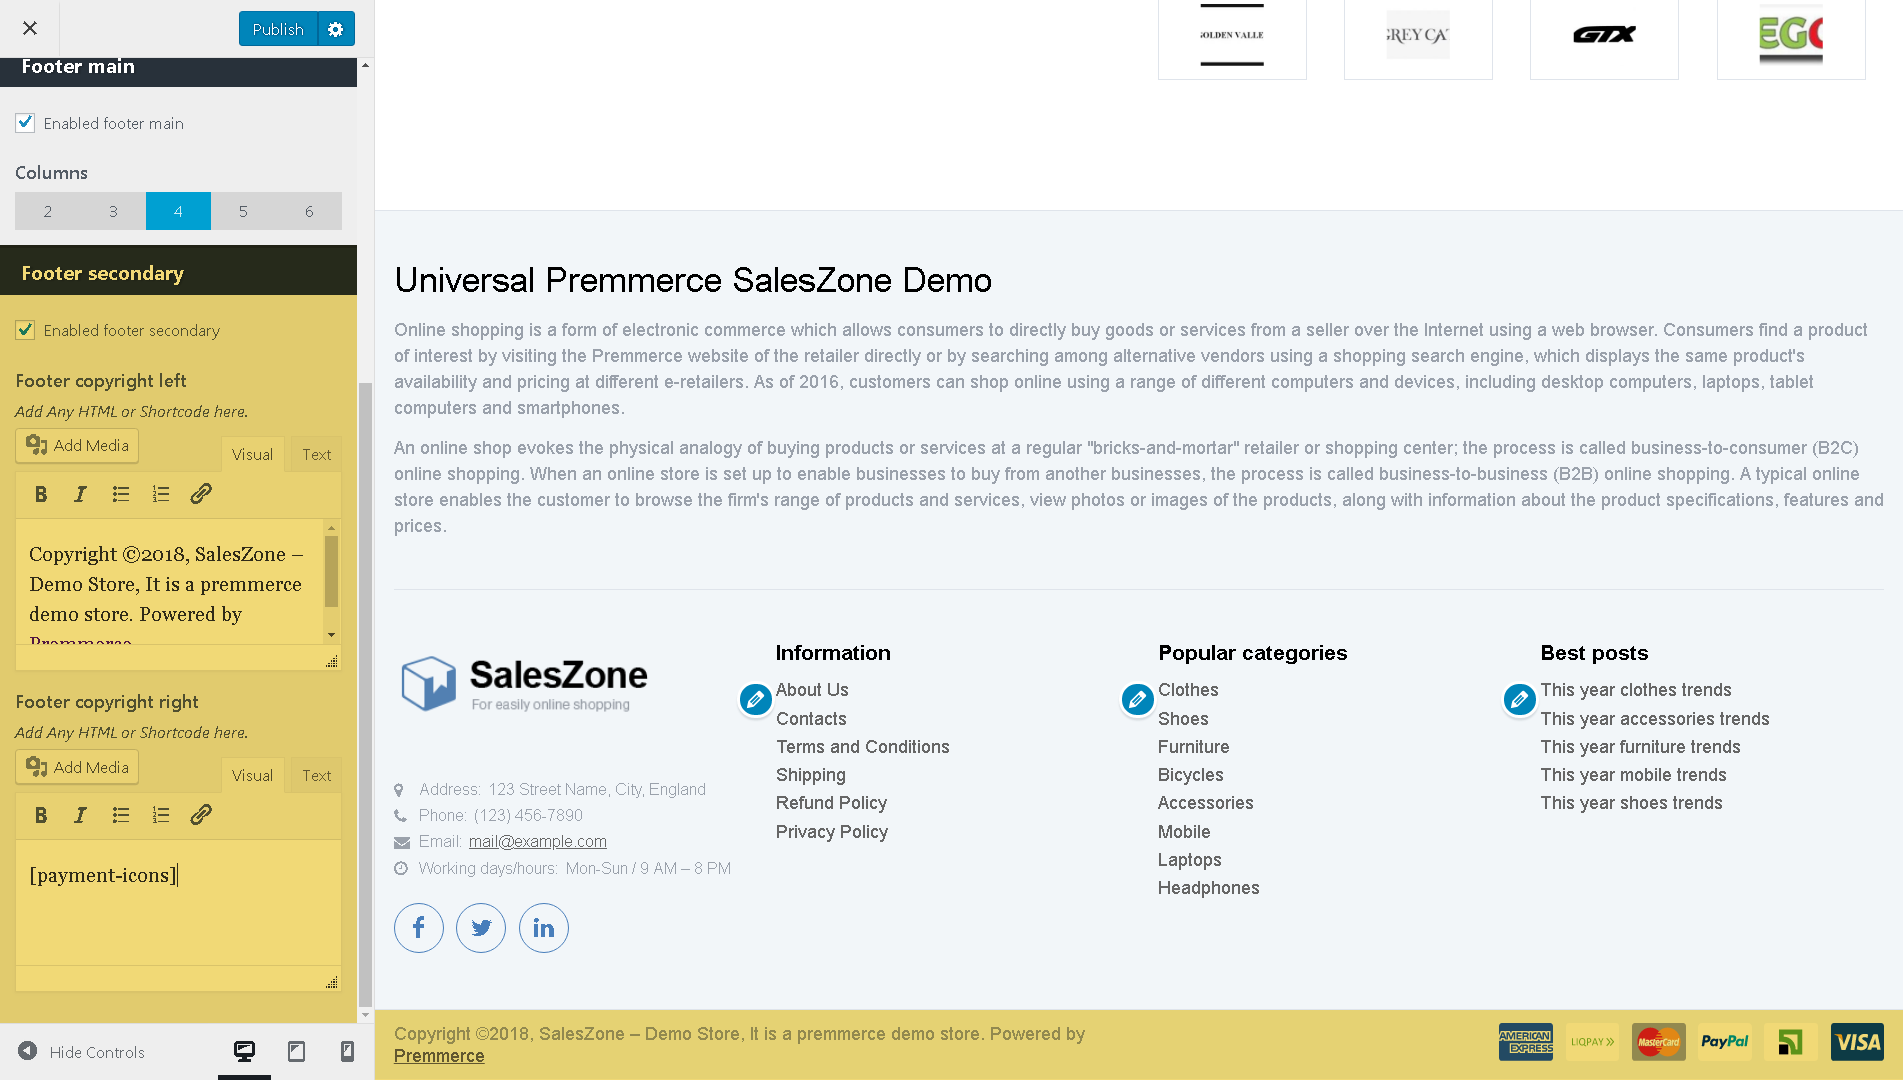
The Payment Systems Icons (available in Premium only)
The selected payment methods will be displayed on the site in the form of icons. You can display them anywhere on your site using the shortcode [payment-icons].
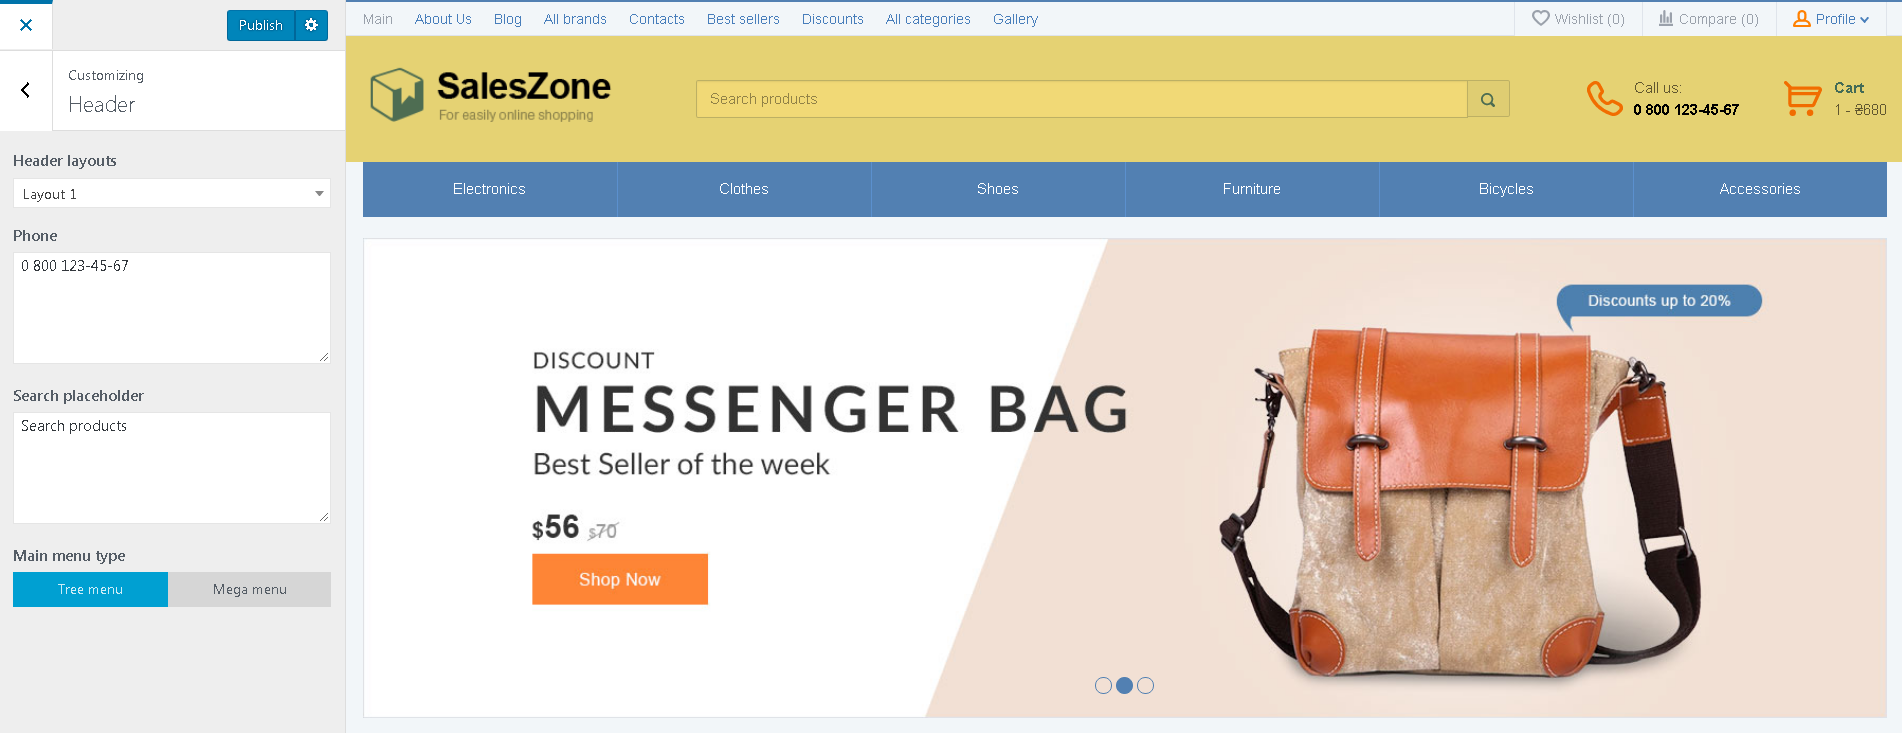
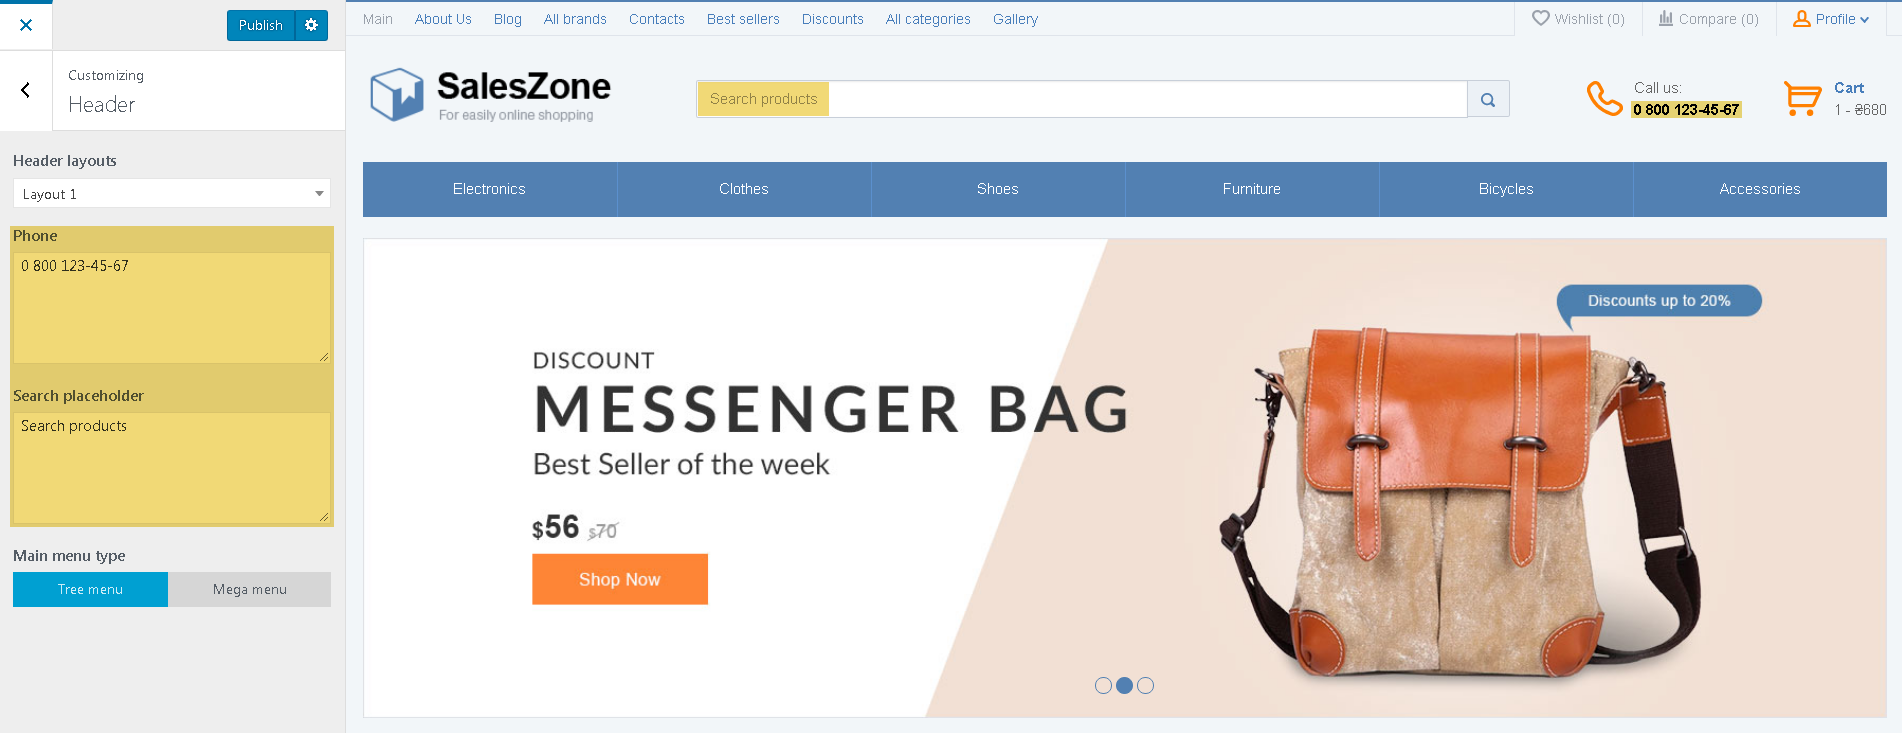
The Header
You can select the display layout of the online store header, and also set up the display of additional data.
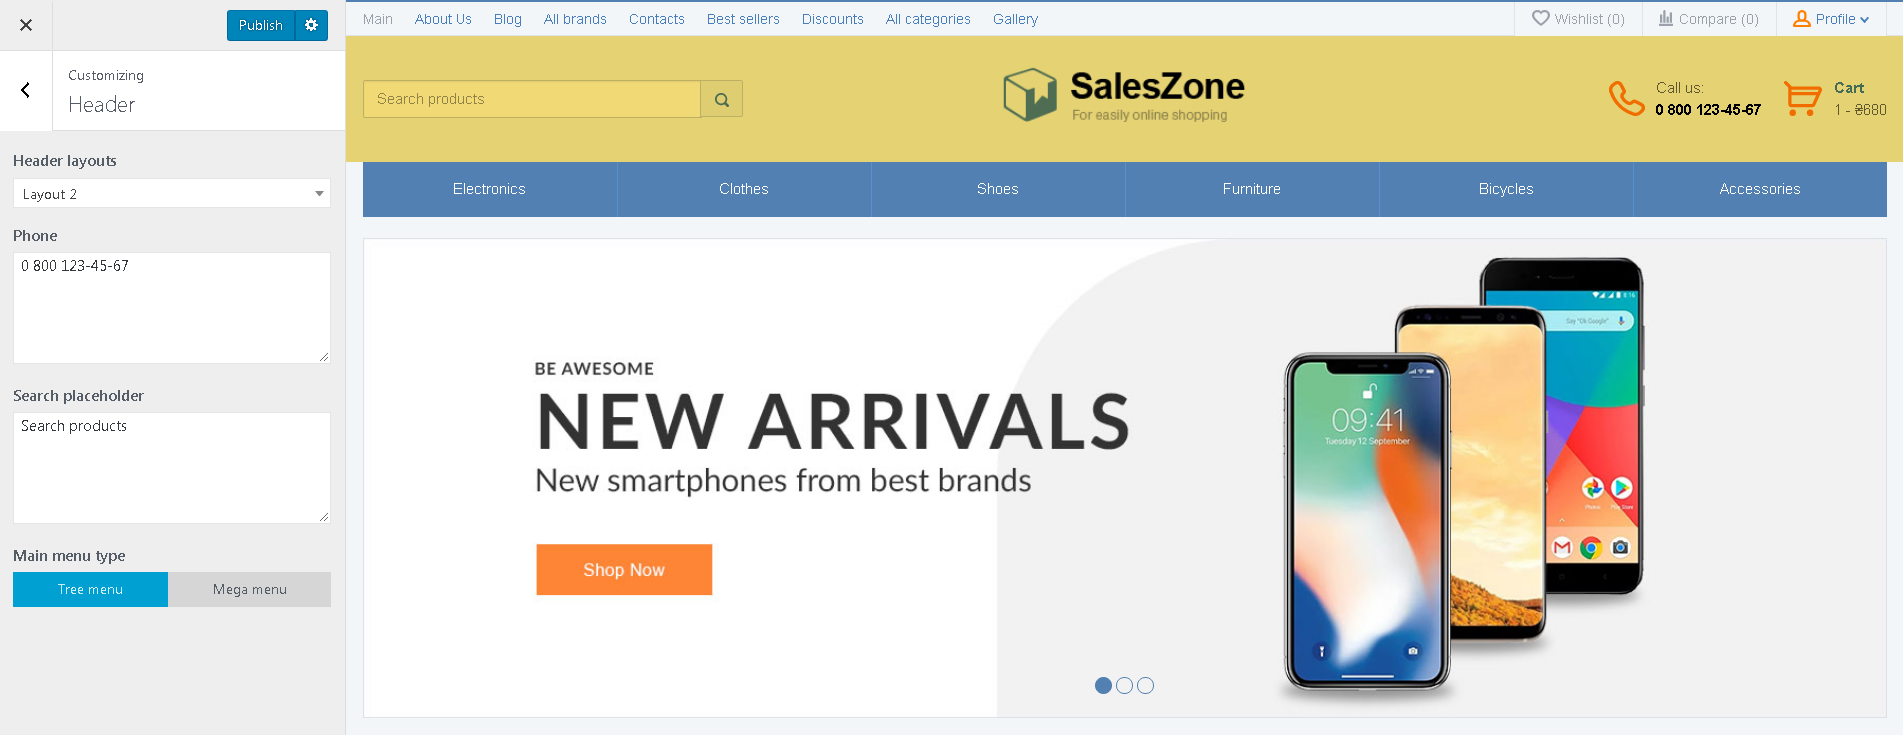
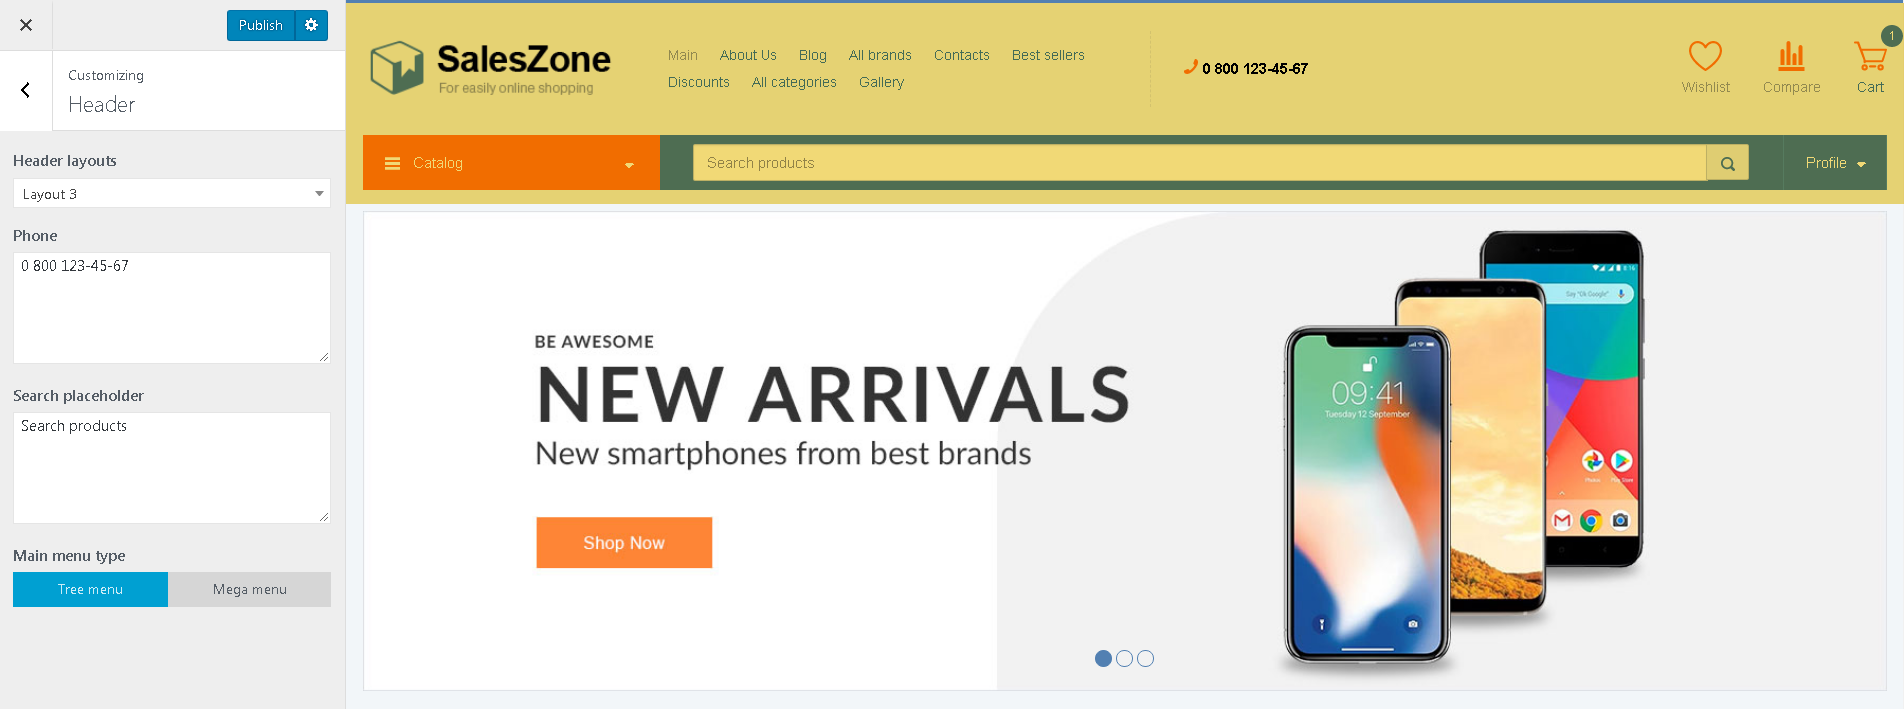
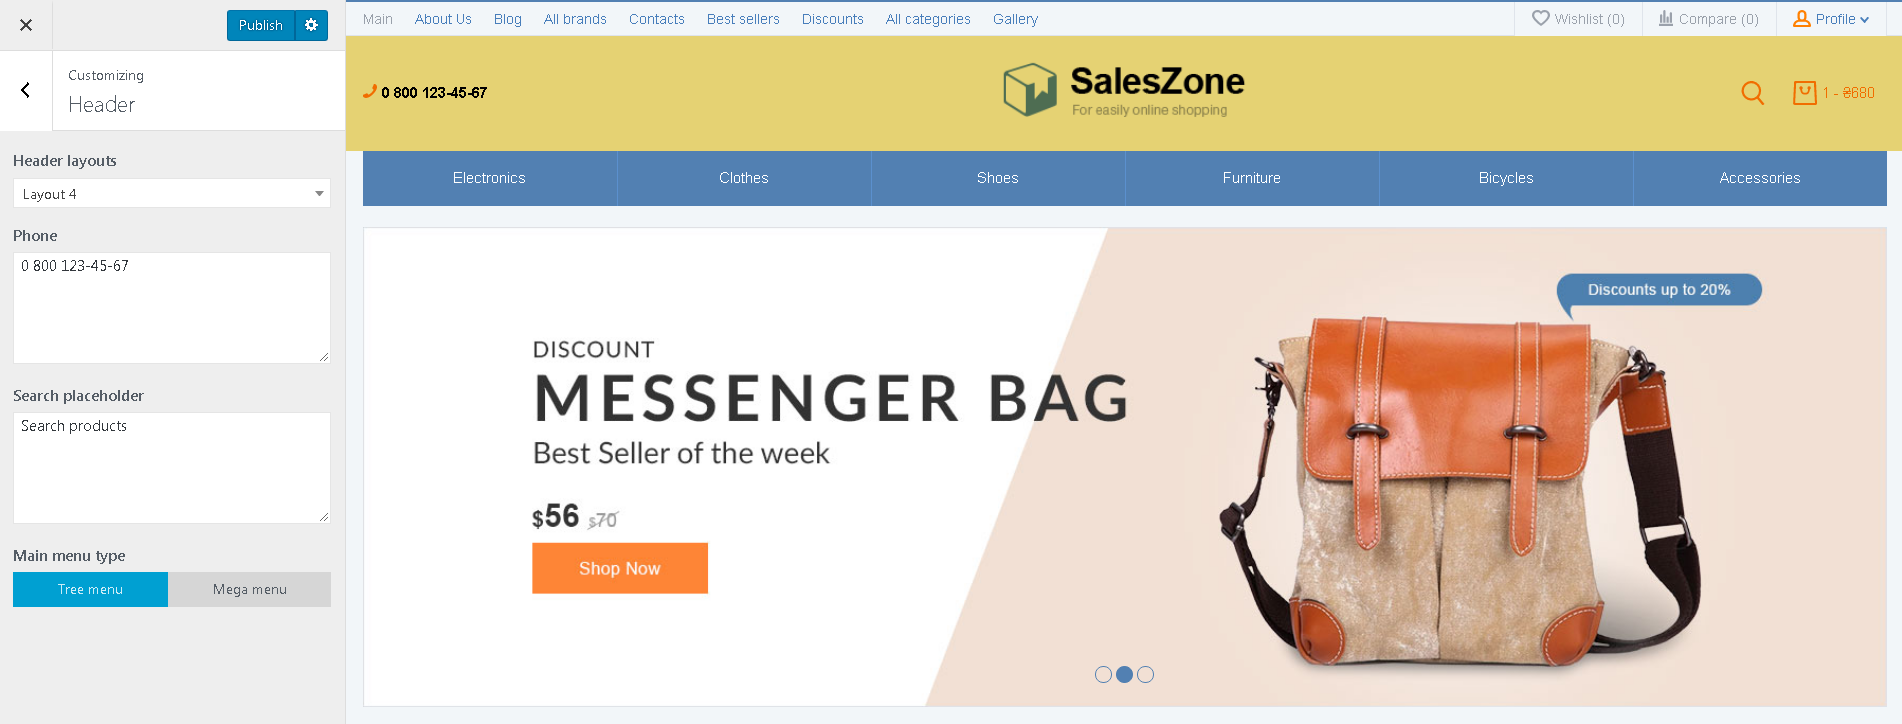
Header layouts (available in Premium only)
Layout 1
Layout 2
Layout 3
Layout 4
Phone number and Search placeholder
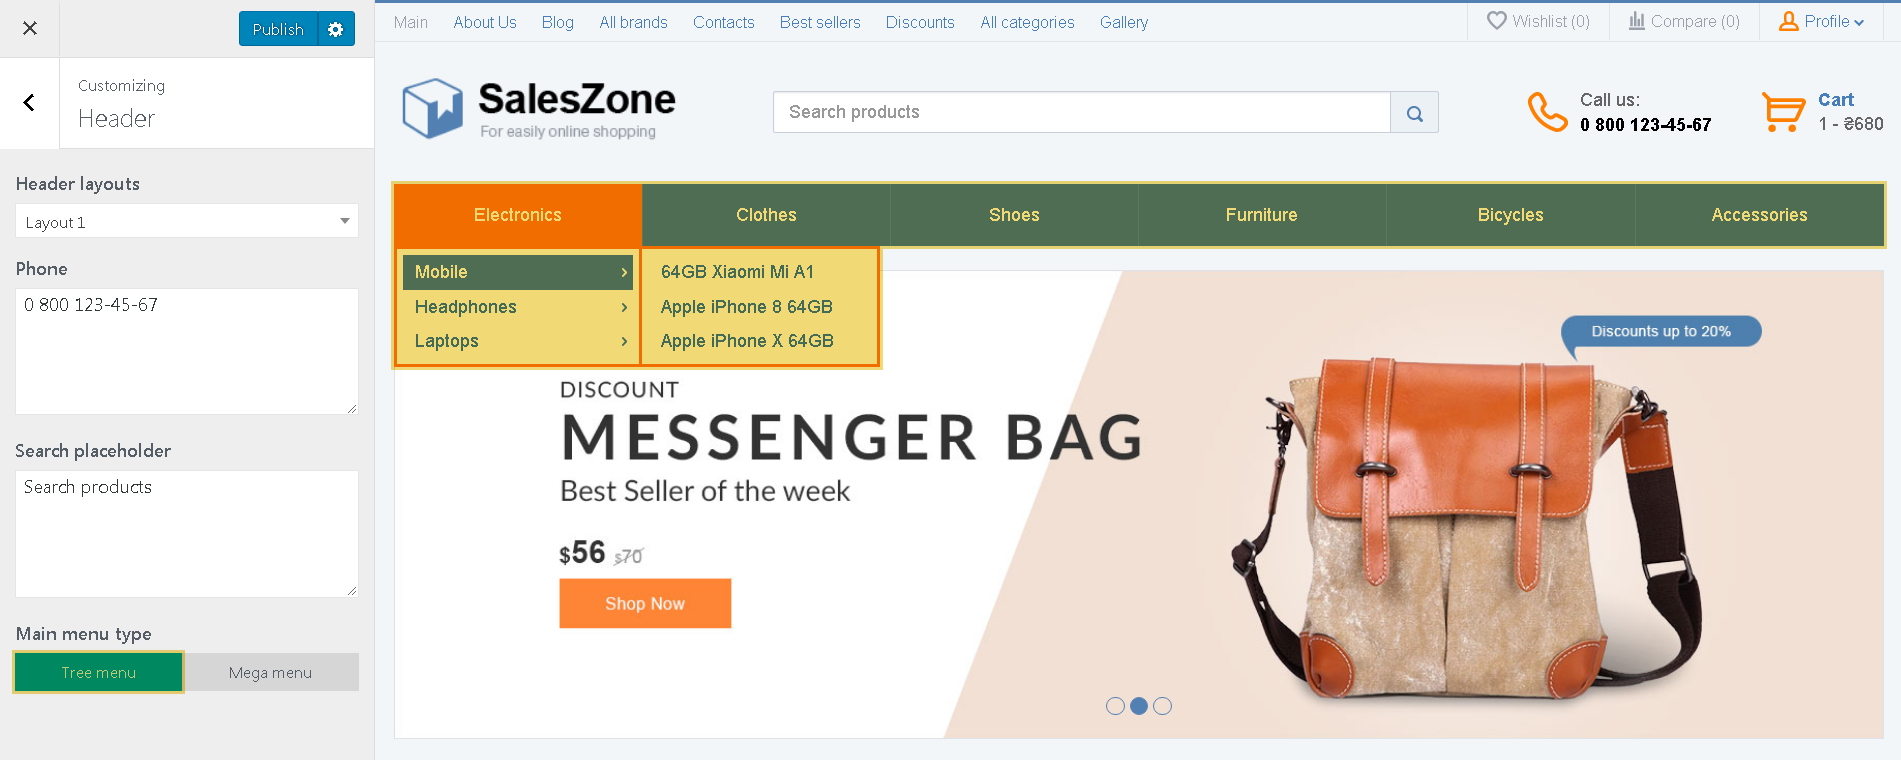
The main menu types (available in Premium only)
Tree menu – a standard menu view:
Mega menu – all menu levels except the top level are always opened:
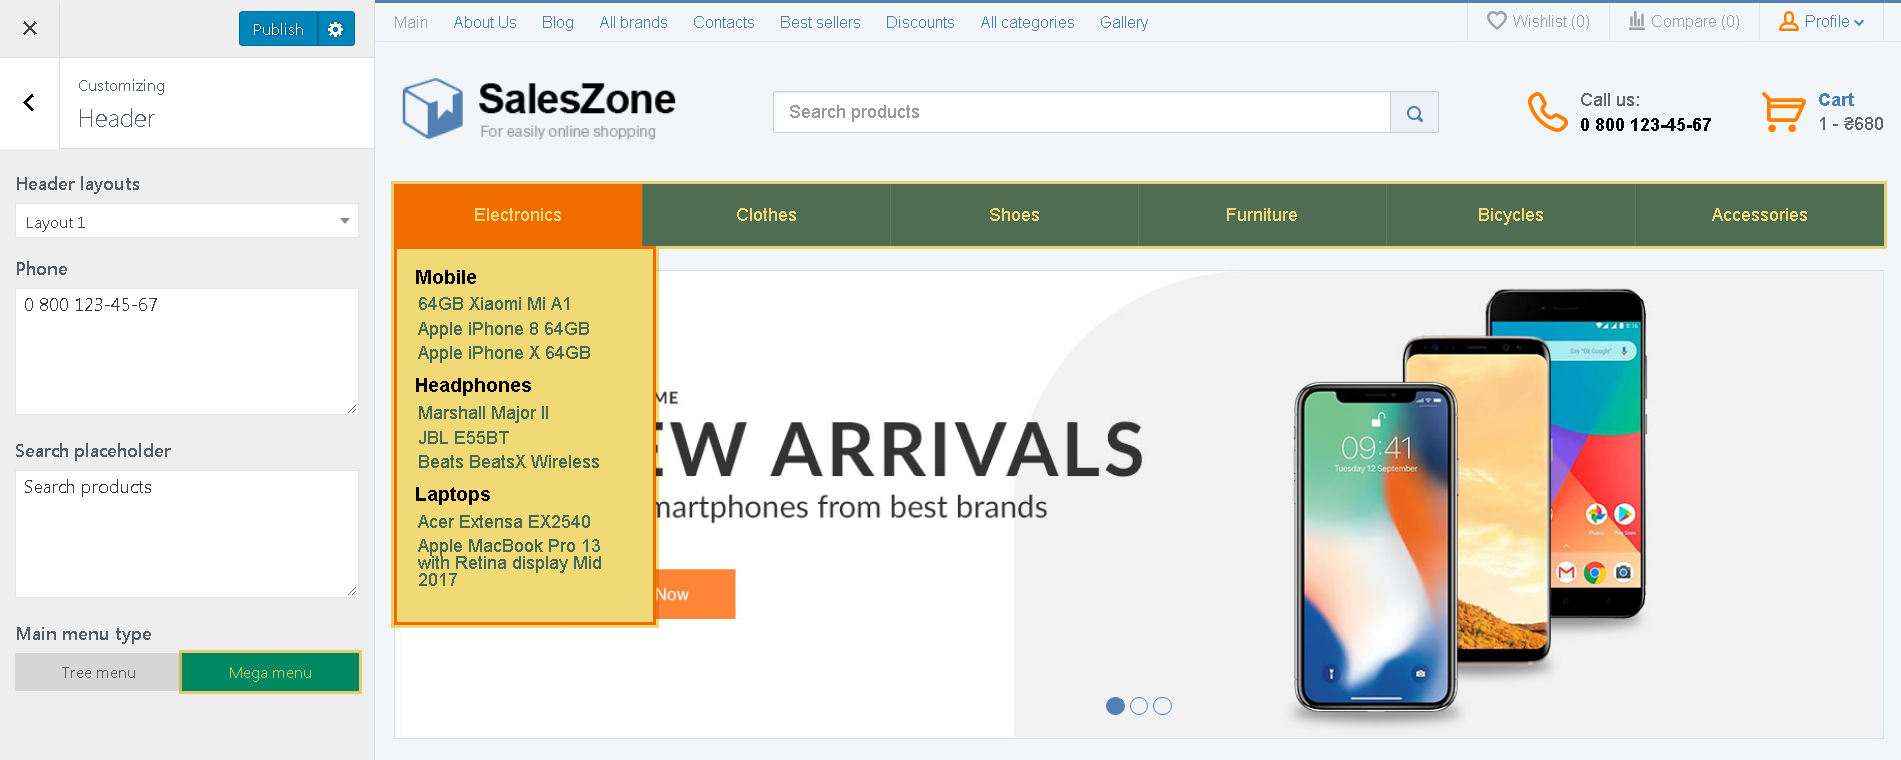
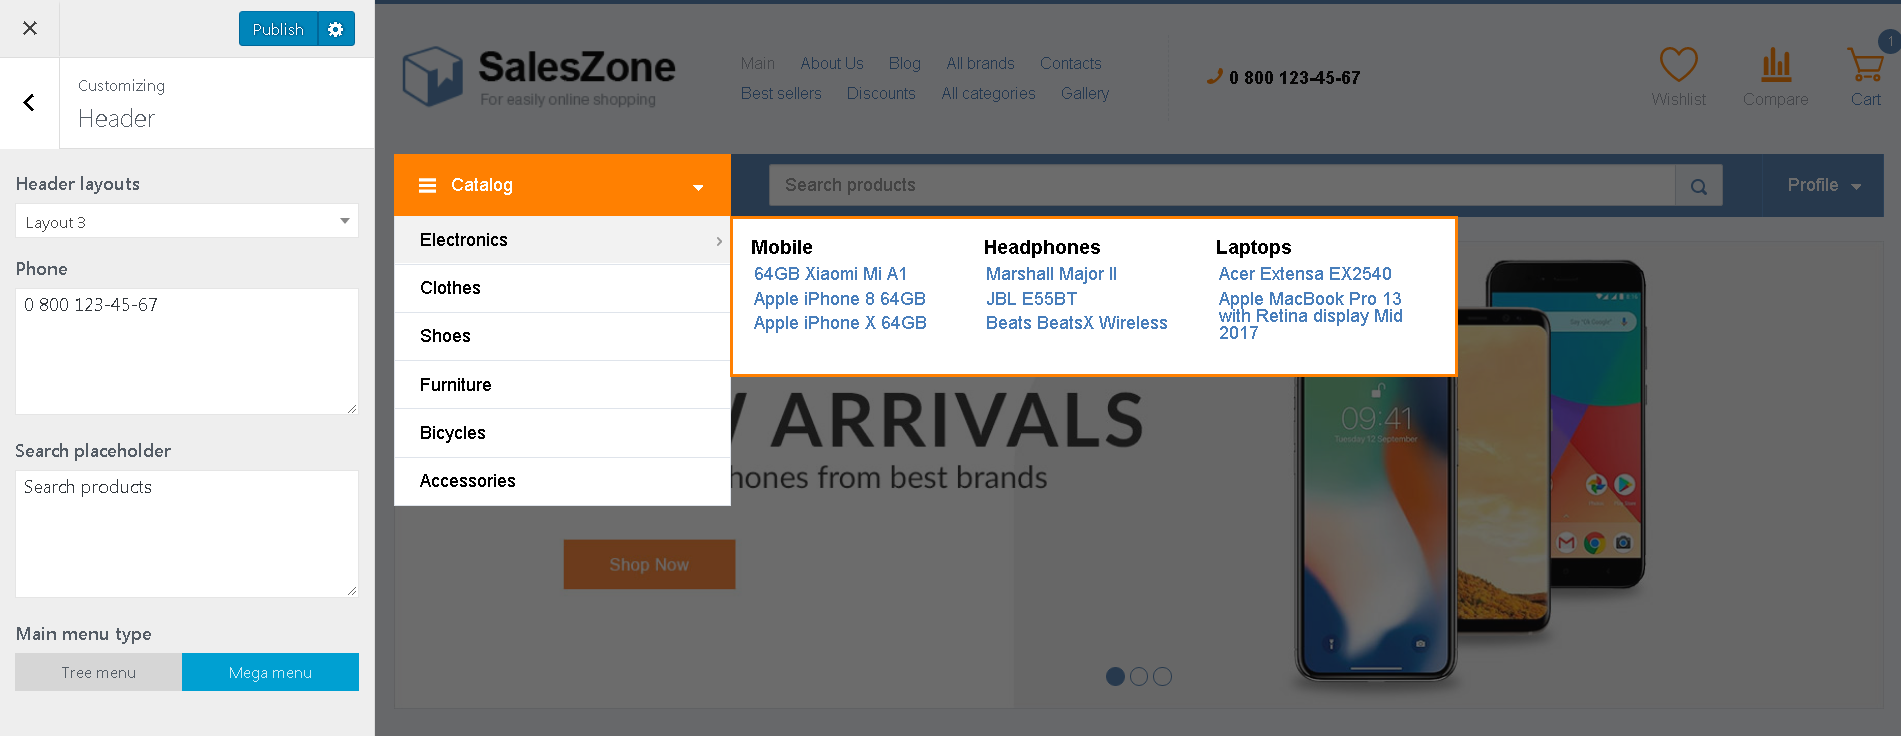
Mega menu (available in Premium only)
We’ve also added the ability to display the elements of the second level menu in columns:
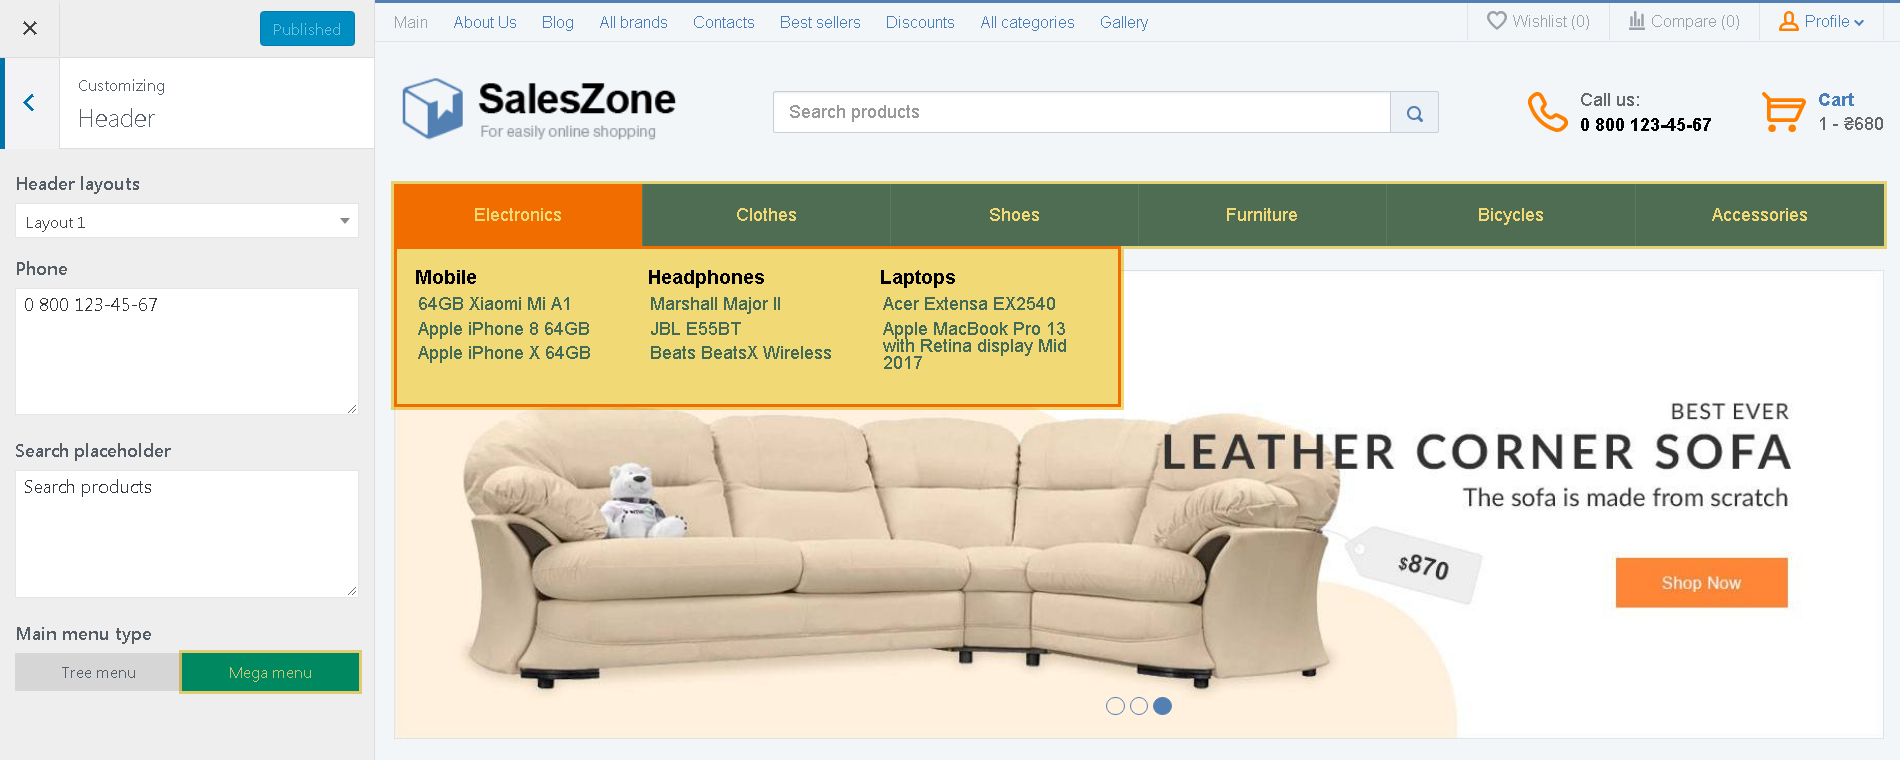
To create the same menu, follow these steps:
1. Open ‘Screen Options’ on the Menu page in the dashboard and activate the ‘CSS Classes’ checkbox.
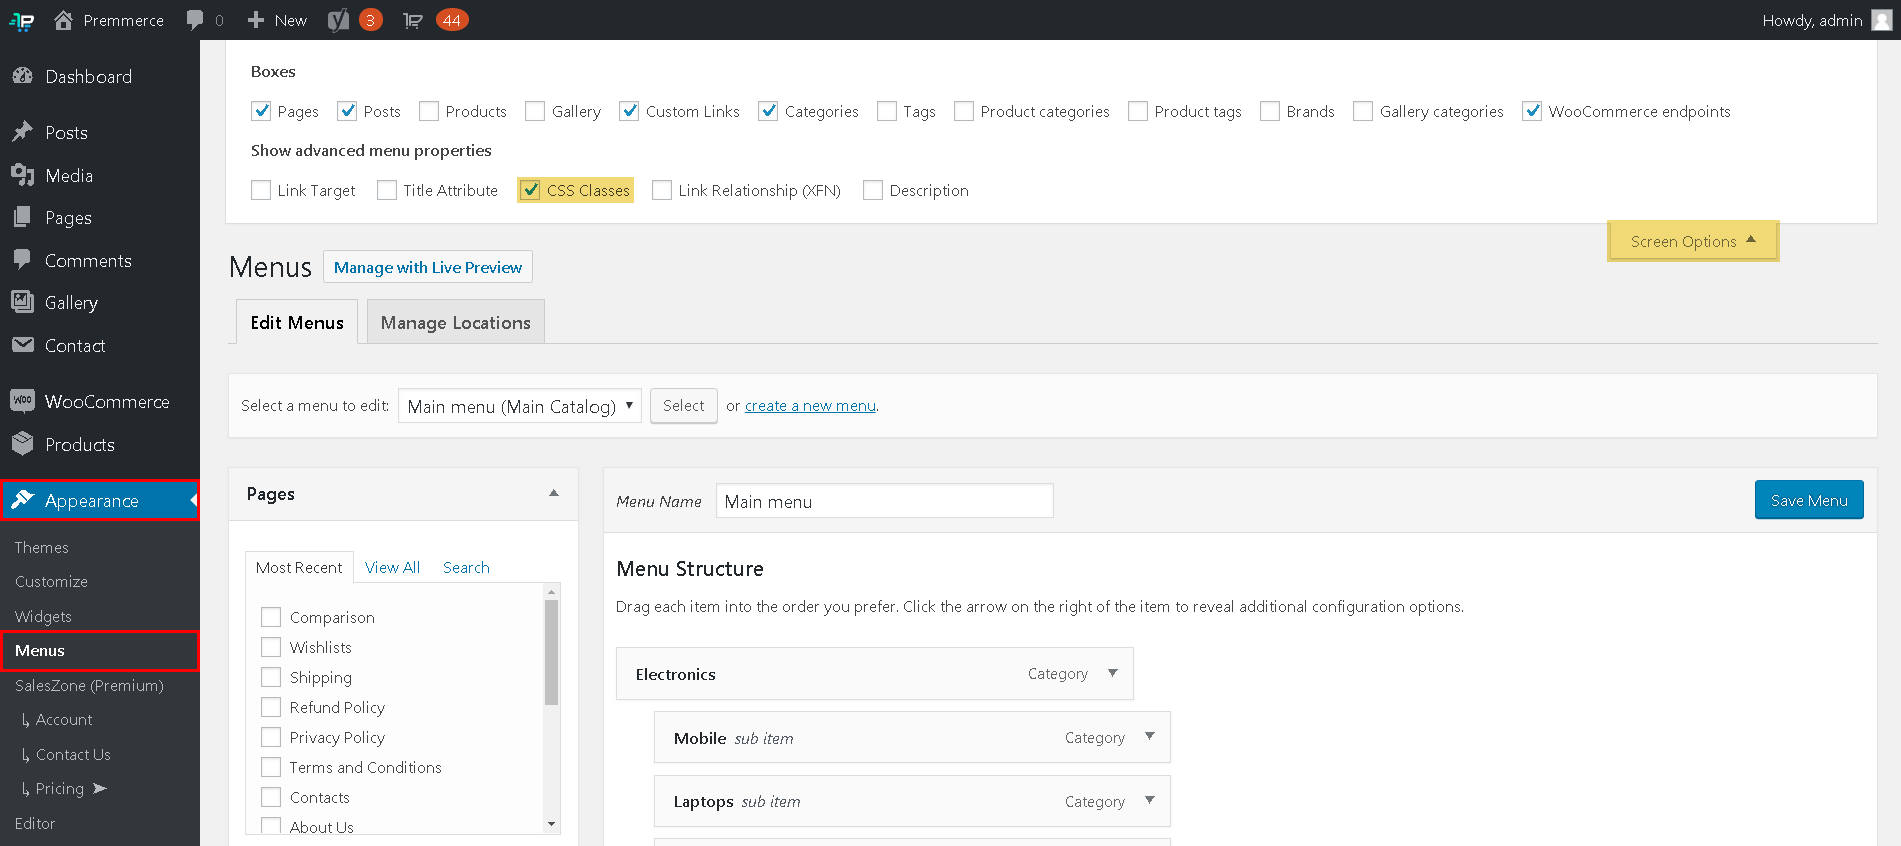
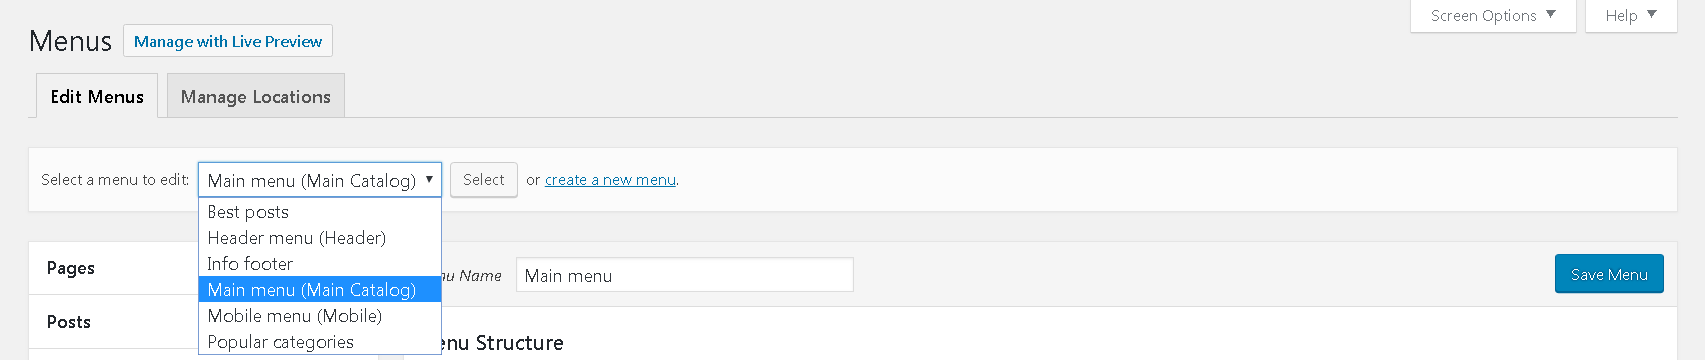
2. Choose ‘Main menu (Main Catalog)’ for making changes:
3. Open the advanced settings of the second-level element. In the ‘CSS Classes’ field, enter the column number in which it should be displayed, for example enter “2” for the item to be displayed in the second column. If you don’t define a number for the element, it’ll be displayed in the first column. It can be applied only to the elements of the second-level menu.

4. Save changes.
The Mega menu with the header Layout 3 :
Social Icons (available in Premium only)
Here you can manage the icons of social networks in the site footer, as well as on the product page.
Groups in social networks
Enter links to social networking services groups. They’ll be displayed with the help of the shortcode [follow]
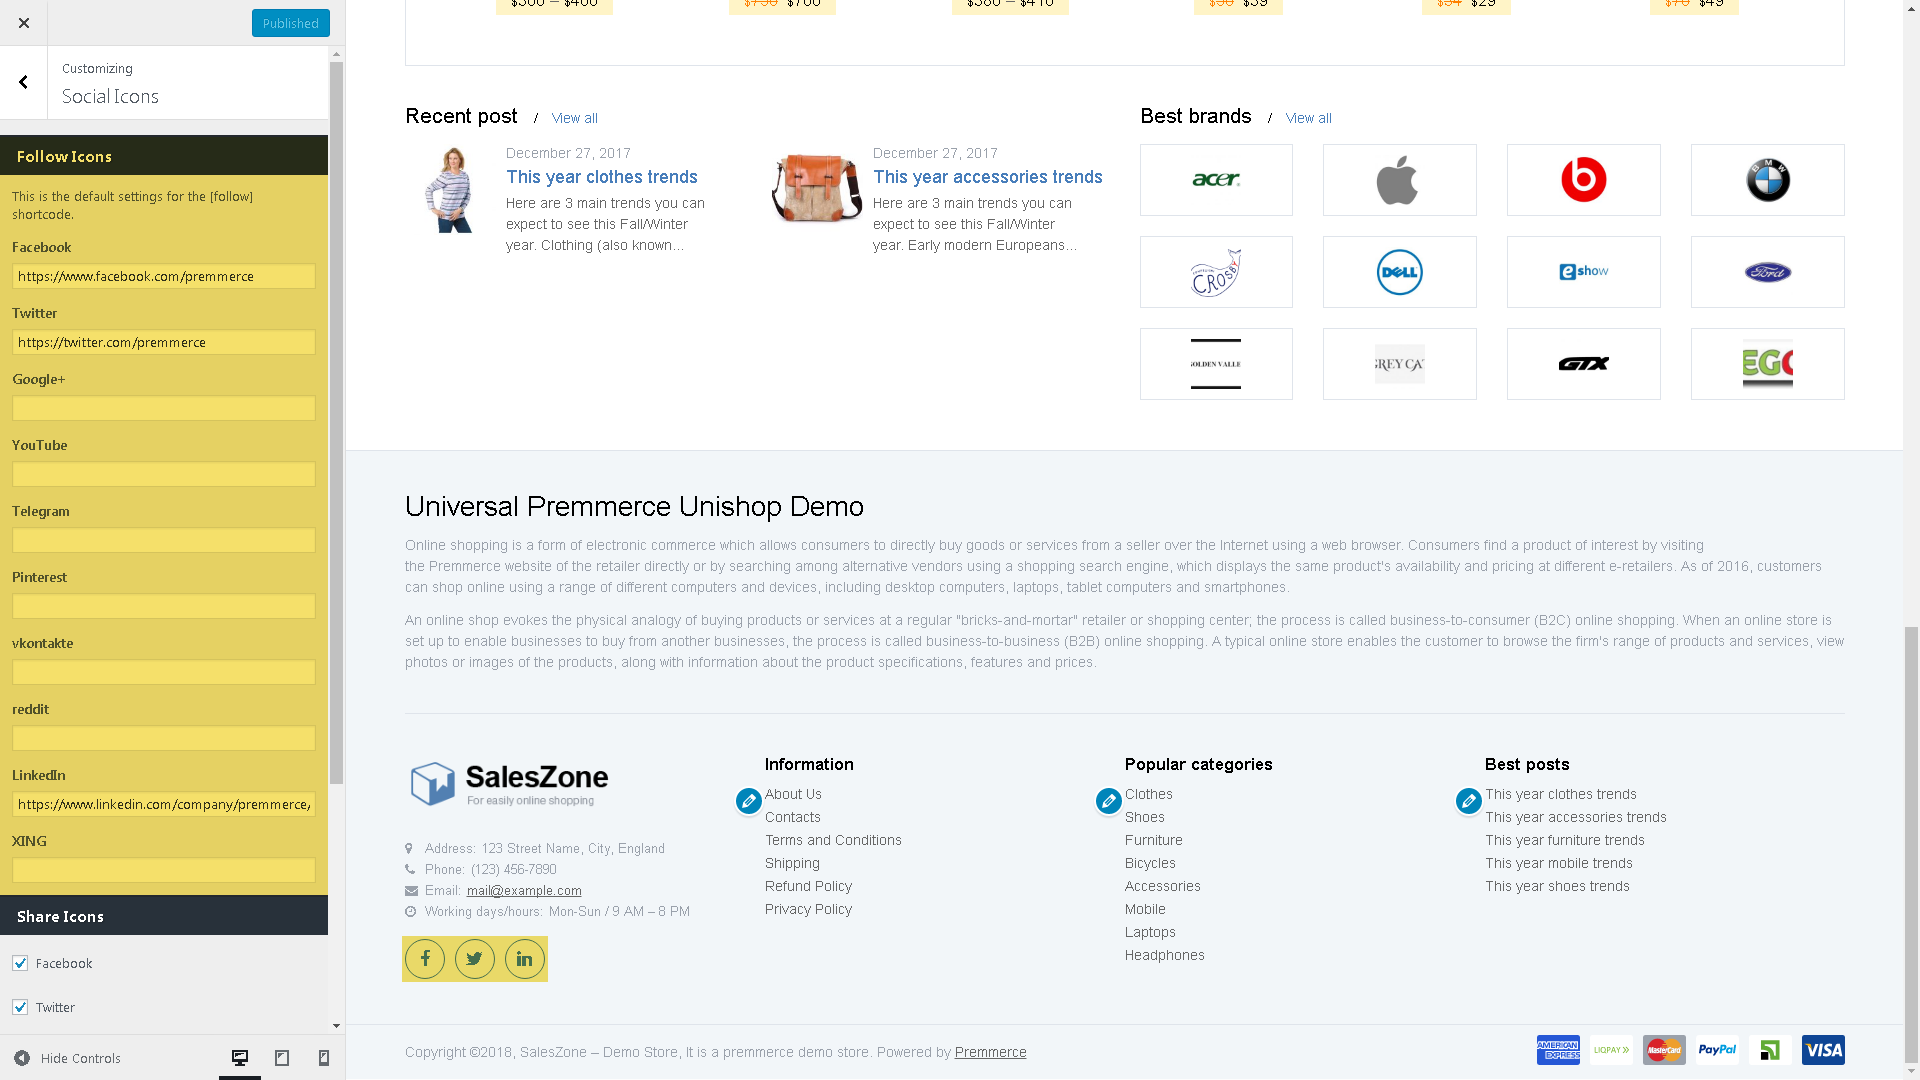
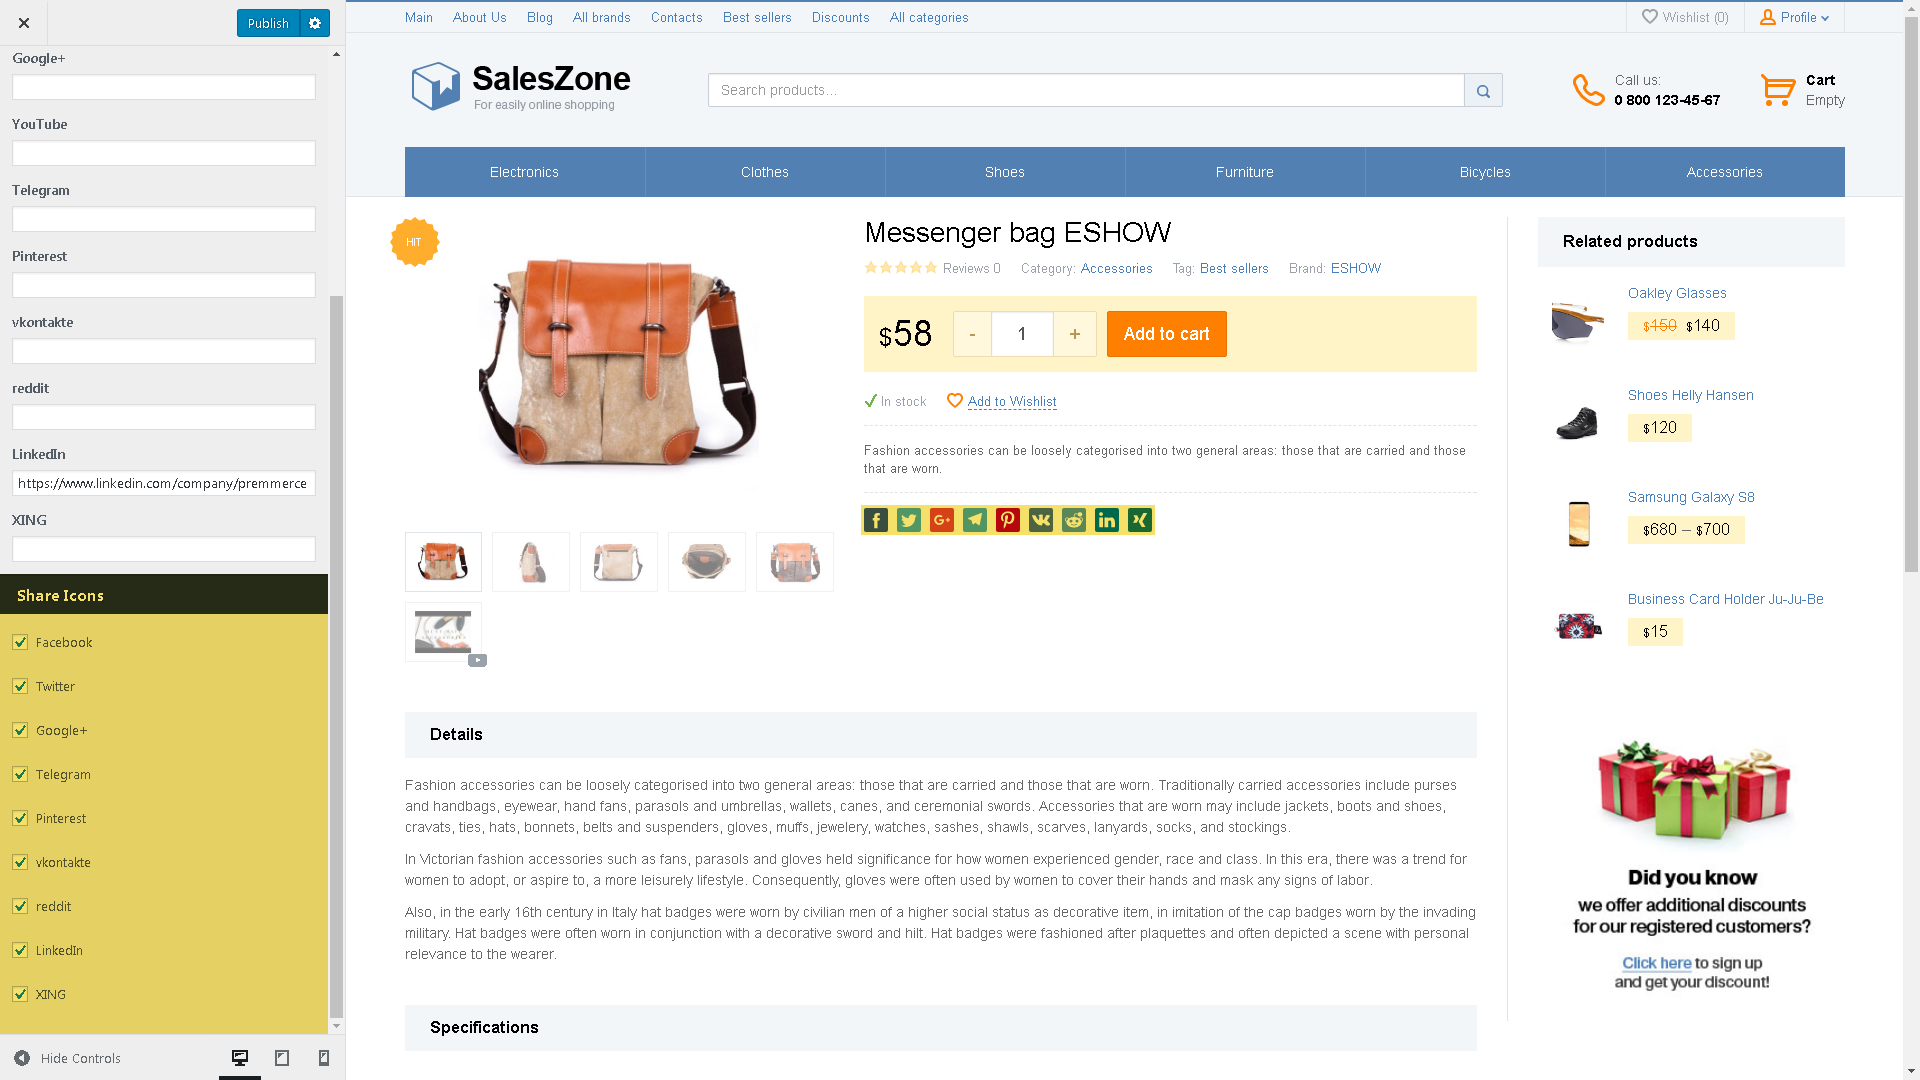
Share Icons
The selected Share icons will be added to the product and posts pages.
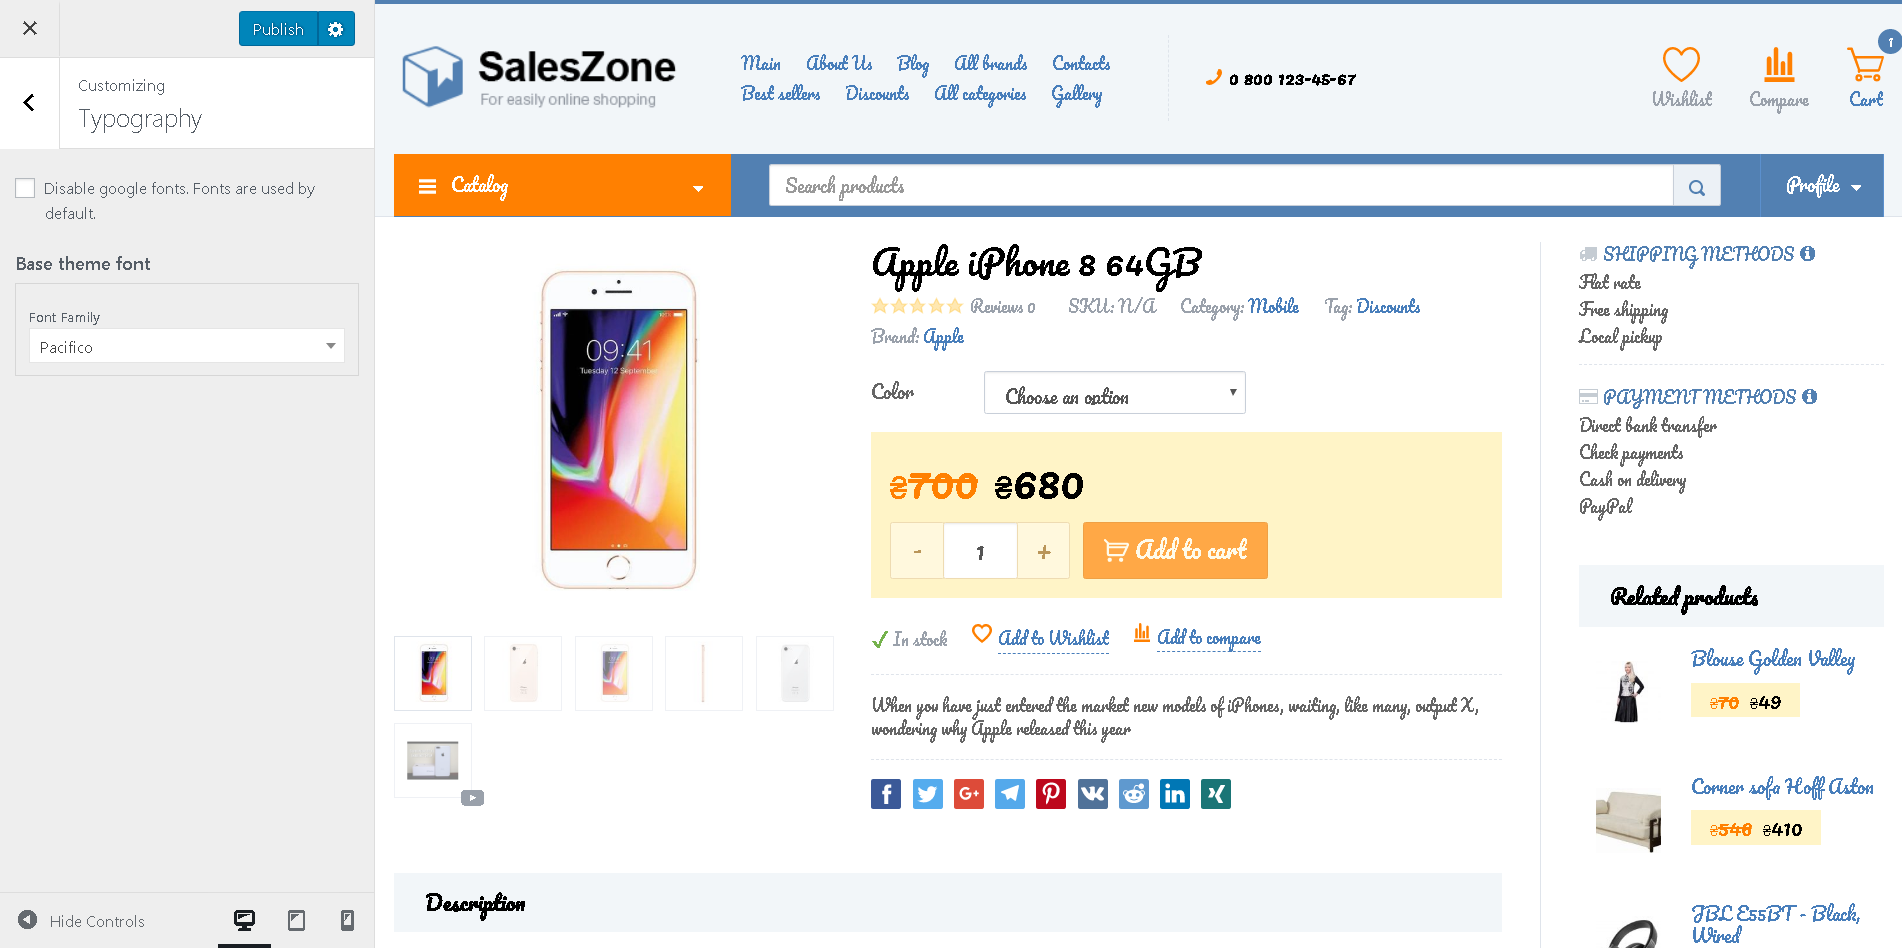
Typography (available in Premium only)
Deactivate the ‘Disable Google fonts’ checkbox so that the selected font in the ‘Base theme font’ drop-down list is applied to the site. If you want to use the standard WordPress font, activate its checkbox.
The main font – select the main site font.
Footer
Here you can set up the footer display of your online store.
Before footer
Displaying any text, HTML or a shortcode above the footer.
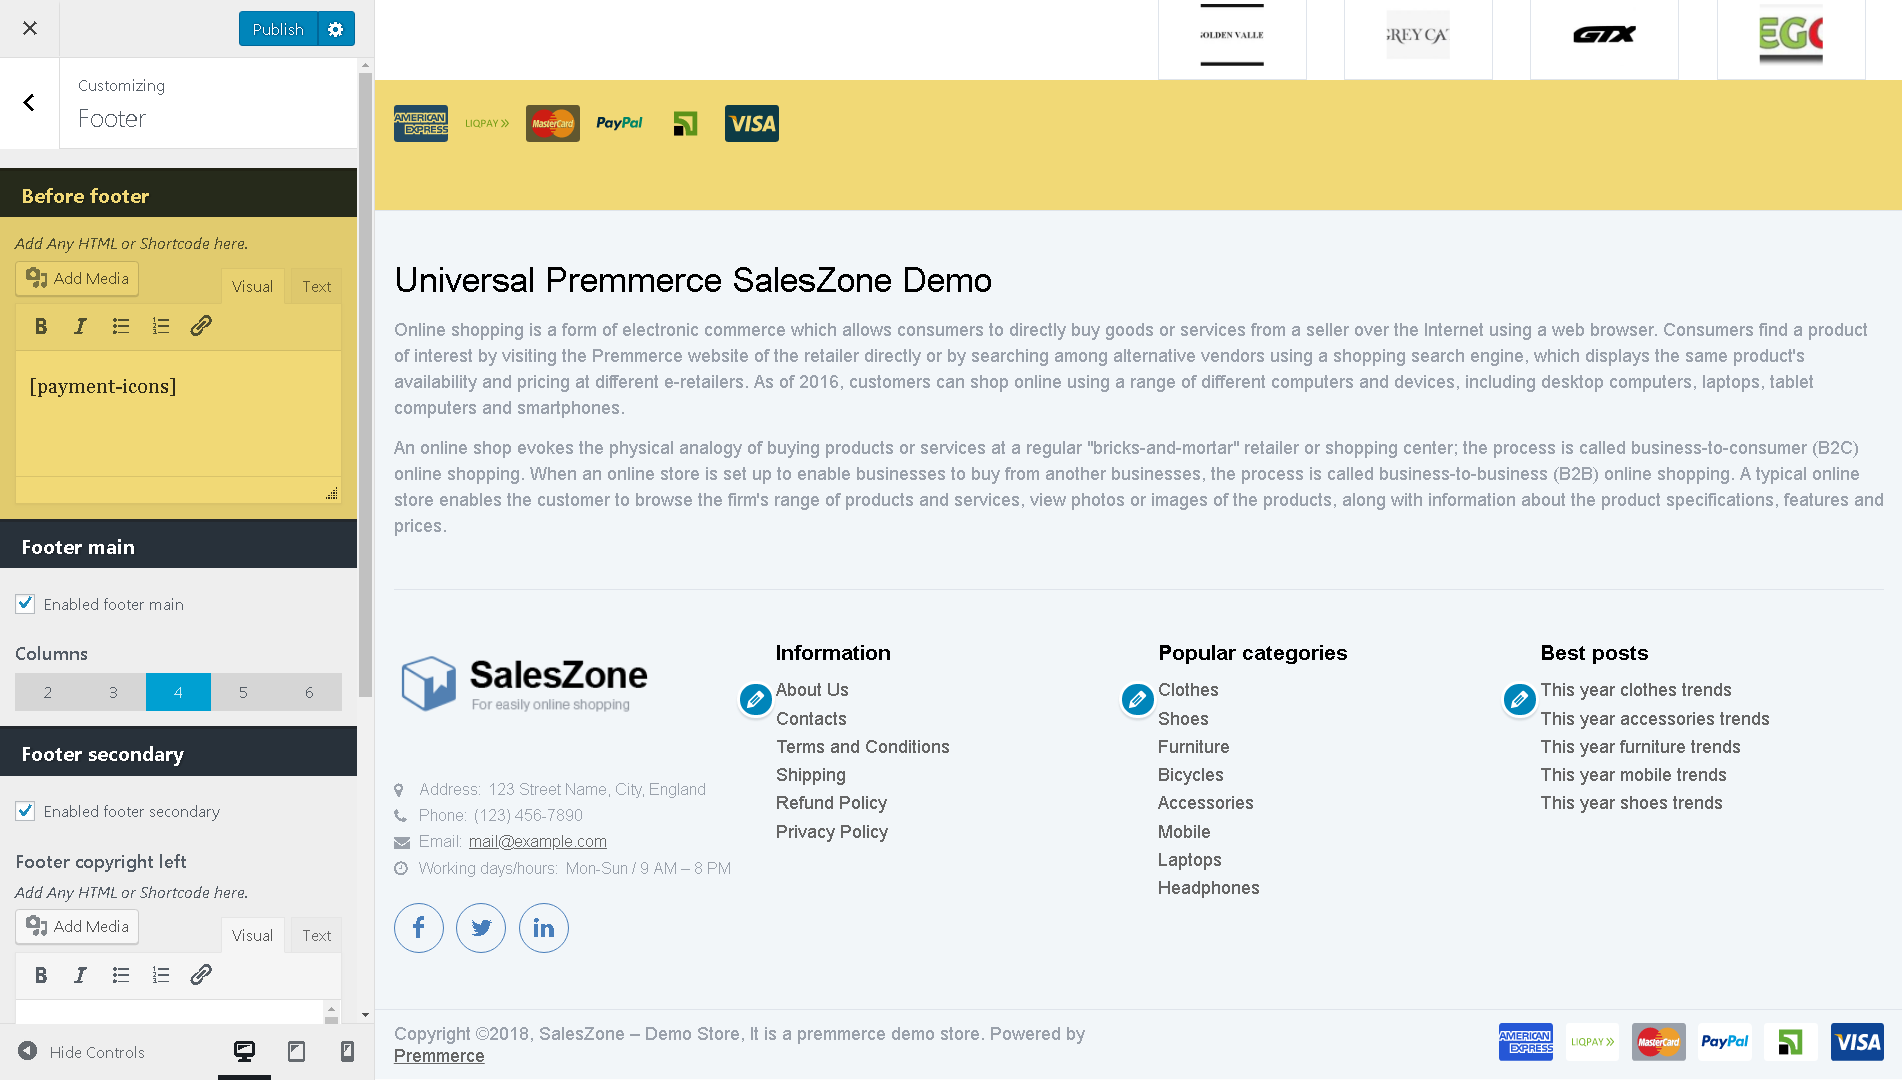
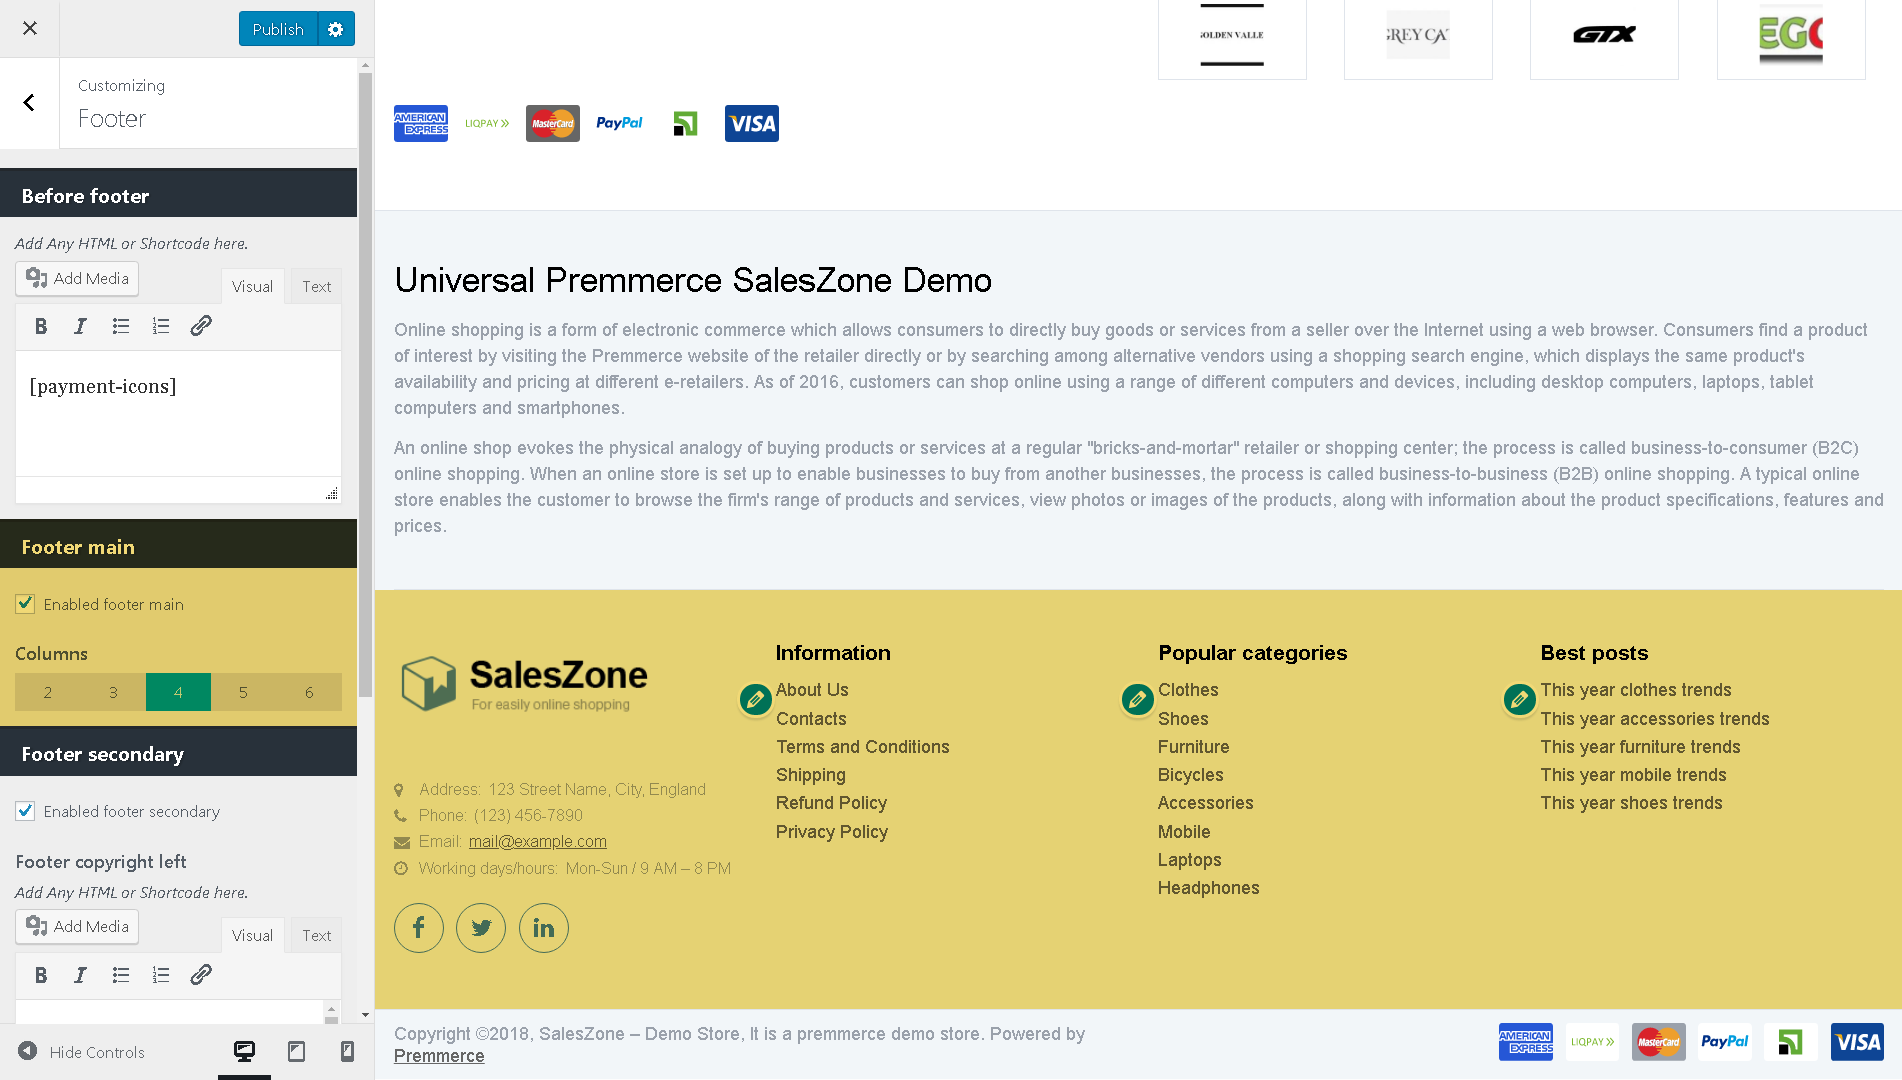
Footer main
Displaying the main footer and choosing the number of columns.
Footer secondary
Displaying the additional footer and the output content.
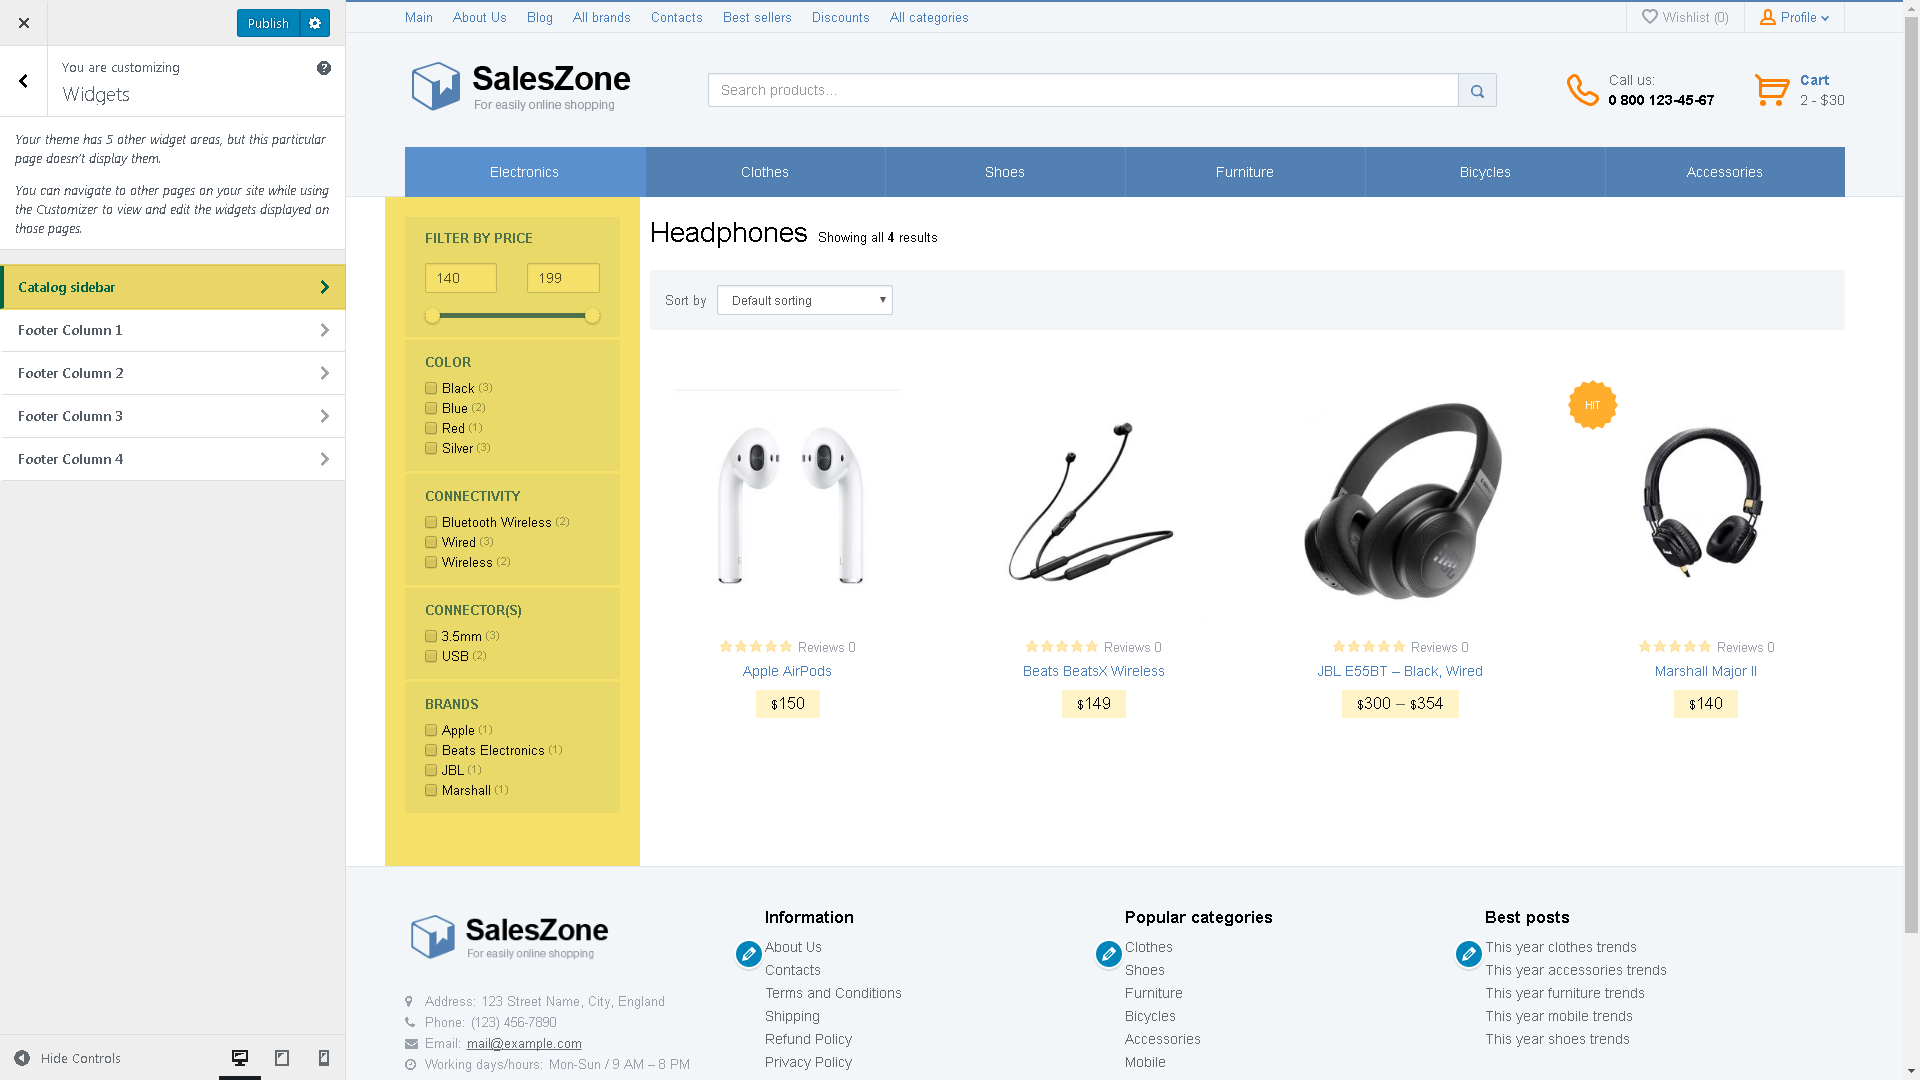
The Widget Zones
The SalesZone template and child templates contain additional markup and widget zones for even more convenient placement of your information using a variety of available in WordPress and WooCommerce widgets and additional plugins.
The Homepage
The Product Catalog Page
The Product Page
The Blog Page
The widget zone that is displayed on all site pages.
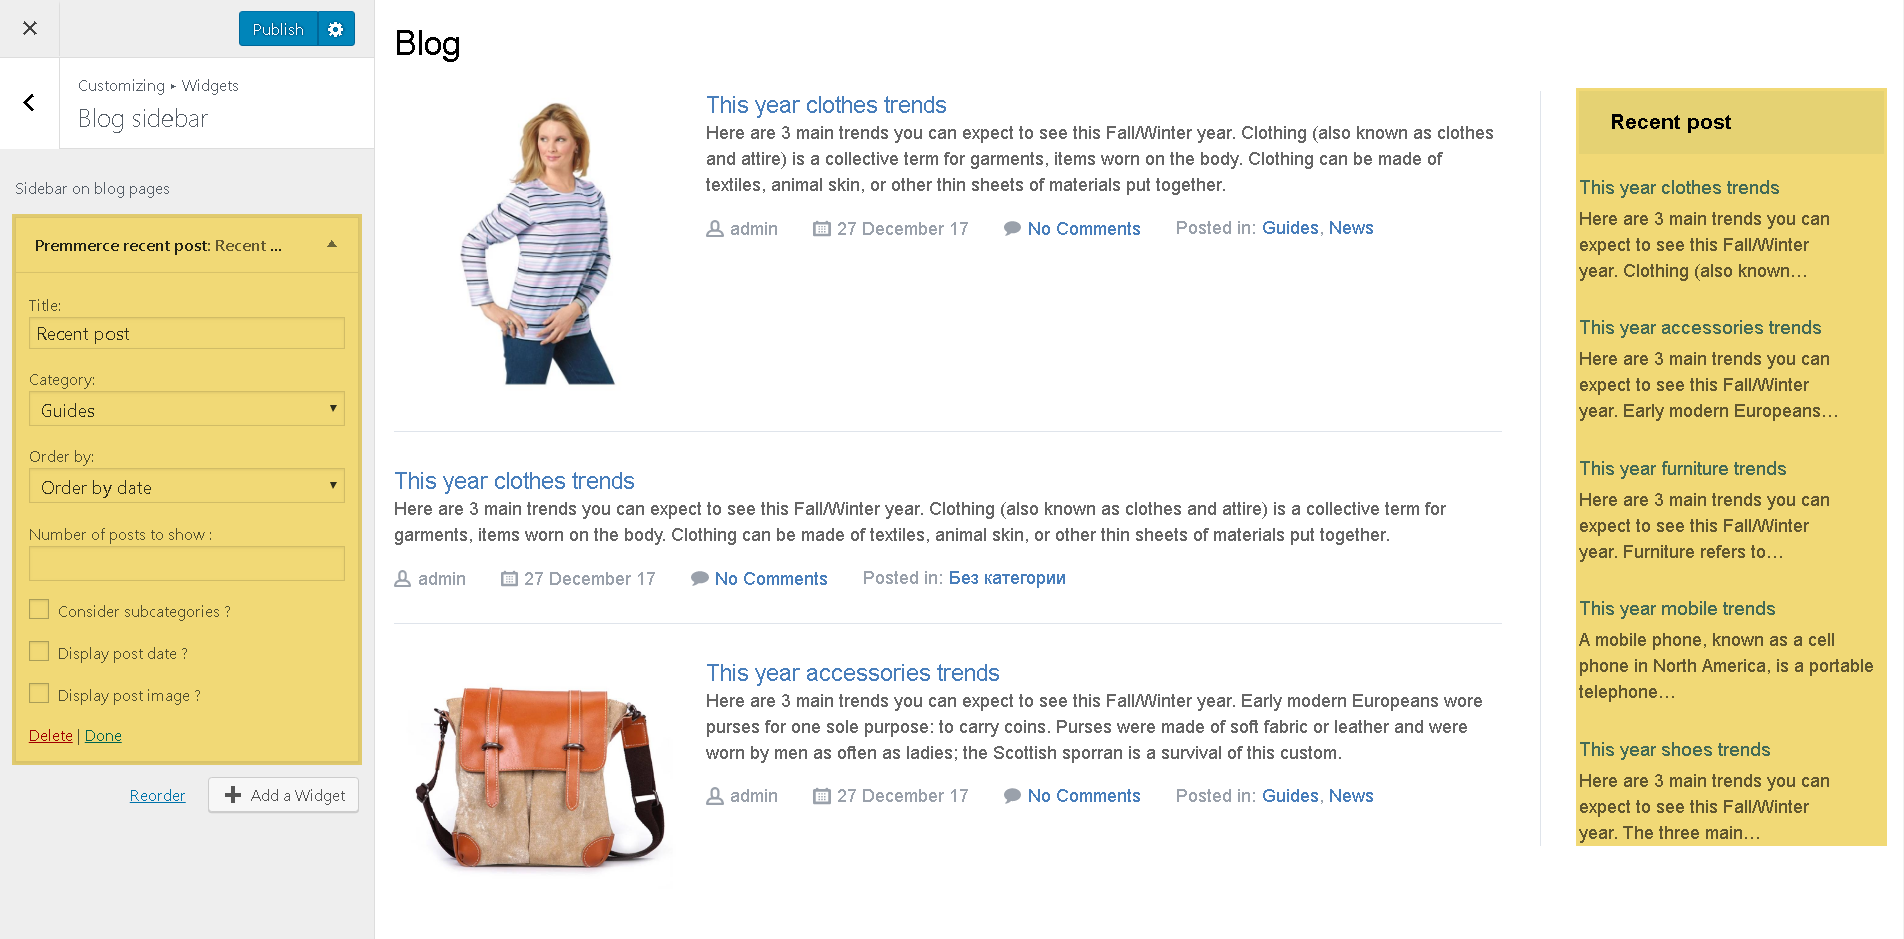
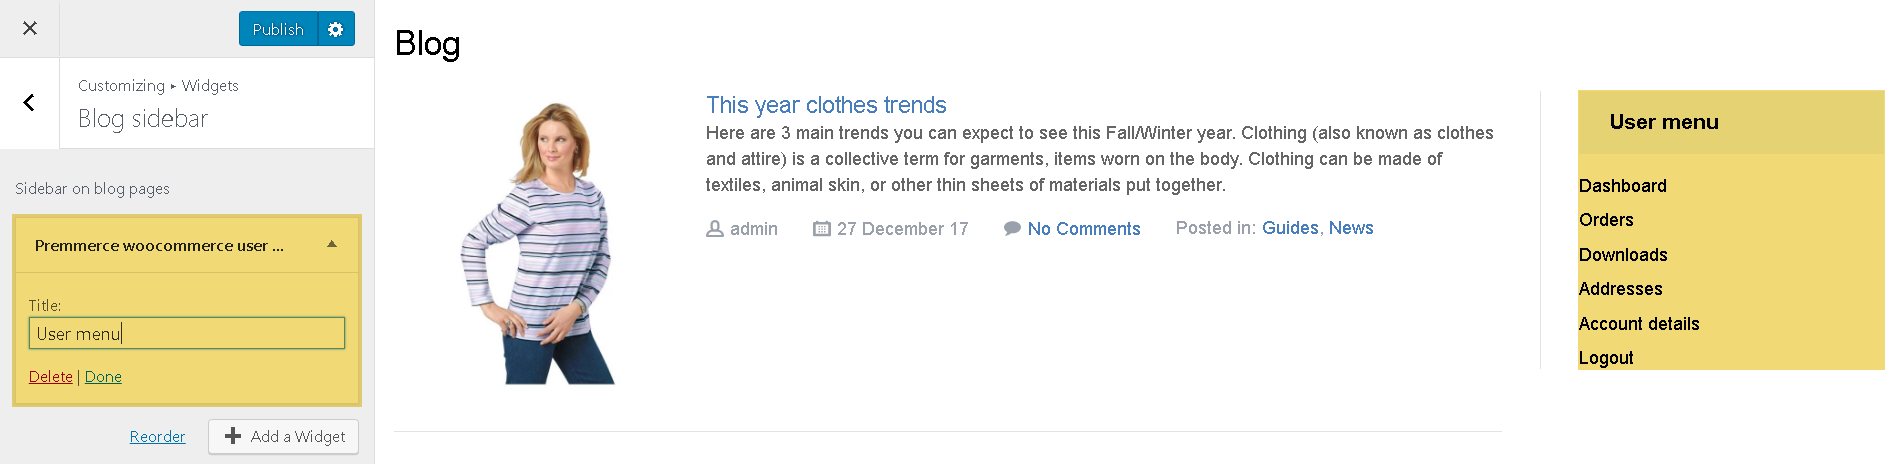
Widgets
Premmerce recent post – it’s a widget for a flexible setup of the latest news.
Premmerce WooCommerce user menu – service links to the user’s profile.
The Shortcodes (available in Premium only)
The theme contains a number of additional shortcodes, some of which we’ve described above in the ‘Theme Customization via LiveCustomizer’ section.
The rest of the shortcodes can also be utilized in this theme:
We’ve stylized and expanded the WooCommerce shortcode
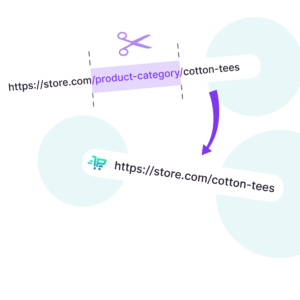
Premmerce Permalink Manager for WooCommerce
$49.99 – $989.99
Select options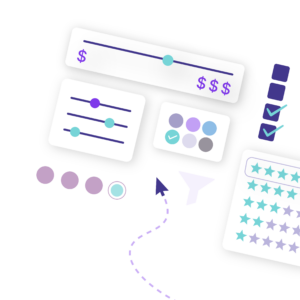
Premmerce WooCommerce Product Filter
$69.99 – $1,379.99
Select options
Premmerce WooCommerce Performance Optimizer
$49.99 – $989.99
Select options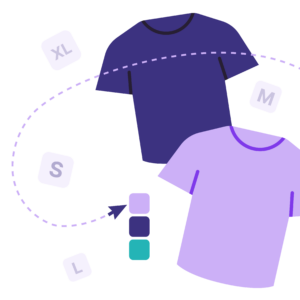
Premmerce WooCommerce Variation Swatches
$49.99 – $989.99
Select options
WooCommerce Product Search
$49.99 – $989.99
Select options
Premmerce Premium
$69.99 – $1,379.99
Select options
WooCommerce Multi-Currency
$49.99 – $989.99
Select options
Premmerce WooCommerce Best Price Guaranteed
$49.99 – $989.99
Select options
Premmerce WooCommerce Buy Now
$49.99 – $989.99
Select options![]()
Premmerce WooCommerce Price Tracking
$49.99 – $989.99
Select options
Premmerce WooCommerce Waiting List
$49.99 – $989.99
Select options
GoodLook, the Premium Theme for WooCommerce
$69.99 – $1,409.99
Select options
GrandStore, the Premium Theme for WooCommerce
$69.99 – $1,409.99
Select options
WooCommerce SEO Addon
Download from WordPress
Woocommerce Frequently Bought Together
$49.00
Buy now
Premmerce WooCommerce Brands
Download
Premmerce WooCommerce Wholesale Pricing
Download
Premmerce Users Roles
Download
Premmerce WooCommerce Wishlist
Download
WooCommerce Customers Manager
Download
Premmerce Redirect Manager
Download
Premmerce Bundle
$99.99 – $999.99
Select options
Premmerce Dev Tools
Download
SalesZone, the Free Theme for WooCommerce
Download from wordpress
SalesZone, the Premium Theme for WooCommerce
$69.99 – $1,409.99
Select options
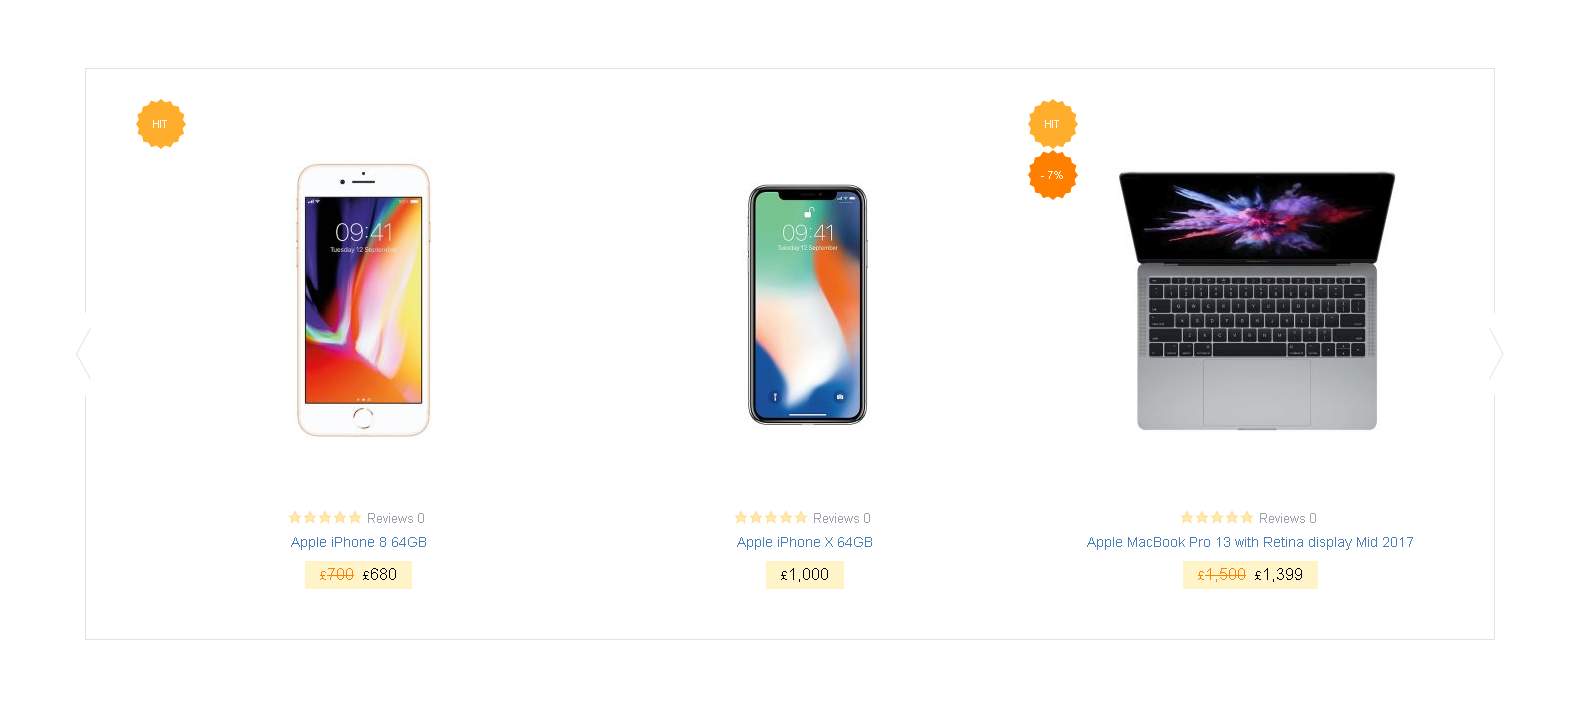
- template – it has two options:
- “carousel” – it displays the products in one row with the ability to scroll through them.
-
Premmerce Permalink Manager for WooCommerce
$49.99 – $989.99 Select options -
Premmerce WooCommerce Product Filter
$69.99 – $1,379.99 Select options -
Premmerce WooCommerce Performance Optimizer
$49.99 – $989.99 Select options -
Premmerce WooCommerce Variation Swatches
$49.99 – $989.99 Select options -
WooCommerce Product Search
$49.99 – $989.99 Select options -
Premmerce Premium
$69.99 – $1,379.99 Select options -
WooCommerce Multi-Currency
$49.99 – $989.99 Select options -
Premmerce WooCommerce Best Price Guaranteed
$49.99 – $989.99 Select options -
Premmerce WooCommerce Buy Now
$49.99 – $989.99 Select options -

Premmerce WooCommerce Price Tracking
$49.99 – $989.99 Select options -
Premmerce WooCommerce Waiting List
$49.99 – $989.99 Select options -
GoodLook, the Premium Theme for WooCommerce
$69.99 – $1,409.99 Select options -
GrandStore, the Premium Theme for WooCommerce
$69.99 – $1,409.99 Select options -
WooCommerce SEO Addon
Download from WordPress -
Woocommerce Frequently Bought Together
$49.00 Buy now -
Premmerce WooCommerce Brands
Download -
Premmerce WooCommerce Wholesale Pricing
Download -
Premmerce Users Roles
Download -
Premmerce WooCommerce Wishlist
Download -
WooCommerce Customers Manager
Download -
Premmerce Redirect Manager
Download -
Premmerce Bundle
$99.99 – $999.99 Select options -
Premmerce Dev Tools
Download -
SalesZone, the Free Theme for WooCommerce
Download from wordpress -
SalesZone, the Premium Theme for WooCommerce
$69.99 – $1,409.99 Select options
-
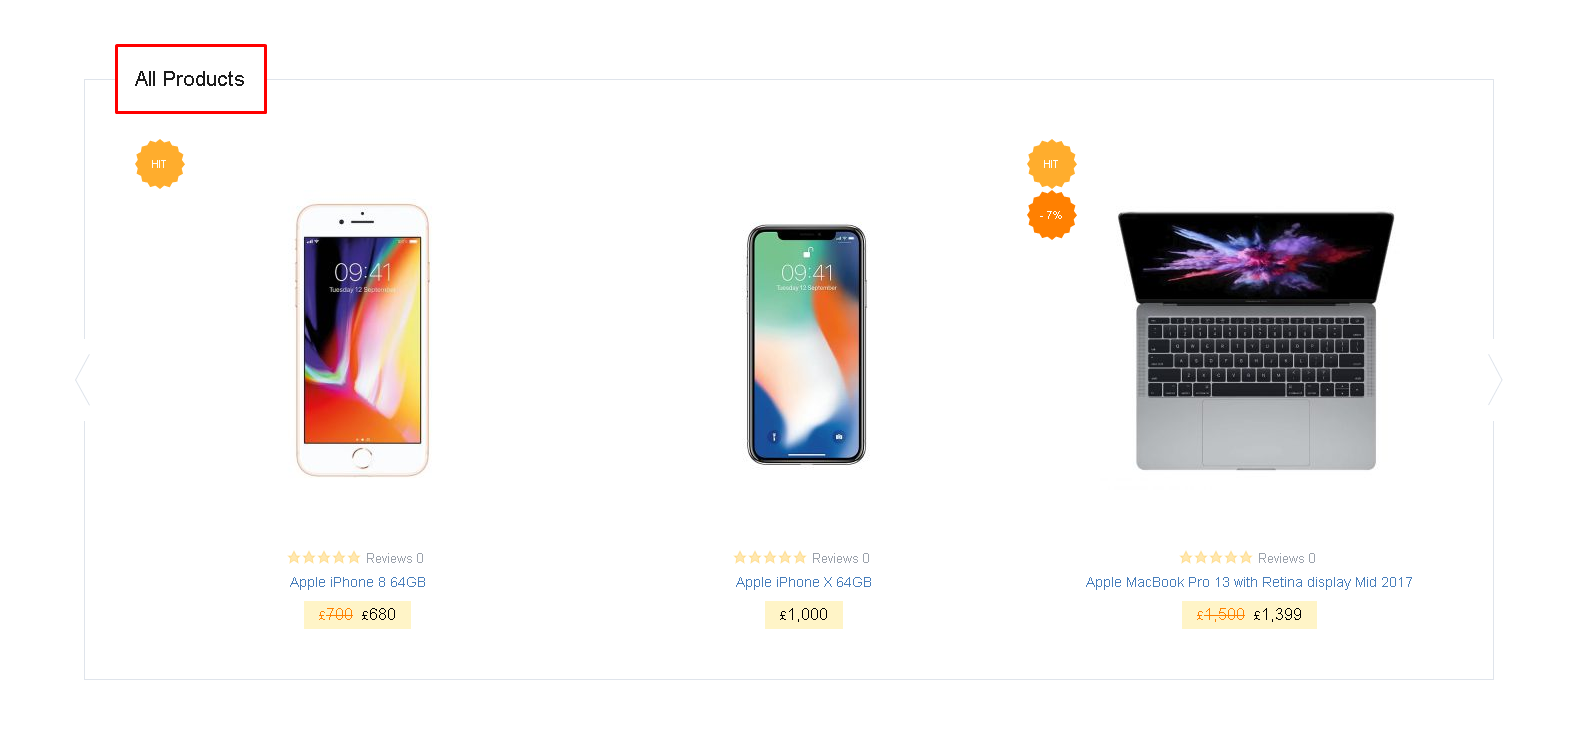
- “frame-products” – it displays all the products.
-
Premmerce Permalink Manager for WooCommerce
$49.99 – $989.99 Select options -
Premmerce WooCommerce Product Filter
$69.99 – $1,379.99 Select options -
Premmerce WooCommerce Performance Optimizer
$49.99 – $989.99 Select options -
Premmerce WooCommerce Variation Swatches
$49.99 – $989.99 Select options -
WooCommerce Product Search
$49.99 – $989.99 Select options -
Premmerce Premium
$69.99 – $1,379.99 Select options -
WooCommerce Multi-Currency
$49.99 – $989.99 Select options -
Premmerce WooCommerce Best Price Guaranteed
$49.99 – $989.99 Select options -
Premmerce WooCommerce Buy Now
$49.99 – $989.99 Select options -
Premmerce WooCommerce Price Tracking
$49.99 – $989.99 Select options -
Premmerce WooCommerce Waiting List
$49.99 – $989.99 Select options -
GoodLook, the Premium Theme for WooCommerce
$69.99 – $1,409.99 Select options -
GrandStore, the Premium Theme for WooCommerce
$69.99 – $1,409.99 Select options -
WooCommerce SEO Addon
Download from WordPress -
Woocommerce Frequently Bought Together
$49.00 Buy now -
Premmerce WooCommerce Brands
Download -
Premmerce WooCommerce Wholesale Pricing
Download -
Premmerce Users Roles
Download -
Premmerce WooCommerce Wishlist
Download -
WooCommerce Customers Manager
Download -
Premmerce Redirect Manager
Download -
Premmerce Bundle
$99.99 – $999.99 Select options -
Premmerce Dev Tools
Download -
SalesZone, the Free Theme for WooCommerce
Download from wordpress -
SalesZone, the Premium Theme for WooCommerce
$69.99 – $1,409.99 Select options

- title – it adds a title, works only with the ‘template’ attribute.
-
Premmerce Permalink Manager for WooCommerce
$49.99 – $989.99 Select options -
Premmerce WooCommerce Product Filter
$69.99 – $1,379.99 Select options -
Premmerce WooCommerce Performance Optimizer
$49.99 – $989.99 Select options -
Premmerce WooCommerce Variation Swatches
$49.99 – $989.99 Select options -
WooCommerce Product Search
$49.99 – $989.99 Select options -
Premmerce Premium
$69.99 – $1,379.99 Select options -
WooCommerce Multi-Currency
$49.99 – $989.99 Select options -
Premmerce WooCommerce Best Price Guaranteed
$49.99 – $989.99 Select options -
Premmerce WooCommerce Buy Now
$49.99 – $989.99 Select options -
Premmerce WooCommerce Price Tracking
$49.99 – $989.99 Select options -
Premmerce WooCommerce Waiting List
$49.99 – $989.99 Select options -
GoodLook, the Premium Theme for WooCommerce
$69.99 – $1,409.99 Select options -
GrandStore, the Premium Theme for WooCommerce
$69.99 – $1,409.99 Select options -
WooCommerce SEO Addon
Download from WordPress -
Woocommerce Frequently Bought Together
$49.00 Buy now -
Premmerce WooCommerce Brands
Download -
Premmerce WooCommerce Wholesale Pricing
Download -
Premmerce Users Roles
Download -
Premmerce WooCommerce Wishlist
Download -
WooCommerce Customers Manager
Download -
Premmerce Redirect Manager
Download -
Premmerce Bundle
$99.99 – $999.99 Select options -
Premmerce Dev Tools
Download -
SalesZone, the Free Theme for WooCommerce
Download from wordpress -
SalesZone, the Premium Theme for WooCommerce
$69.99 – $1,409.99 Select options
[benefits] – it displays your online store benefits, that are set up in the Live Customizer.
[follow] – it displays social icons, that are set up in the Live Customizer.
[home-seo-text] – it displays the SEO text, that has been entered in Live Customizer > Shop > Home page > Home page SEO text.
[payment-icons] – it displays the available payment methods icons, that are set up in the Live Customizer.
[premmerce_brands] – it displays brands and works only if the Premmerce WooCommerce Brands plugin is activated The available attributes are:
- limit – the number of brands to display. Defaults to 10 when listing products, and -1 (display all) for categories.
- columns – the number of columns to display. Defaults to 6.

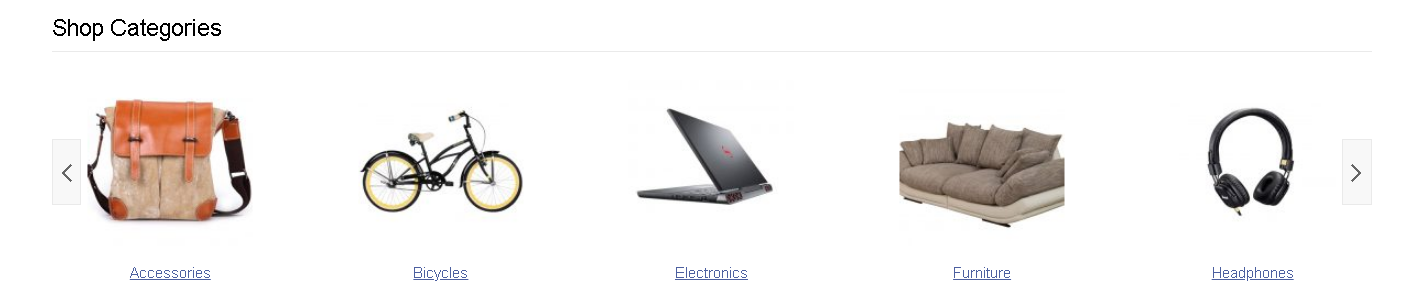
[premmerce_catalog] – it displays product categories in one row with the ability to scroll through them.
- limit – the number of product categories to display. Defaults to -1.
- columns – the number of columns to display. Defaults to 4.
Gallery (available in Premium only)
We’ve improved Gallery management and its display on the front end.
Now there’s a separate section ‘Gallery’ in the dashboard.
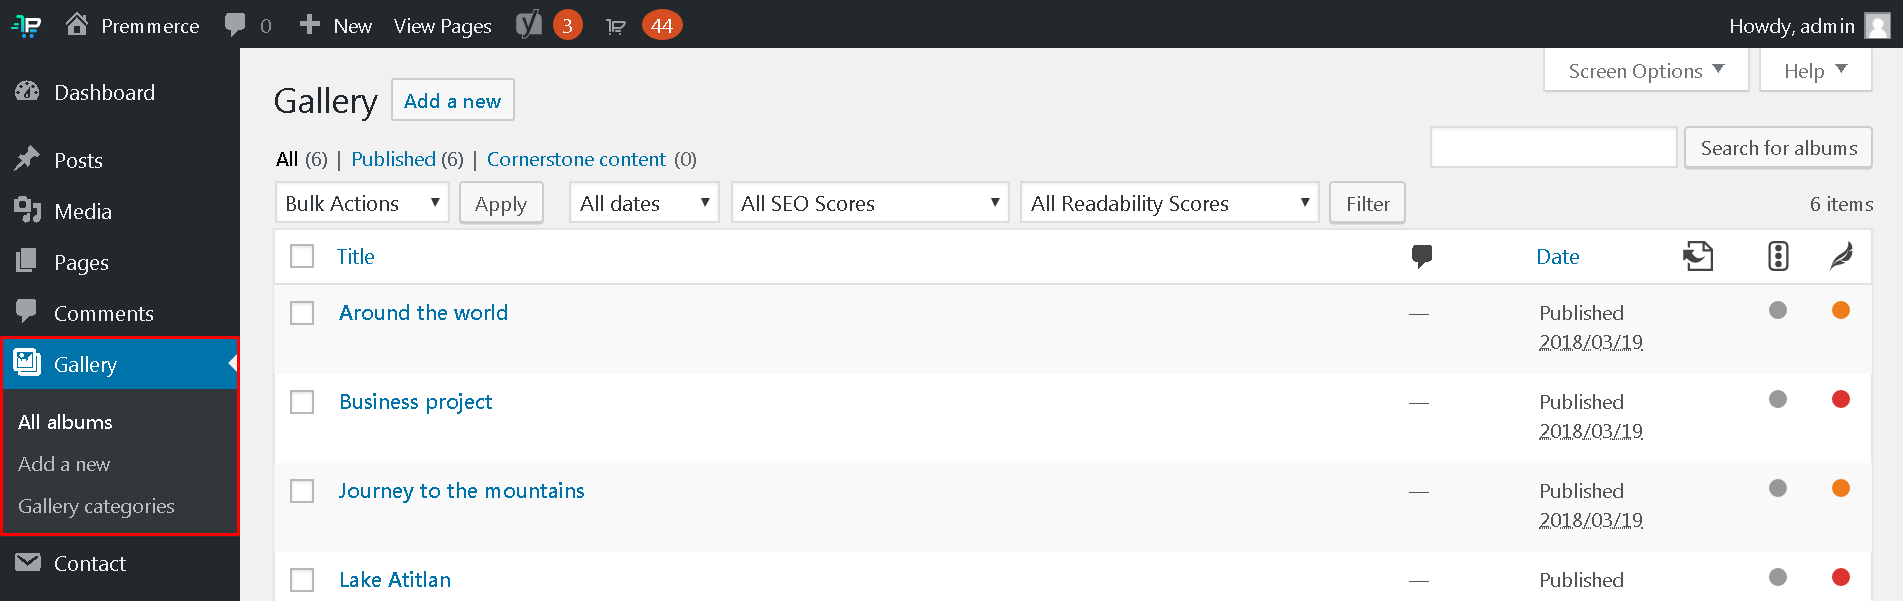
Here you can create, edit and delete galleries and their categories.
To create a gallery, follow these steps:
- Click ‘Add a new’.
- Enter a gallery name.
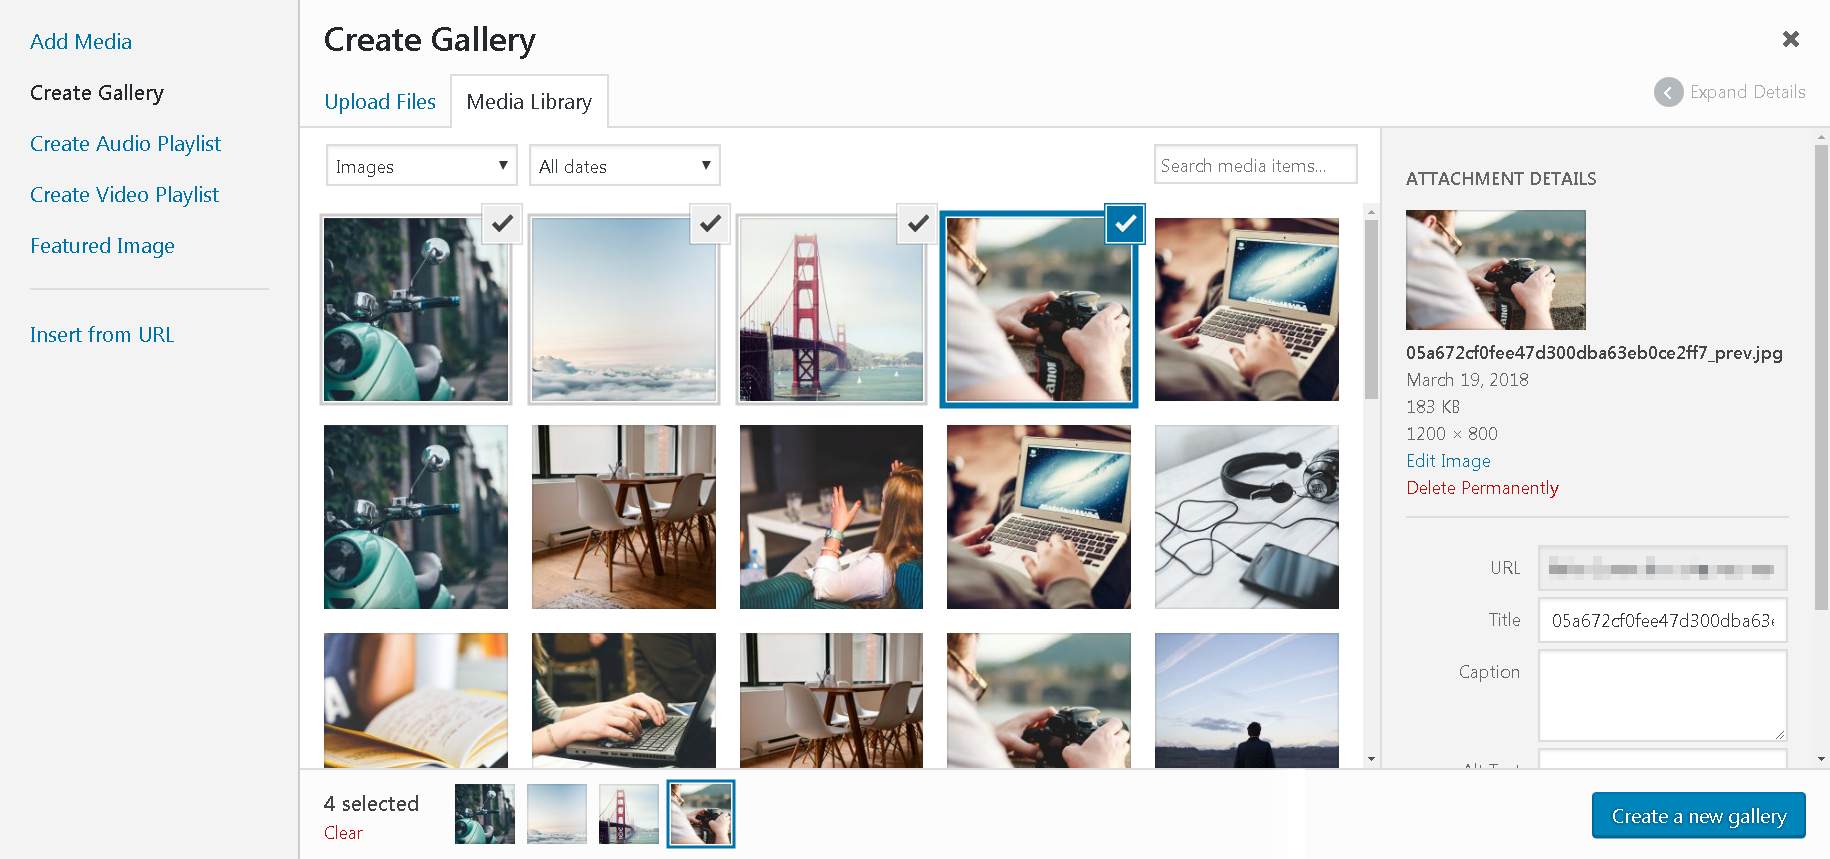
- Click ‘Add Media’.
- Click ‘Create Gallery’.
- Choose or upload images for the gallery.
- Click ‘Create a new gallery’.
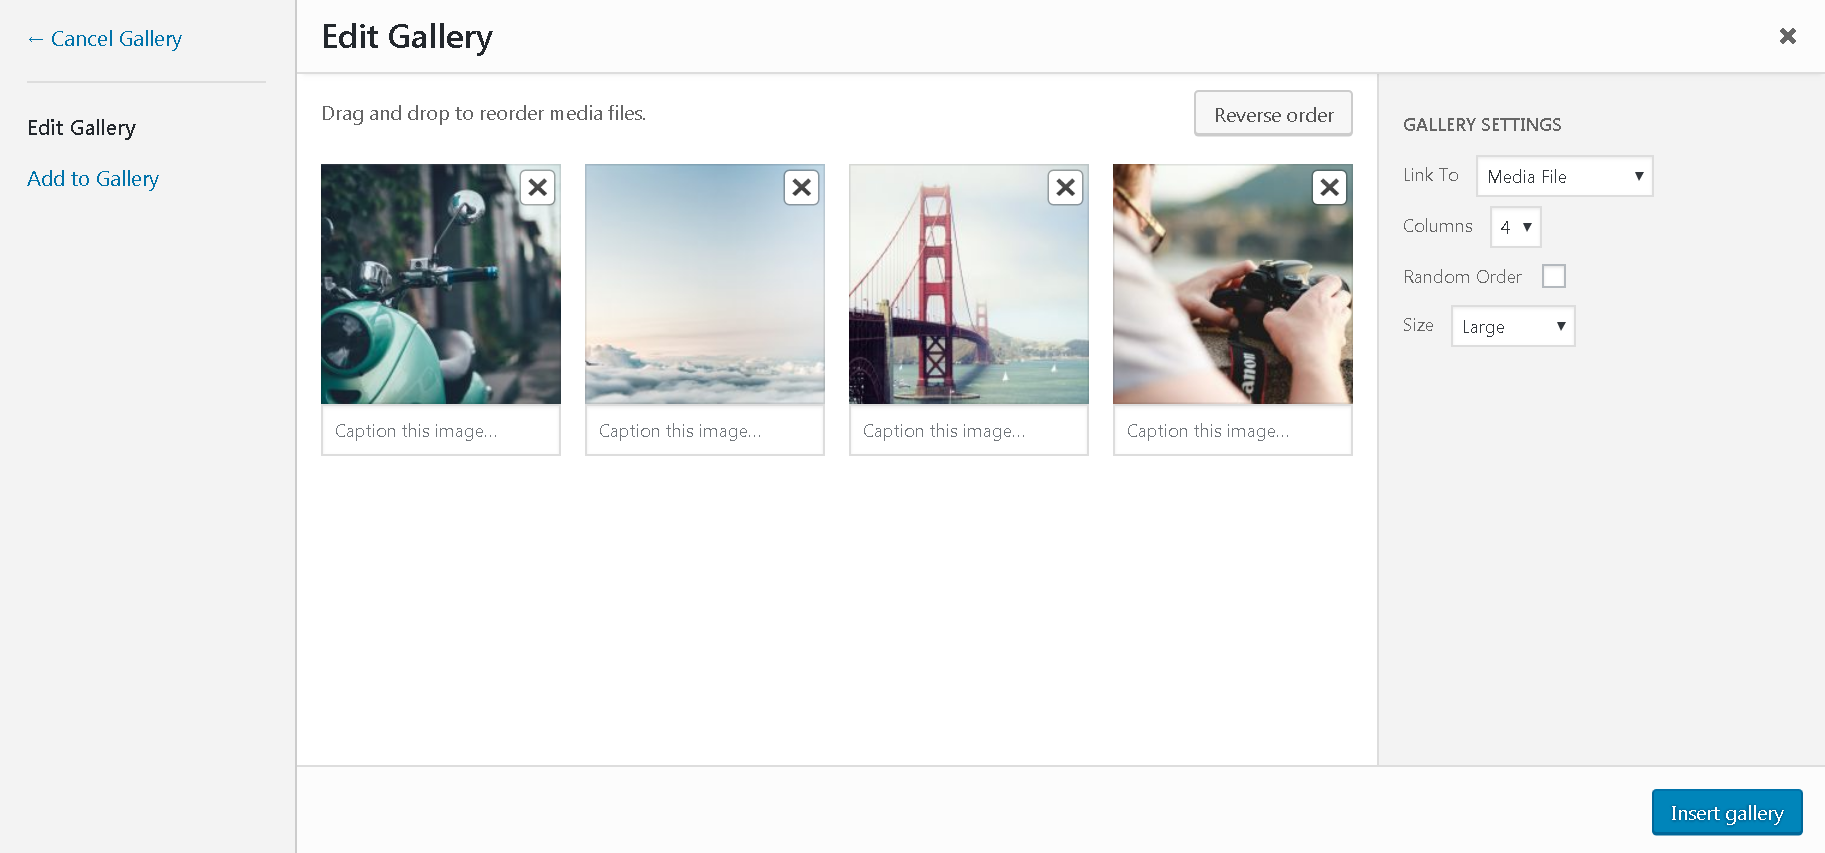
- Choose ‘Media File’ in ‘Link To’, the number of columns in ‘Columns’ and the image size in ‘Size’.
- Click ‘Insert gallery’.
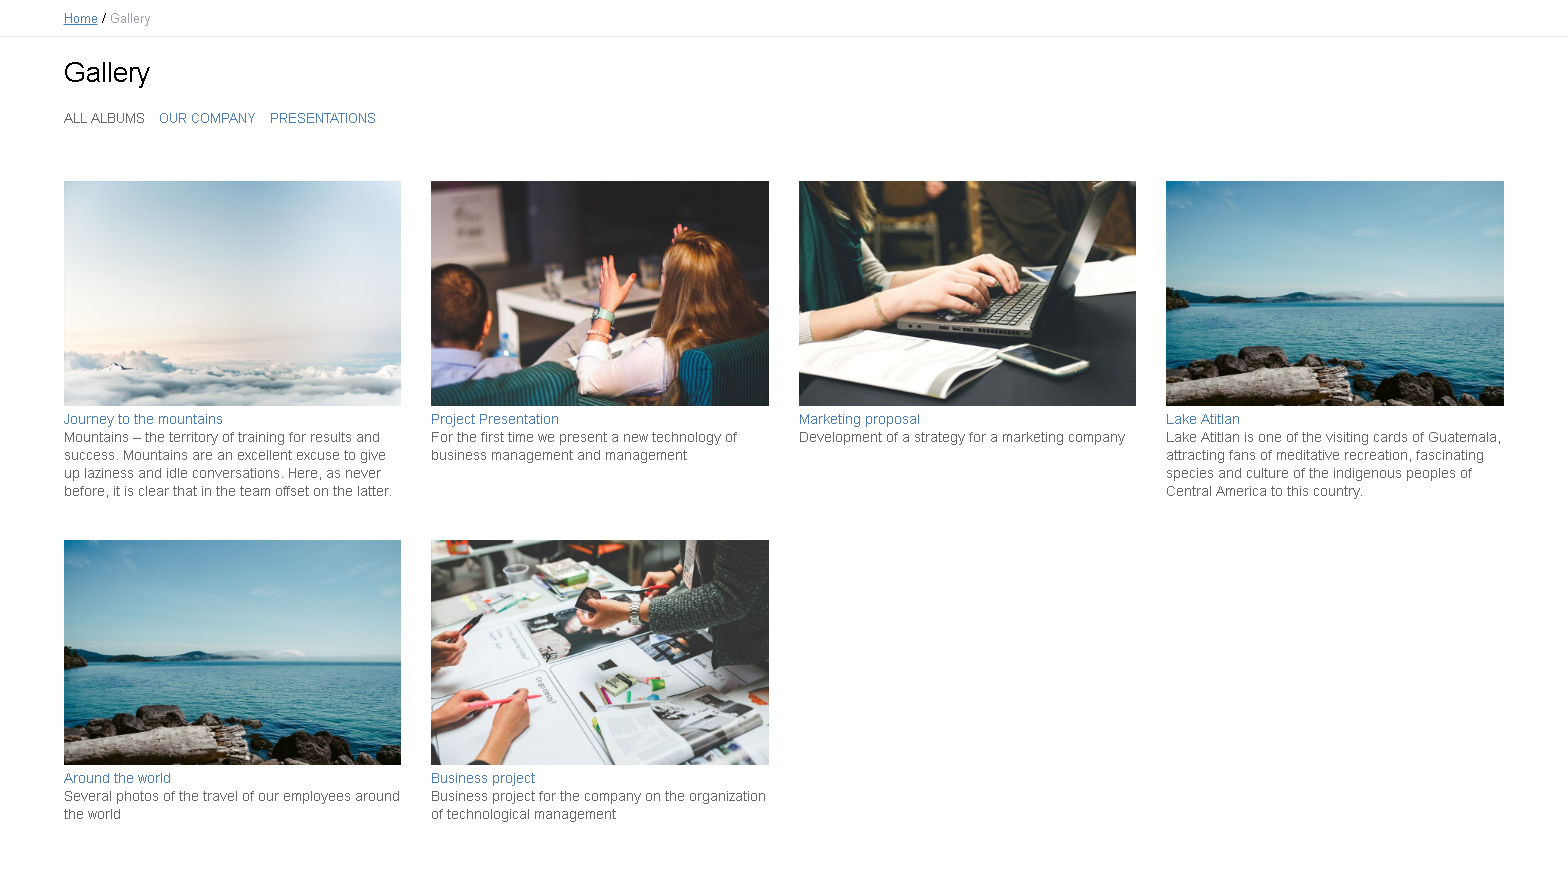
The gallery on the front end is displayed the following way:

After clicking an image, the popup opens for more convenient viewing.

The template will be constantly developed and be complemented with new features. Keep an eye on the updates in your dashboard as well as on our newsletters.
If you have any other questions, please, contact our support.
Thanks for using our products! Successful sales to you!
Comments

Ready to Get Started?
Join over 100,000 smart shop owners who use Premmerce plugins to power their WooCommerce stores.
Get started